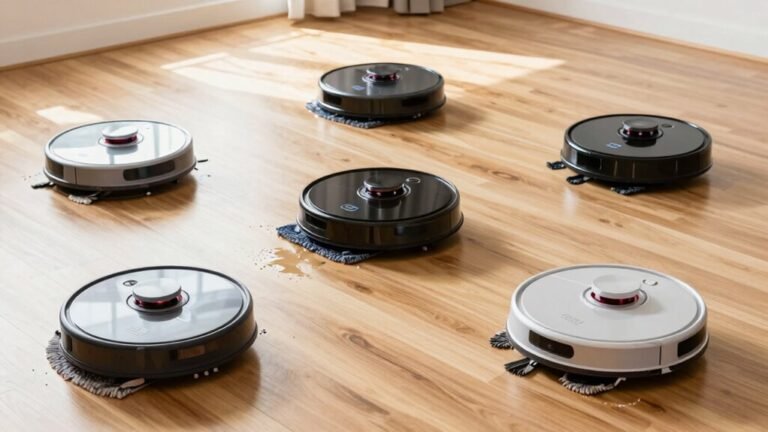
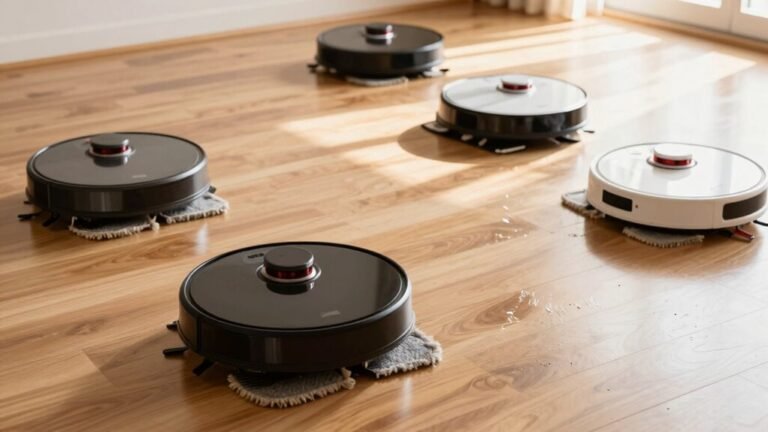
How to Prep Floors Before Robot Mopping
Clear your floors like you’re making room for a hyper-focused cleaning ninja—scoop up toys, shoes, and rogue socks so nothing slows down your robot mopping session. Lift cords and secure loose rugs to prevent tangles and ensure smooth navigation.
Vacuum first to banish dust, debris, and pet hair that could clog the mop or reduce cleaning efficiency. This step is crucial before starting any robot mopping routine.
Move furniture slightly to open pathways and let the robot access tight spaces. Skip over sticky spills by wiping them quickly with a splash of vinegar to avoid mess buildup.
Run a dry test to let the robot map the area and identify any new obstacles. With the floor prepped, your robot is ready for a flawless mopping mission.
Clear the Floor of Toys and Clutter
Tidying up before your robot mop hits the floor isn’t just about neatness—it’s your first line of defense against a tangled toy disaster.
You know those tiny blocks and stray action figures? Yeah, they’re sneaky little hitchhikers waiting to jam your robot’s wheels or wrap around its brushes.
Even smart models like the Eufy X9 Pro, the only one with a perfect avoidance score, still need help with clutter.
So scoop up toys, shoes, and rogue socks—especially the small ones that love to cause chaos.
Some fancy bots, like the Dreame Cyber 10 Ultra, can even grab and move items with a 33 cm arm that lifts up to 500 grams.
You can even train AI helpers like Mebo to tote toys to a marked box—like a robo-nanny with a knack for cleanup.
This robot’s extendable 33 cm arm makes it easier to clear obstacles without manual intervention.
Clear the floor, and you’re not just avoiding meltdowns; you’re setting the stage for spotless, stress-free mopping magic.
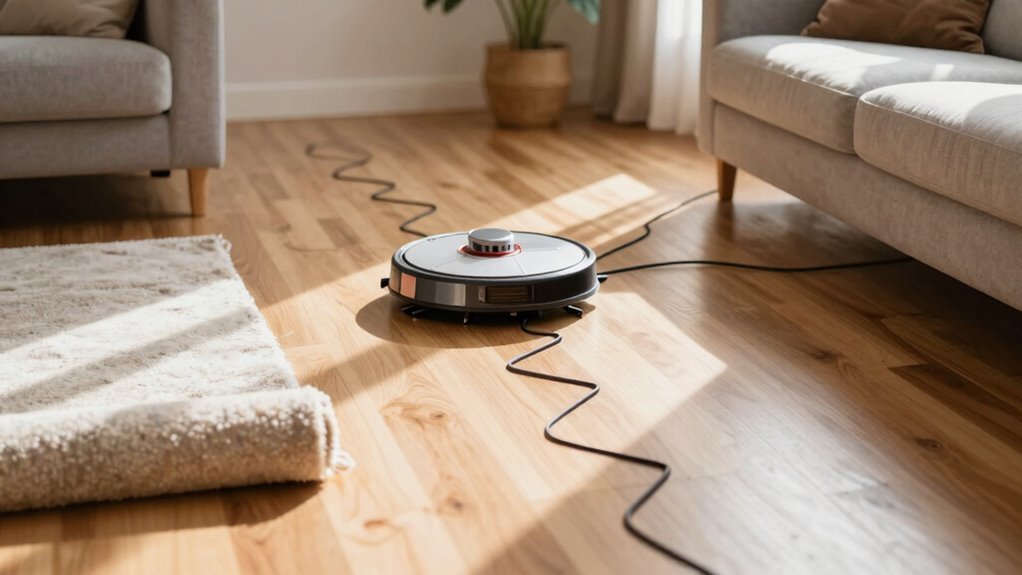
Pick Up Cords and Secure Loose Rugs
Watch out for those sneaky cords snaking across the floor—they’re like robot mop landmines just waiting to strike!
You don’t want your cleaning sidekick getting tangled and throwing a digital tantrum. Take a few minutes to tidy up wires and anchor down loose rugs so everything runs smoothly—literally.
- Lift cords off the floor and secure them with clips or Velcro ties, tucking them behind furniture or along walls
- Unplug unnecessary devices and bundle cables neatly to keep paths clear and tangles away
- Tuck rug corners under heavy objects, use grippers, or roll up small rugs completely to stop slips and snags
A quick once-over keeps your bot humming happily instead of hiccuping on a stray charger.
Don’t forget to check for frayed edges or loose fringes that could jam the wheels—silly little hazards that cause big headaches.
Ensuring cables are properly managed helps prevent insulation damage and maintains safe, uninterrupted operation.
Safety first, clean floors second, and zero drama every time!
Move Furniture to Open Cleaning Paths
Scoot those sofas, slide the side tables, and give your robot mop some breathing room—cluttered corners and crammed furniture are no match for a smooth cleaning run! You’ll save your bot from dizzying detours and those awkward “stuck under the dining chair” moments. Clearing paths isn’t just helpful—it’s a game-changer.
| Area | Clearance Needed | Pro Tip |
|---|---|---|
| Around dock | 50 cm sides, 1.5 m front | Keeps robot from fumbling on return |
| Between furniture | 30 cm gap | Lets it zig-zag like a cleaning champ |
| Near walls | Open edges | Guarantees full wipe, no missed spots |
Shift heavy items to corners, stack stools, or lift pet beds—your robot will thank you with sparkier floors and fewer SOS alerts. Don’t worry, it’s not redecorating—just a quick furniture shuffle for a spotless win!
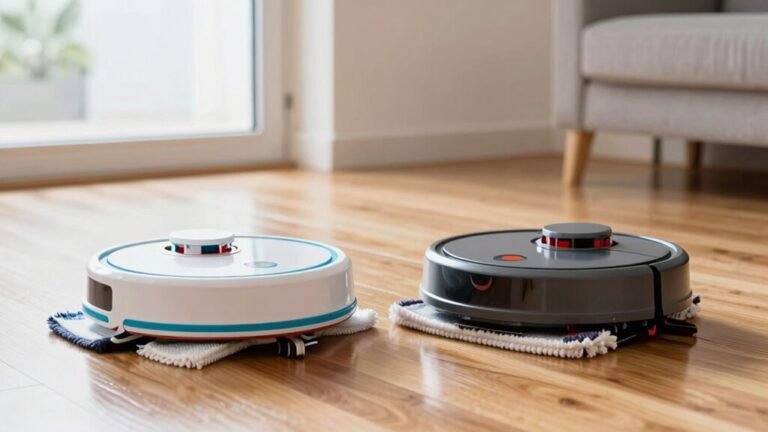
Vacuum First for Best Robot Mop Results
Now that you’ve given your robot mop room to roam, it’s time to tackle what’s actually on the floor—because no amount of fancy navigation can save a mop from grinding dirt into your tiles.
Skip the vacuum step, and you’re basically mopping over messes like a pro baker frosting a cake with crumbs still on it—yikes.
For truly spotless floors, let your robot vacuum lead the way.
It hoovers up dust, hair, and gunk so your mop can focus on grime, not grinding gravel.
- Vacuuming nabs embedded dirt and pet hair before they smear
- Clean floors mean fewer streaks and zero muddy water trails
- Your robot’s mop pad stays fresher, working smarter, not harder
Let it vacuum first—you’ll get gleaming floors without the ghost of yesterday’s spills haunting your shine.
Remove Crumbs and Pet Hair Completely
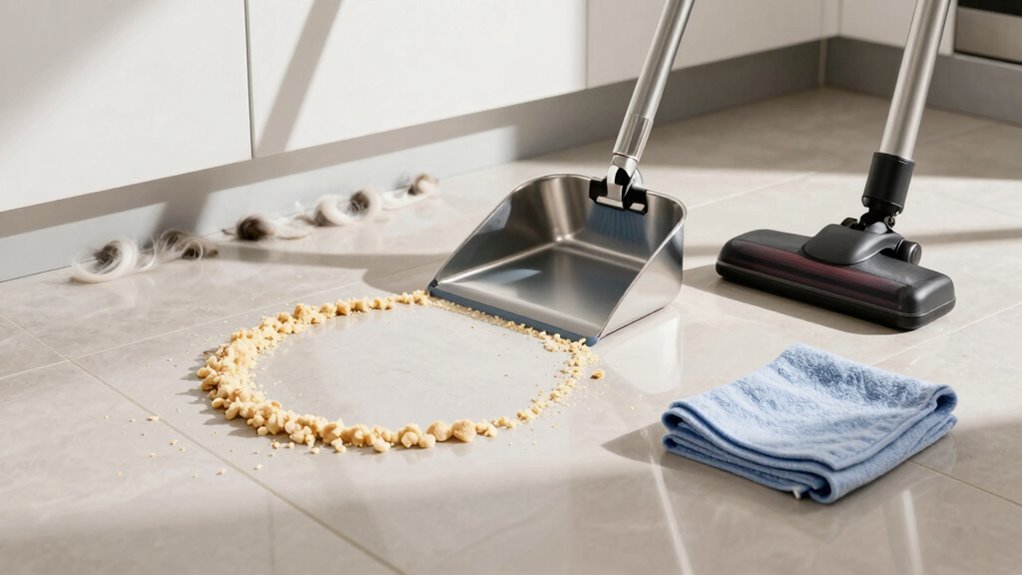
Grab your robot and get ready to kick crumbs and pet hair to the curb—because nobody wants a trail of fluff following their mop like an unwelcome shadow. You’ve gotta tackle loose debris first, or your mop’ll just smear it around like a furry disaster. Here’s how different floors stack up:
| Floor Type | Hair Pickup Rate | Suction Power Needed |
|---|---|---|
| Hard Floors | 95% efficient | 4,500–8,000Pa (light lift) |
| Carpets | 88% efficient | Up to 30,000Pa (boosted) |
| Thick Rugs | Moderate | Anti-tangle brush + high suction |
Use anti-tangle brushes and auto-suction boosts—they’re total game-changers. Let your robot adapt to rugs with smart mapping, and don’t forget side brushes to pull hair from corners. With the right setup, you’ll sweep up every crumb and strand like a pro. Clean floors aren’t magic—they’re just smart prep!
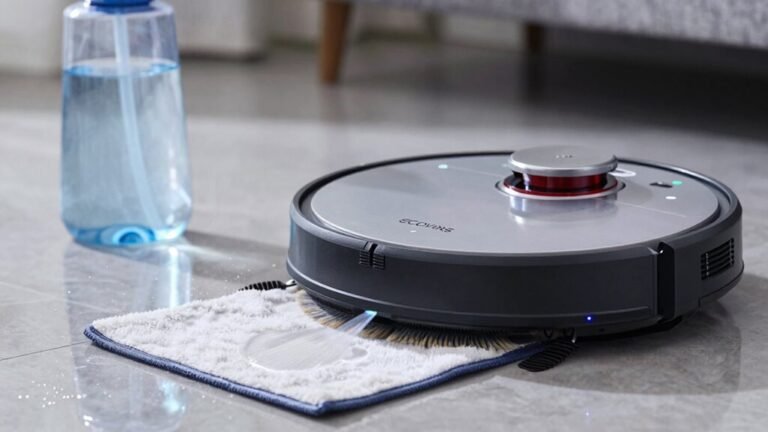
Wipe Up Sticky Spills Before Mopping
Most of the time, skipping the sticky spill cleanup before robot mopping turns your sleek cleaning routine into a smeary slideshow—picture your robot waltzing through grape juice and leaving a modern art exhibit in its wake.
You’ve gotta tackle stickiness head-on, because even smart mops can’t magic away gooey messes.
A quick wipe saves you from smeared sugar trails and grimy streaks.
- Grab paper towels and a gentle cleaner to spot-clean spills fast—don’t wait!
- Use a vinegar mix (½ cup per 3.5 liters water) to cut through stickiness without damaging floors.
- Focus on edges and corners, where robots often miss, to keep every inch clean.
You’re not just cleaning—you’re setting the stage for a flawless mopping dance.
With a little prep, your robot does the rest, no sticky surprises included.
Remove Sharp Objects That Could Damage the Mop
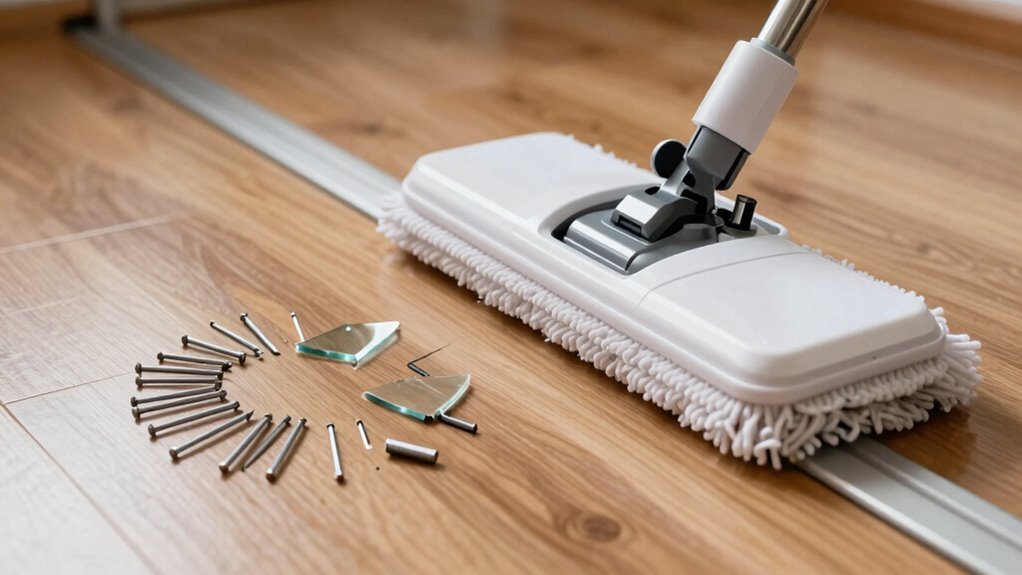
Ever wonder what’s lurking in that forgotten corner—a stray pushpin, a shard of glass, or maybe that Lego piece that vanished weeks ago?
Yeah, your robot mop doesn’t either—and it’s not going to end well if it runs into them.
Sharp stuff like nails or broken glass can scratch your floors, tear up the mop pad, or even hurt the robot’s insides.
Imagine your bot dragging a tiny shard like a dirt broom—it’s no fun for anyone.
Save yourself the hassle and do a quick sweep before starting.
Pick up obvious hazards like tools, toys, or anything with edges that could bite.
It only takes a minute, and your robot will thank you.
Think of it as a spa day prep: no one wants glass in their foot massage.
With the floor clear, your mop can glide safely, keeping both your floors and machine happy, healthy, and scratch-free.
Close Off Busy Rooms During Operation
Keep your robot mop focused on cleaning, not dodging your cat’s midday zoomies—shut the door on busy rooms before hitting start. When people, pets, or playful toddlers are in the mix, your mop can get distracted or even stuck. Closing off high-traffic areas isn’t just smart—it’s a mini safety win for everyone.
You’ll avoid surprise collisions, keep curious pets out of wet zones, and help your robot finish faster without interruptions. Think of it as giving your mop some alone time for a deep clean.
- Block off pet zones to prevent soggy paws and tipped-over water bowls
- Close doors to playrooms or home offices where toys or cords might cause tangles
- Secure stairwells and high-traffic areas so your bot won’t wander into chaos
Just a quick door shut can save you time, stress, and a soggy robot surprise.
Test the Robot’s Route in Advance
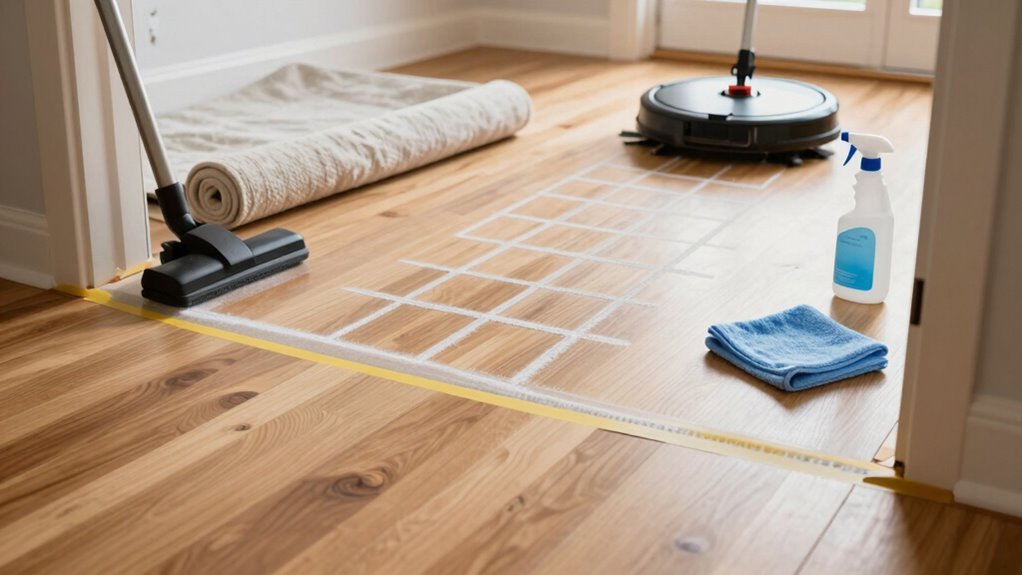
Now that you’ve corralled the kids, pets, and rogue socks behind closed doors, it’s time to let your robot do a little recon work—think of it as a practice run before the main event.
Start with a dry test to see how fast it covers ground and how well it uses battery power.
Turn on mapping mode so it can “learn” your space using smart sensors that spot toys, cords, and even pesky shoelaces.
Test its obstacle IQ—can it dodge a jungle of playthings like a champ?
Toss in socks, power strips, and tiny toys to see what it misses.
Check if it can climb door thresholds without getting stuck, adding small ramps to challenge its grip.
Run it through your living room maze to confirm full coverage.
When you see those clean, consistent passes on the map, you’ll know it’s ready to mop—like a robot ninja, silently mastering your floors.
Prep the Whole House in Under 10 Minutes
Grab your sneakers and give ’em a quick toss into the closet—your robot’s about to hit the floor and it’s no time for surprise obstacle courses.
You can prep the whole house in under 10 minutes with a few smart moves.
Just zip through these steps and you’ll be sipping coffee while your bot does the work.
- Clear big stuff fast: Scoop up toys, socks, and charging cables so your robot won’t get stuck or toss them halfway across the room.
- Dry sweep first: Run a quick vacuum or use your robot’s dry pass to grab dust and crumbs—wet mopping works way better on clean floors.
- Check floors and fill up: Make sure surfaces are mop-safe, then load the water tank and slap on fresh pads.
Boom—done.
Your floors are ready, and you barely broke a sweat.
Frequently Asked Questions
How Often Should I Prep the Floor for Robot Mopping?
You should prep your floors 2–3 times a week if you’ve got pets or kids zooming around like tiny tornadoes.
High-traffic spots? Hit them daily to avoid dirt buildup.
Hardwood or tile lovers can get away with 2–3 times weekly.
Use your robot’s app to schedule quick preps—because, let’s be real, who wants to vacuum manually?
Just set it, forget it, and enjoy shiny, crumb-free floors without lifting a finger.
Can I Skip Prep if My Floor Looks Clean?
Nope, you can’t skip prep just because the floor *looks* clean—surprise!
Dirt, sticky bits, and sneaky debris love to hide in plain sight.
Your robot mightn’t see them, but it’ll definitely get stuck or spread gunk around.
Think of it like sending a kid to school in flip-flops: well-meaning, but bound to trip.
A quick once-over takes seconds and saves you way more cleanup later.
Plus, your robot will thank you—with better mops and fewer meltdowns!
Do I Need to Unplug Electronics Before Mopping?
Yes, you do need to unplug electronics before mopping—better safe than soggy!
Water and electricity still tango like chaotic roommates, remember?
Even a splash near a plugged-in outlet or device can spell disaster.
Think of your robot as a curious dancer; it doesn’t know which cords to avoid.
Unplug and tuck cords away, just like hiding snacks from a clever pet.
Quick, easy, and way smarter than calling an electrician—or worse, learning the hard way!
Is It Safe to Prep Floors With Kids Around?
Yes, you can prep floors with kids around, but stay alert and involved.
Keep them nearby while you quickly pick up toys and clutter—turn it into a fun cleanup race!
Just remove sharp items and secure cords to avoid accidents.
You’ve got this!
Supervising while prepping keeps everything safe, smooth, and maybe even a little fun.
Team effort makes robot mopping a breeze—literally!
Should I Dry the Floor After Robot Mopping?
You don’t need to dry the floor after robot mopping—let it air dry and save yourself the trouble, because time is money! Fast-drying, low-foaming cleaners like ROBOSHINE evaporate quickly, leaving zero streaks or gunk.
Your robot’s roller or spinning pads handle the work, so kick back, relax, and let technology do its thing.
Just avoid overusing cleaner, unless you enjoy sticky floors and impromptu dance slides!
Conclusion
You’ve swept, secured, and streamlined—now just hit start and watch your robot glide like it’s on a spa day! Who knew clean floors could come with front-row entertainment? Think of those little mopping wins as high-fives from your home. With everything cleared and crumbs banished, your bot’s got the green light to shine—because let’s face it, even robots deserve a clutter-free joyride!
References
- https://www.tomsguide.com/home/home-appliances/i-just-saw-dreames-new-robot-vacuum-in-action-and-its-claw-looks-like-the-perfect-solution-to-my-kids-messy-room
- https://vacuumwars.com/preparing-your-home-for-a-robot-vacuum/
- https://www.youtube.com/watch?v=Yt3EK2lY8RI
- https://qviro.com/blog/robot-cable-management/
- https://standardbots.com/blog/robot-cable-management
- https://blog.robotiq.com/how-to-tidy-the-mess-with-good-robot-cable-management
- https://www.inrobots.shop/blogs/repair-guides/how-to-organize-robot-cables
- https://us.narwal.com/blogs/product/program-robot-vacuum-cleaning-path
- https://www.ecovacs.com/uk/blog/dos-donts-cleaning-with-vacuum-mop-robot
- https://www.techradar.com/home/vacuums/how-to-prep-your-home-for-a-robot-vacuum