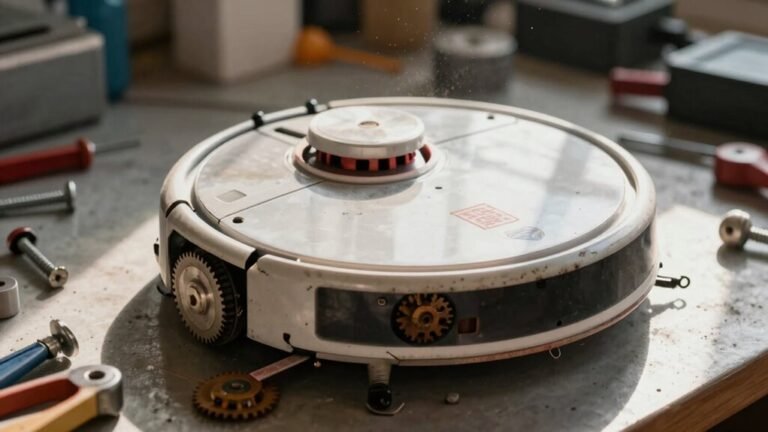
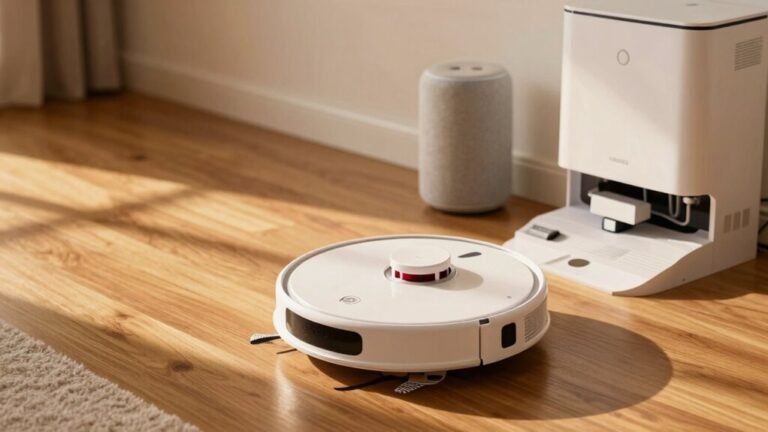
How to Clean Robot Vacuum Sensors and Cameras
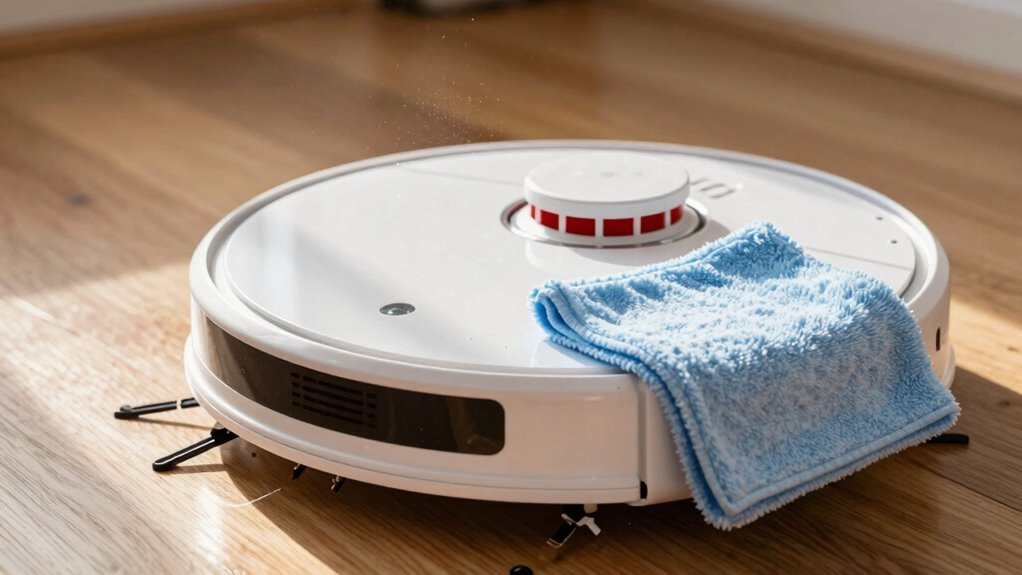
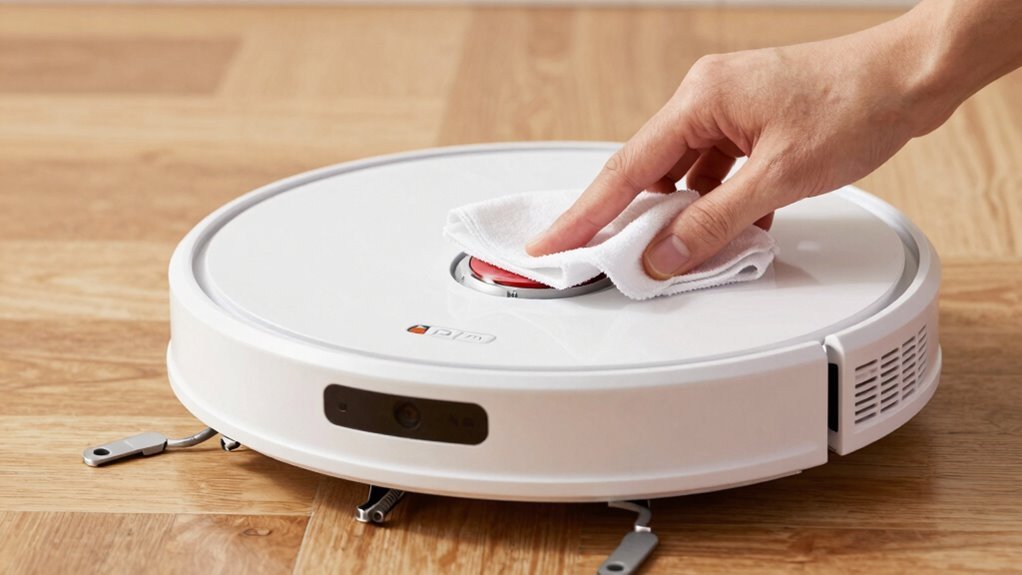
Keep your robot vacuum smart by regularly cleaning its sensors and camera. Power it down first, then gently wipe the surfaces with a soft microfiber cloth to maintain optimal performance.
For hard-to-reach areas, use compressed air to blow out dust and debris. Focus on the cliff sensors underneath—be gentle to avoid damaging them.
Clean the camera lens with a slightly damp cloth, avoiding harsh chemicals that could smear or damage the surface. Think of it as a spa day for your robo-pal, helping it see clearly and navigate efficiently.
Why Cleaning Sensors Keeps Your Vacuum Smart
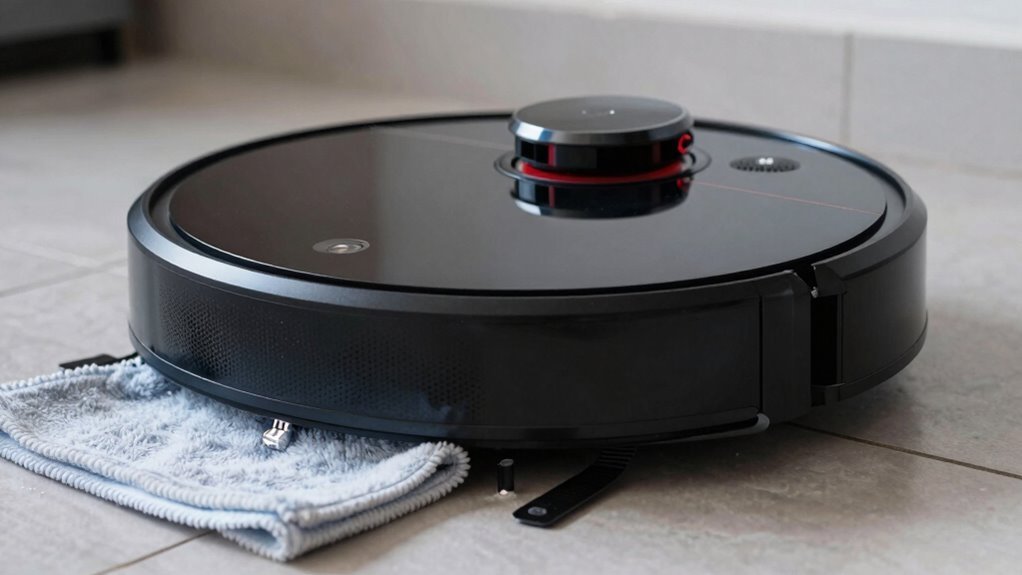
While your robot vacuum zips around like it’s on a secret mission, it’s actually relying on a bunch of high-tech eyes and brains to stay smart—and keeping those sensors clean is what keeps the magic working.
You’ve got cameras spotting socks and pet messes, LiDAR mapping every wall, and AI learning your furniture dance moves.
When dust or smudges clog those sensors, your little robo-helper might crash into table legs or miss the junk under the couch.
Clean sensors mean it sees clearly, plans smarter paths, and dodges disasters like a ninja.
It adapts to moving chairs, avoids dragging cords, and even knows the difference between a crumb and a pile of glitter (mostly).
Plus, with clear vision, it cleans closer—within 5 mm of obstacles—and doesn’t waste battery on dumb mistakes.
A quick wipe keeps it sharp, efficient, and way less likely to need a rescue.
Honestly, a dirty sensor’s the only thing stupider than vacuuming up a sock. Models with camera-assisted monitoring offer enhanced obstacle detection and live streaming through the app.
What Tools You Need to Clean Safely
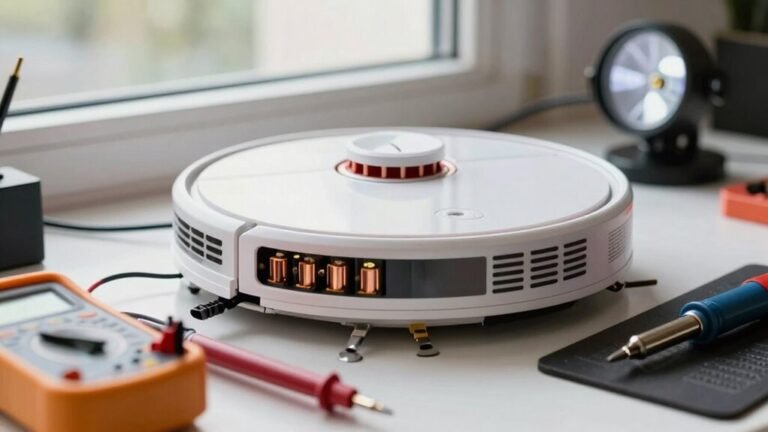
You’ll only need a few simple tools to keep your robot vacuum’s sensors sparkly clean and working like a champ—think of it as a mini spa day for your robo-butler.
Skip the harsh chemicals and scrubbing; just gather these gentle essentials and give your little cleaner the care it deserves.
- Soft microfiber or lint-free cloth – perfect for wiping camera lenses and infrared sensors without leaving scratches or dust bunnies behind.
- Compressed air canister – a quick blast clears dust from tight spots like cliff sensors and bumpers, no disassembly needed.
- Small soft brush or cotton swabs – ideal for nudging gunk out of sensor windows and cleaning around the suction inlet.
- Flashlight and mild screen solution – shine a light to spot hidden grime, then lightly dampen a cloth if needed (never spray directly!).
Regular cleaning helps maintain optimal performance and longer lifespan by ensuring sensors can accurately detect obstacles and navigate efficiently.
Find Your Vacuum’s Sensors and Camera
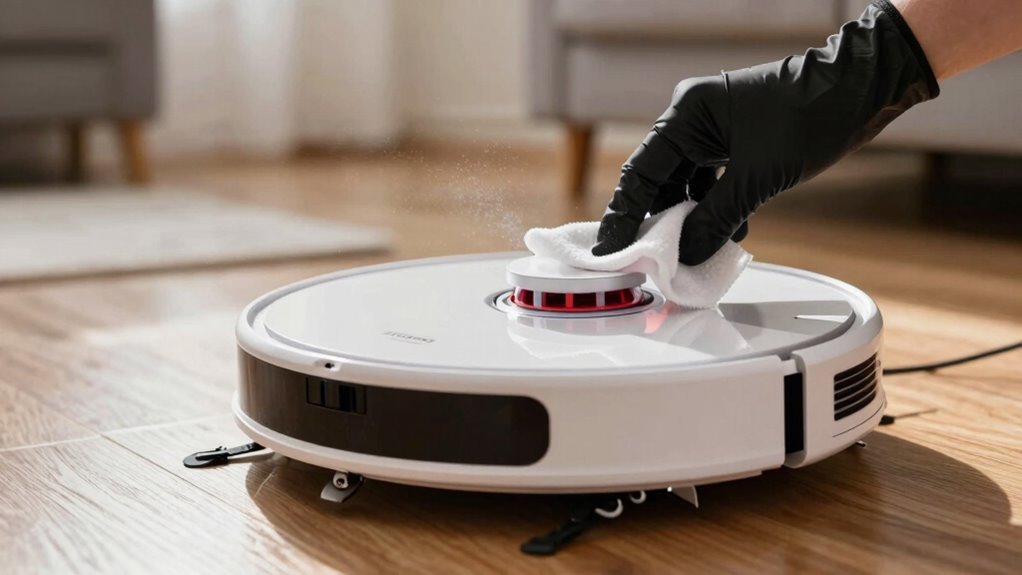
Now that you’ve rounded up the gentle cleaning crew—microfiber cloth, compressed air, and that trusty cotton swab—it’s time to play detective and locate the smart bits that make your robot vacuum scoot around like it owns the place.
Flip it over and spy the cliff sensors—usually small black dots on the underside—to keep it from tumbling downstairs.
Up front, you’ll likely spot the bumper sensors, ready to tap-dance around your shoes.
On top, look for a little spinning dome—that’s the LiDAR eye mapping your living room.
Or maybe your model has a tiny camera lens on the front, like a robot selfie cam using visual SLAM to remember where your couch lives.
Some even pack dual cameras with wide, watchful eyes.
Check the sides for infrared sensors—they’re sneaky, blending in like tech ninjas.
There might be dozens!
Knowing where they all hide means you’ll clean them right—without the stress.
How to Clean the Sensors and Camera Lens
When your robot vacuum starts bumping into furniture like it’s had too much espresso, it’s probably not tired—it’s just got dirty sensors and a foggy camera lens.
Power it down, unplug it, and grab your tools to give it a spa treatment. Use gentle strokes, keep things dry when possible, and treat those sensors like your phone screen—delicate and important.
- Wipe each sensor with a soft microfiber cloth, like you’re buffing a shiny car.
- Blow away hidden dust with a quick puff of compressed air, like dusting a sneezy shelf.
- Gently swirl a slightly damp cloth over the camera window, just like cleaning your sunglasses.
- Brush tight spots with a clean toothbrush, tickling out grime like a tiny sensor masseuse.
Your robo-friend will see clearly again—and stop treating walls like hug buddies.
Avoid These Sensor Cleaning Mistakes
While your robot vacuum dreams of spotless floors and obstacle-free paths, a few cleaning blunders can throw its high-tech senses into chaos—so let’s make sure you’re not accidentally turning a simple wipe-down into a tech tragedy.
Skip the harsh chemicals—alcohol or window cleaner might seem tough on grime, but they’ll wreck your lidar dome or corrode sensors over time.
Don’t press too hard; smashing the cliff or bumper sensors can misalign them or send false alarms.
Always check the manual—cleaning a Roomba isn’t the same as cleaning a Roborock, and melamine foam might leave more mess than magic.
Use the right tools: dry cloths for cliff sensors, microfiber for lenses, soft brushes near suction areas.
And don’t just clean sensors—check wheels, bumpers, and docking sensors too.
A little care goes a long way in keeping your robo-pal smart and steady!
How Often to Clean for Best Performance?
How often should you really be wiping down those clever little sensors?
It depends on how much you use your robot vacuum and what your home throws at it.
If you run it daily, weekly cleaning keeps it smart and collision-free.
Use it less?
Every two to four weeks works.
Pets, dust, and carpets?
You’ll need to clean more often—those furballs love to prank your sensors.
Check your model: some, like the DEEBOT T20 OMNI, need weekly wipe-downs, while others can wait a month.
- Picture your robot dodging dog toys like a pro, sensors shiny and alert
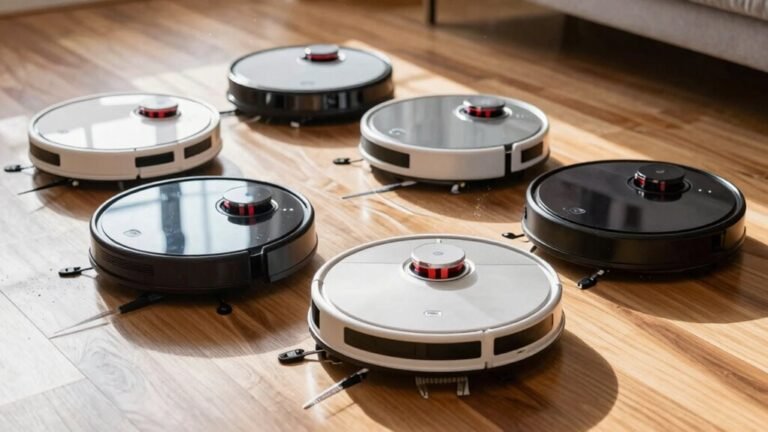
- Imagine it gliding over hardwood, never missing a dusty corner
- See it avoiding the dreaded red blink—no panic cleanups needed
- Envision it mapping your whole home smoothly, no confused spins or stuck moments
Frequently Asked Questions
Can I Use Alcohol Wipes to Clean My Robot Vacuum’s Sensors?
No, you shouldn’t use alcohol wipes on your robot’s sensors—they can damage delicate lenses and coatings.
Stick to dry, lint-free microfiber cloths instead; they’re gentle and effective.
For stubborn grime, lightly dampen the cloth with water or screen cleaner, but never spray directly.
Use compressed air for tight spots, and always unplug the robot first.
Think of it like cleaning glasses—tough on dirt, tender on surfaces!
What Should I Do if My Vacuum Still Malfunctions After Cleaning?
You’ve cleaned everything, but it’s still acting up? No worries, it happens!
Start by restarting the vacuum—just power it off for 10 minutes, like giving it a quick nap.
Then, check for sneaky error codes in the app and update the firmware.
If it keeps misbehaving, odds are it needs a pro’s touch—contact support, or book a service.
Sometimes, even robots need a little extra help!
Are Sensor Issues Covered Under Warranty for Robot Vacuums?
Nope, sensor issues usually aren’t covered unless it’s a factory defect.
You’re expected to keep them clean—dust, grime, and gunk build-up?
That’s on you.
Scratched sensors from rough handling or using harsh cleaners? Yep, that voids the warranty too.
Follow the manual, use a soft cloth, and treat those sensors like your phone screen—gentle wins the race!
Can Dust on Sensors Damage Other Parts of the Vacuum?
Yeah, dust on sensors can totally wreck other parts of your vacuum.
You’re not just risking confused navigation—grime-covered sensors make your bot bump into stuff, strain motors, and overwork the battery.
It’s like sending your vacuum to work blindfolded!
Debris spreads, filters clog, and before you know it, everything’s working harder than it should.
Keep those sensors clean, and you’ll save your bot—and your sanity!
Is It Safe to Clean Sensors While the Vacuum Is Charging?
Nope, you’re better off not cleaning sensors while your vacuum’s charging—unplug it first, just to be safe.
Power’s still humming inside, and you don’t want any nasty shocks or slips.
Think of it like brushing your teeth while toasting bread—possible, but risky!
Turn it off, unplug, then gently wipe sensors with a dry microfiber cloth.
Your robot—and your fingers—will thank you!
Conclusion
You’ve got this! Clean sensors keep your robot vacuum smart and scampering, not stuck. Did you know, 78% of robot vacuum issues are dirty sensor-related? Just wipe gently with a dry, soft cloth—no harsh chemicals! Think of it like giving your robot a quick spa moment. Keep it up weekly, and you’ll dodge frustrating meltdowns. Your robo-helper will glide smoothly, avoid shoes, and impress you every sweep. Who knew robot parenting was this fun?
References
- https://www.ecovacs.com/us/blog/robot-vacuum-camera
- https://www.dreametech.com/blogs/blog/robot-vacuum-with-camera
- https://us.narwal.com/blogs/robot-vacuum/obstacle-avoidance-sensors
- https://yorlenyscleaningservice.com/tips/ai-powered-cleaning-the-future-of-home-care/
- https://www.youtube.com/watch?v=f8wdri2DpEY
- https://www.ecovacs.com/us/blog/how-to-clean-robot-vacuum-sensor
- https://us.narwal.com/blogs/product/robot-vacuum-sensor-maintenance-guide
- https://www.youtube.com/watch?v=nAxta_PuuEg
- https://www.youtube.com/watch?v=kDl2tWlfdeM
- https://theuvcare.com/products/uv-care-smart-robot-vacuum-with-camera-visual-navigation-sensor