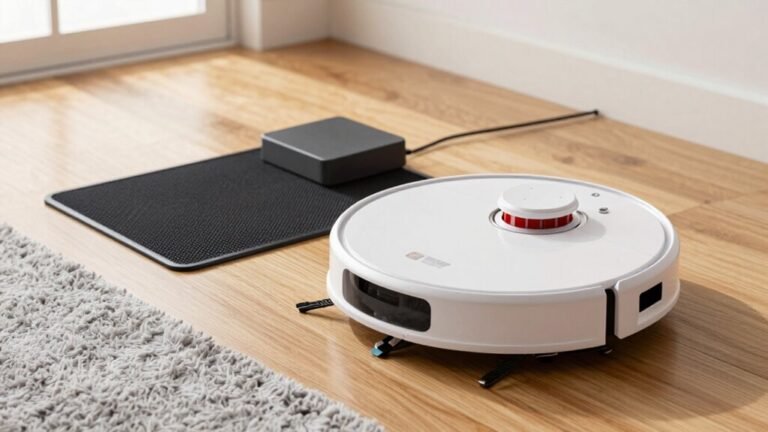
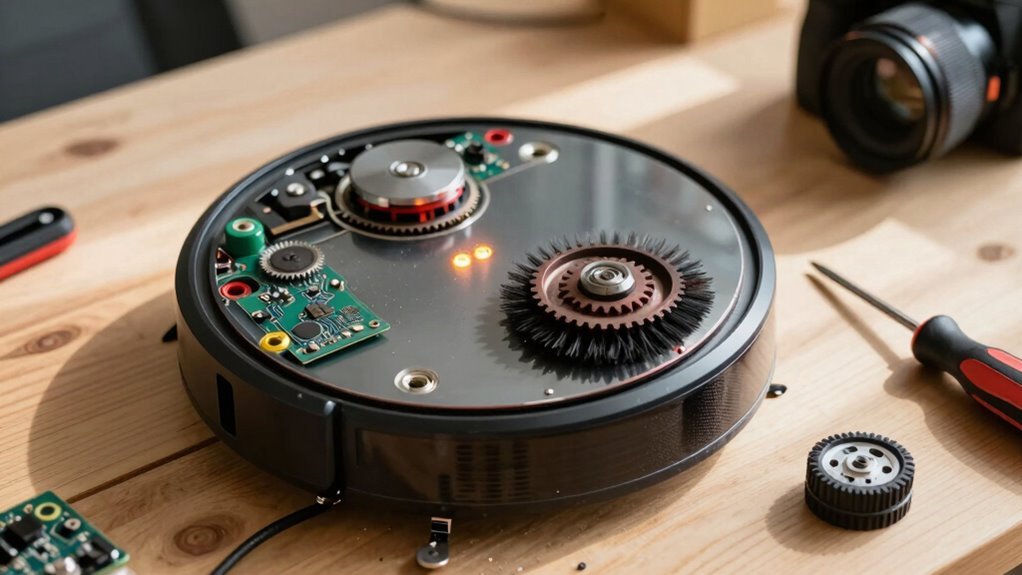
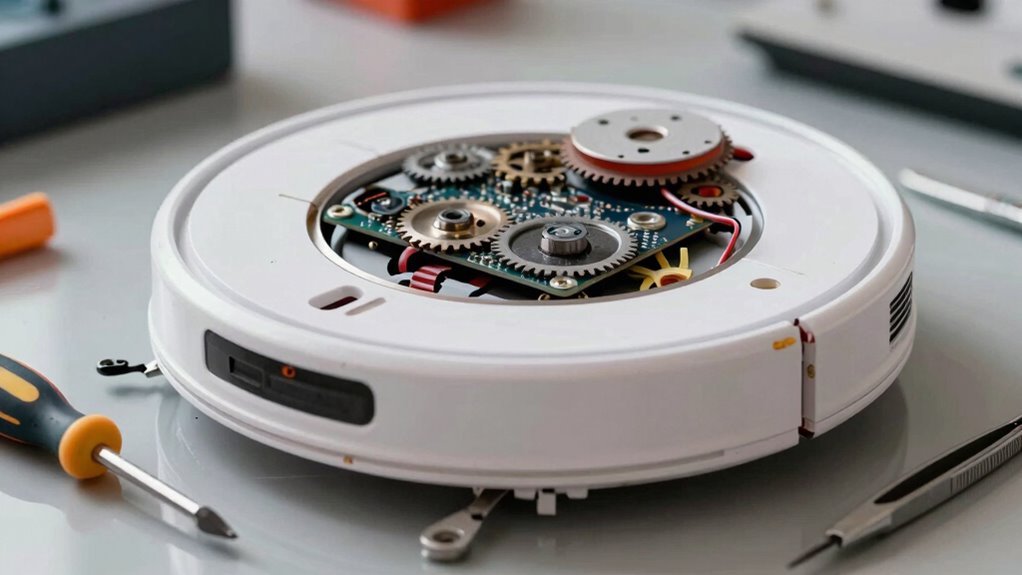
DIY Robot Vacuum Repair: What Can You Fix Yourself?
You can fix a lot of common issues with your DIY robot vacuum repair—clean sensors, clear hair from brushes, and unclog filters in just minutes. These simple maintenance tasks keep your robot vacuum running smoothly and efficiently.
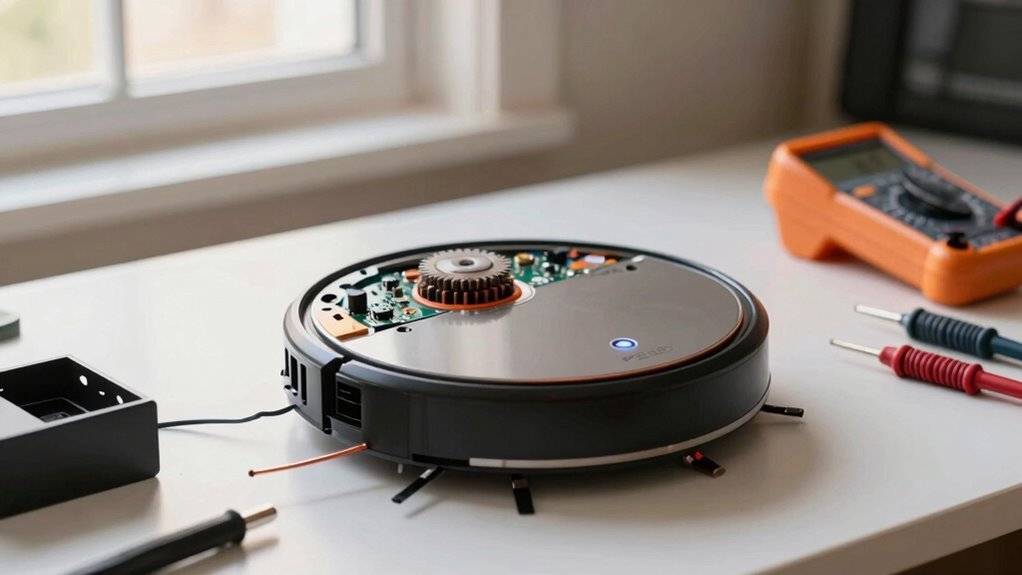
Check charging contacts and reset settings if your robot isn’t powering up or returning to dock. For older models, swapping in a fresh battery can deliver an instant performance boost.
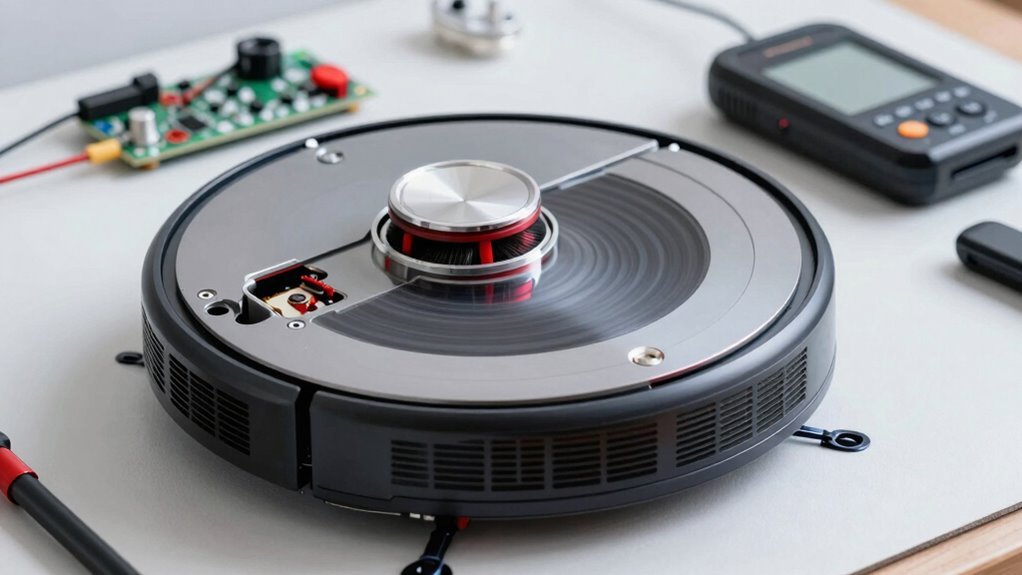
Worn wheels? Replace them to improve navigation and traction. Weak suction? A quick clean of the filter and brush roll often restores full power.
Most DIY robot vacuum repair jobs are easy, affordable, and much faster than buying a new unit. With a little effort, you’ll extend your robot vacuum’s life and save money.
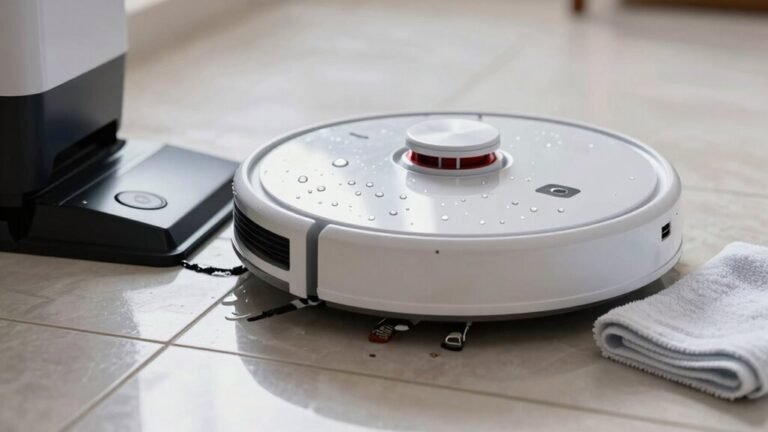
5 Signs Your Robot Vacuum Needs Repair
If your robot vacuum suddenly acts like it’s lost its way—spinning in circles, getting stuck in corners, or taking a nap in the middle of the living room—it’s probably trying to tell you something’s up.
Maybe it’s skipping spots, making weird beeping sounds, or suddenly refusing to charge—yep, even robots throw tantrums.
If the dustbin’s full but it’s still sucking like a sleepy straw, or the brushes are wound up with hair like a bad perm, it’s begging for help.
You might even catch it dodging dirt like it’s playing tag.
Dirty sensors, clogged filters, or tangled wheels could be the sneaky culprits.
And if it’s louder than a popcorn machine or keeps derailing like a lost train, don’t panic—just pay attention.
These quirks aren’t magic tricks; they’re repair alerts.
Your little robo-friend isn’t broken, it’s just saying, “Hey, I need a hand!”
It may also fail to charge due to dirty connections, so make sure to clean the charging contacts regularly.
How to Diagnose Robot Vacuum Problems Fast
Ever wonder why your robot vacuum’s acting more confused than a squirrel in a maze? Don’t panic—you can quickly diagnose common issues with a few simple checks. Start with sensors, brushes, bumpers, and wheels since most glitches live there. Clean sensors with a dry cloth, untangle brushes, and make sure wheels spin freely. Use the app to test sensors or reset settings if things still seem off. Battery health plays a key role in performance, so ensure it’s properly charged and not deteriorating over time. Here’s a cheat sheet:
| Problem Area | Quick Fix |
|---|---|
| Sensors | Wipe clean, recalibrate via app |
| Brushes | Remove hair, check for damage |
| Bumper | Tap sides, clean trapped debris |
| Wheels | Clear obstructions, test swivel |
Spot the symptom, match the fix, and get your little robo-helper back on track in minutes. You’ve totally got this!
Fix a Robot Vacuum That Won’t Charge
While your robot vacuum might pretend it’s playing dead, chances are it just needs a little nudge to start charging again—and you’re already halfway to fixing it just by being here.
Before you panic, run through these quick checks:
- Clean the contacts – Wipe the metal charging points on both the robot and dock with a dry cloth, or use a bit of melamine foam if they’re grimy. Dust love to hide there!
- Check the connection – Make sure the power cord’s snug at both ends, the outlet works, and the robot is docked straight with a happy little beep.
- Reset and retry – Restart the system with a button reset, update the firmware, or swap outlets—sometimes sparks just need the right vibe.
If it still won’t charge, peek at the battery for puffiness or age. Most fixes are simple—and you’ve totally got this!
Clear Hair Wrap From Brushes in 5 Minutes
Grab your scissors and roll up your sleeves—your robot vacuum’s brush roll is about to get a much-needed haircut!
First, turn it off and unplug it—safety first, right?
Flip it upside down, then remove the bottom plate by unscrewing screws or popping tabs.
Gently pull out the brush roll.
Now, grab scissors or a seam ripper and slide it along the roller, slicing trapped hair like you’re buttering toast.
Don’t yank—cut first, then pull.
Use tweezers for sneaky strands hiding near the ends.
Check grooves and caps, wiping dirt with a damp cloth.
Let it dry completely—no showering your robot!
Slide the clean brush back in, snap the cover shut, and secure the screws.
Power it on and listen: that smooth spin means success.
Five minutes, no more hair tangles, and your vacuum’s back in action—looking *almost* as good as new!
Boost Weak Suction With a Deep Clean
Now that you’ve kicked hair tangles to the curb and your brush roll spins like it’s on a dance floor, let’s turn up the power—because weak suction doesn’t stand a chance!
Bring back that showroom-level suck with a few smart tweaks:
- Clean or replace the filter – a clogged filter chokes airflow, making even 20,000 Pa feel like a puff of wind. Rinse it (if washable) and let it dry fully before reuse.
- Turn on Carpet Boost in your app – let your robot go full beast mode on rugs. Just make sure you’re not stuck in Quiet mode; Max or Max+ is where the magic happens.
- Inspect the ducts and dustbin chamber – a crumb highway ends here! Clear any gunk trapping airflow, because smooth tunnels mean strong suction.
Boom—your robot’s breathing easy and cleaning hard, like it just had a green juice cleanse!
Replace Worn Wheels and Moving Parts
Roll up your sleeves—your robot’s wheels are due for a serious upgrade!
Flip it over, power it off, and start unscrewing—most models just need a few Phillips head twists to expose those tired wheels.
Whether you’re wrestling with Roomba’s snug modules or Roborock’s sneaky screws, take your time.
Pop out worn treads and slip on fresh rubber like giving your bot new shoes.
For the s9+, don’t forget to tuck those springy ligament plugs back in—they love to escape!
Caster wheel acting wonky? Yank it out (no tools needed!), clean the gunky axle with a brush or tweezers, then click it back in like a Lego brick.
Feed wires neatly along the chassis so nothing snags mid-clean.
A full module swap takes 30–45 minutes and costs around $112, but wow—your robot will glide like it’s on ice.
Seriously, it’s the easiest glow-up your vacuum will ever get!
Reset Your Robot Vacuum After Errors
You’ve given your robot vacuum a fresh pair of kicks, and it’s rolling smoother than ever—now let’s make sure its brain is just as sharp.
When your robo-helper acts up, a quick reset can clear glitches and get it back on track. Think of it like rebooting a quirky smart assistant who just needs a moment to chill.
- Try a soft reset: Hold Home and Clean (or power) for 10 seconds until it beeps—like saying “take a deep breath” in robot language.
- Go full factory reset if that fails: Use a paperclip in the reset hole, or follow app prompts, wiping the slate clean.
- Reconnect via the app: Reboot Wi-Fi, log back in, and re-set schedules—like teaching an old dog new, or restored, tricks.
Just remember: charge it first, press firmly, and don’t panic if it blinks weirdly. It’s not mad… probably.
Replace a Dead Robot Vacuum Battery
If your robot vacuum’s been acting like it needs a nap after just five minutes of work, chances are its battery’s had enough—good news is, swapping it out is easier than teaching your dog to fetch.
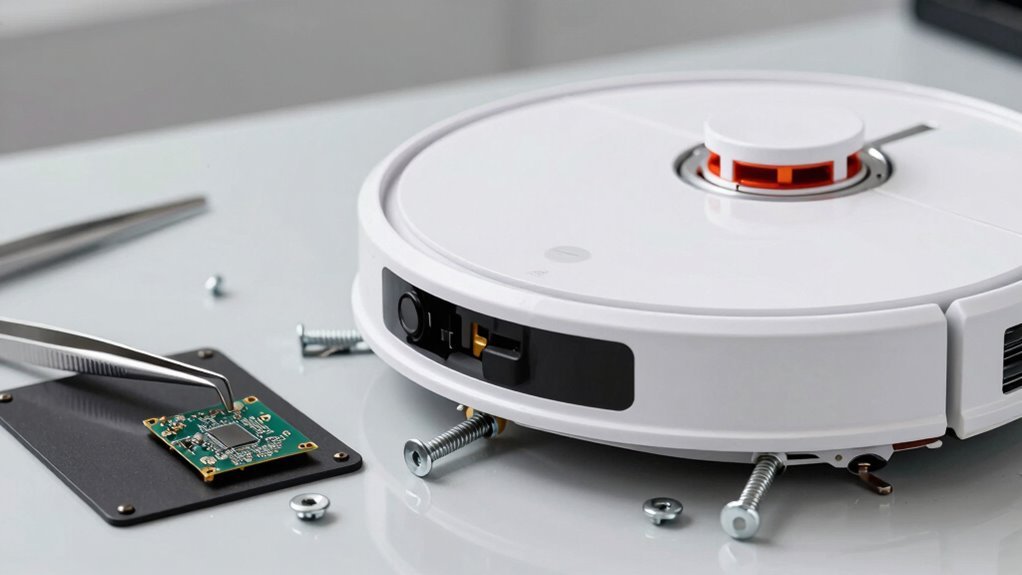
Flip the vacuum over, grab a Phillips screwdriver, and remove the bottom plate—most models take less than five minutes.
Pull out the old battery using the built-in strap, then click the new one into place with a satisfying snap.
You can even upgrade to a 4,000 mAh battery for longer cleaning sessions.
Just seal it back up, reattach the brush, and boom—your robot’s ready to party all the way through the living room again.
Brands like Roborock, Roomba, and Wyze all make it simple, and YouTube’s full of quick guides.
With fresh power, you’ll boost suction, extend runtime, and keep your trusty bot cleaning strong—no tech degree needed.
When DIY Robot Vacuum Repair Isn’t Worth It
While your robot vacuum might feel like a loyal sidekick, there comes a time when playing DIY mechanic just isn’t the smartest move—especially when you’re sinking more cash into fixes than you’d into a shiny new model.
Let’s be real: some issues scream “retire me.” Before you delve into tiny screws and confusing circuits, consider these signs it’s time to hang up the toolkit:
- Repair costs hit over 50% of a new unit’s price—hello, false economy!
- You’re battling persistent brain glitches, like failed mapping or constant error codes, no matter what you fix.
- It’s older than three years, constantly breaks, and sucks less than your old toaster.
Your time, frustration, and floor cleanliness matter.
Sometimes, upgrading isn’t giving up—it’s finally winning.
Let the robot revolution reboot with a brand-new helper that actually *helps*.
Frequently Asked Questions
Can I Upgrade My Robot Vacuum’s Software Myself?
You can definitely upgrade your robot vacuum’s software yourself—it’s easier than teaching it to avoid your socks!
Just open the manufacturer’s app, check for updates, and make sure your robot’s charged and docked.
Keep your Wi-Fi strong, tap install, and let it work its magic.
No tech degree needed, though a little patience helps.
Boom—your vacuum’s suddenly smarter!
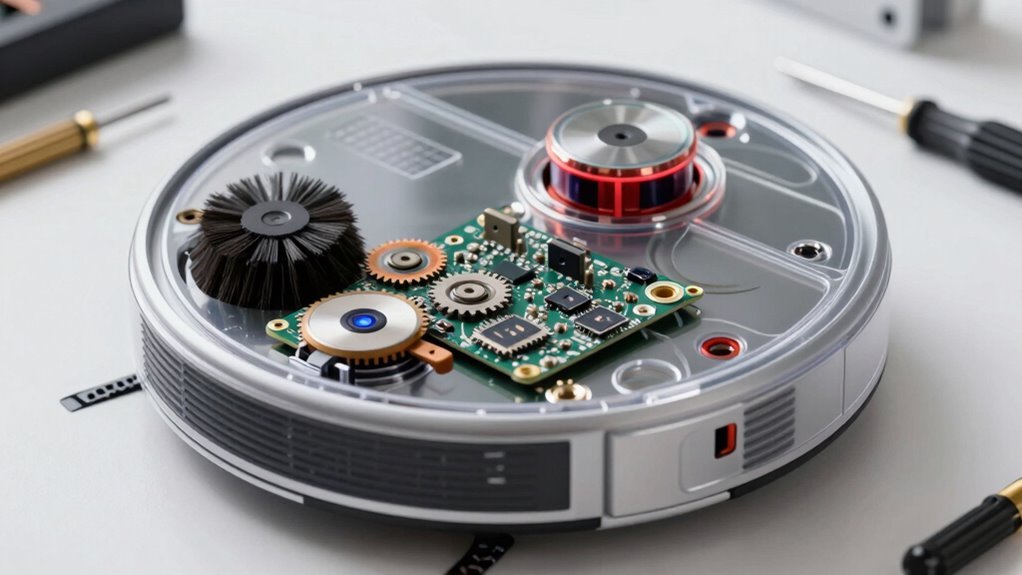
Is It Safe to Open the Robot Vacuum Myself?
No, you shouldn’t open your robot vacuum—it’s not like a toy box from your childhood.
It’s packed with lithium batteries that can spark or catch fire if poked, plus hidden energy in springs and caps.
You’d risk shocks or worse, and poof! There goes your warranty.
Stick to safe, simple fixes—like cleaning brushes or updating software—unless you fancy a fiery surprise.
Leave the guts to the pros and keep the magic inside, okay?
How Do I Clean the Sensors on My Robot Vacuum?
You clean the sensors?
Oh, sure, just blindfold your vacuum and expect it to find its way—kidding!
You gently wipe each sensor with a dry microfiber cloth, use compressed air for tricky spots, and check all six cliff sensors.
Skip harsh chemicals, never drench the cloth, and definitely don’t skip weekly cleanings—your robot’s “eyes” will thank you with every bump-free pass.
Can I Use Non-Branded Replacement Parts Safely?
You *can* use non-branded parts, but you’re playing vacuum roulette—some work fine, others leak dust or wear out fast.
Off-brand filters might skimp on cleaning power, and wonky brushes can mess with performance.
Sure, they’re cheaper upfront, but you might end up sneezing more than saving!
For best results, stick with trusted brands—or pick third-party picks carefully.
Your robot (and lungs) will thank you!
What Should I Do if My Robot Vacuum Overheats?
Turn it off and unplug it right away—you’re saving your vacuum from a meltdown!
Let it chill for 30–60 minutes; give it a little vacay from cleaning.
Check for clogs in the filter, brush roll, and hoses—dust bunnies love to party in there.
Empty the bin, clean the filter, and make sure airflow’s smooth.
If it still overheats, it’s time to call in the pros—your little robot’s had enough drama for one day!
Conclusion
You’ve got this, just like untangling headphones on the first try! With a little grit and these handy fixes, your robot vacuum can bounce back to life. From clearing gunk to a full reboot, you’ve learned quick wins that save time and cash. Celebrate the small victories—every hair-free brush and fresh battery spark adds up. Keep calm, clean on, and laugh when it bumps into the cat. Who knew dirt battles could be this fun?
References
- https://techsalesonline.com.au/blogs/articles/common-robot-vacuum-problems-and-how-to-fix-them-yourself
- https://au.narwal.com/blogs/product/common-robot-vacuum-issues
- https://www.robotspecialist.com.au/blogs/news/troubleshooting-common-robot-vacuum-issues
- https://www.dusti.au/blog/common-problems-with-robot-vacuums
- https://www.ecovacs.com/us/blog/why-does-my-robot-vacuum-keep-stopping-troubleshooting
- https://www.youtube.com/watch?v=Oe0UzYn0xbA&vl=en-US
- https://ca.mova.tech/blogs/cleaning-tips/how-to-easily-fix-robotic-vacuum-common-problems
- https://www.youtube.com/watch?v=v9e7XuSz1r0
- https://support.dreametech.com/hc/en-us/categories/10376685331983-Troubleshooting
- https://support.sharkninja.com/article/RV1000-Series-Shark-IQ-Robot-Vacuum-Troubleshooting-Guide