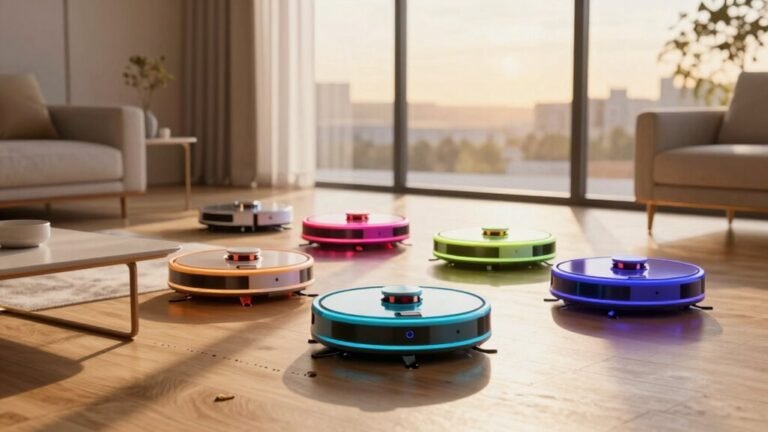
Setting Up Your Robot Vacuum for the First Time
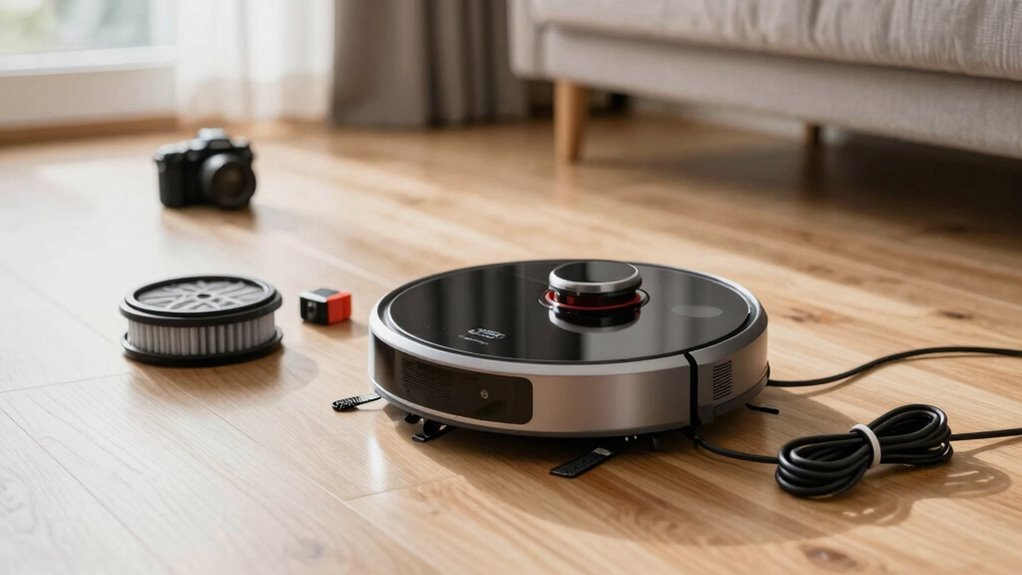
Unbox your robot vacuum and check all the parts—don’t forget the side brush hiding in the corner! Set up the charging dock against a clean, flat wall with space in front and on the sides.
Plug the charging dock into a power source and place your robot vacuum on it to begin the first charge. This initial charge takes longer, so let it fully power up before use.
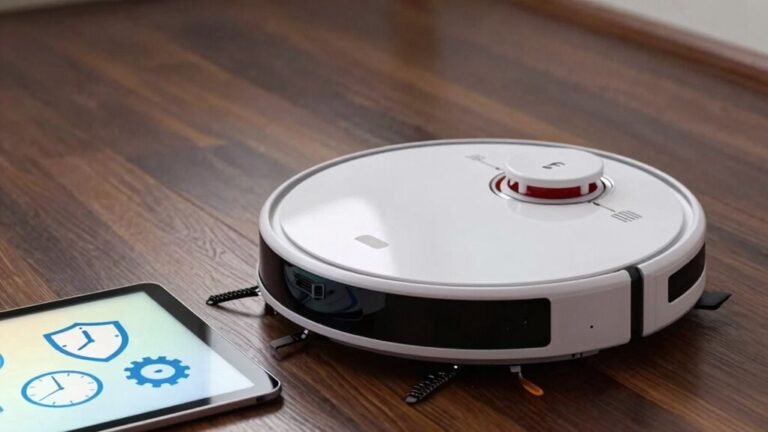
Download the companion app, connect your robot vacuum to Wi-Fi, and give it a name to complete setup. Once linked, your robot vacuum is ready to start mapping your home and navigating around obstacles like stray socks.
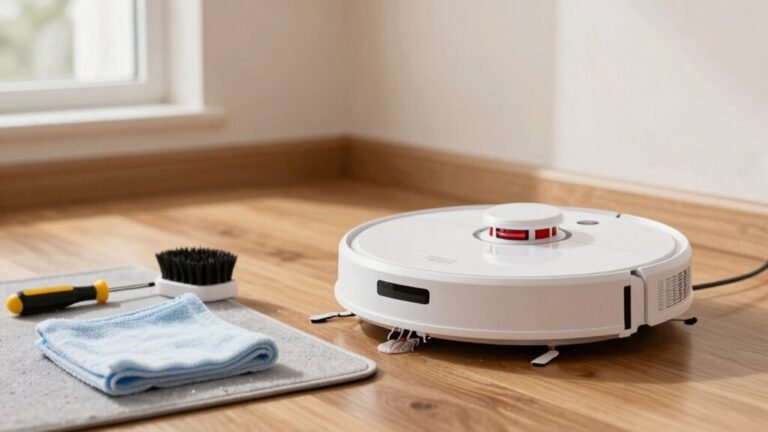
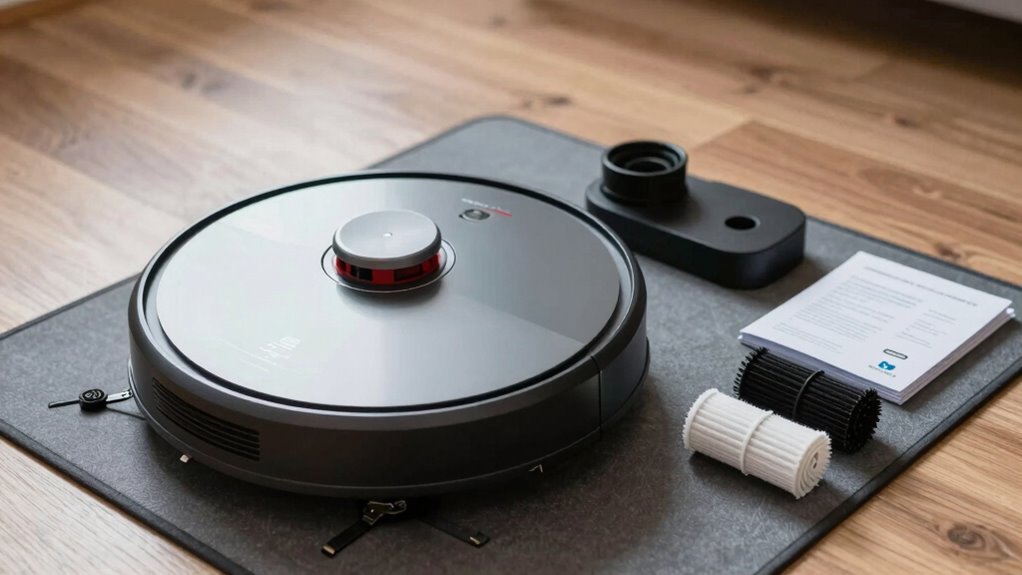
Unbox and Check All Parts
Go ahead and tear into that box like it’s your birthday—you’ve got a robot friend to meet!
Lift out the sleek, shiny vacuum unit, and give it a once-over: check the bottom for wheels and that clever side brush ready to scoot into corners.
Pop open the dustbin—it should slide out easily—so you can peek at the filter and get a feel for how much dust it can hold.
If you’ve got a mop model, grab those two water tanks: one’s for clean solution, the other collects the yucky stuff.
Don’t forget the mop pads and cleaner concentrate—they’re likely tucked in a side pocket.
Hunt through the packaging for the power cable and manual, because, hey, even smart robots need a little guidance.
Everything there? Perfect—now you’re set to bring this little buddy to life! The separate clean and dirty water tanks help maintain hygiene during mopping, with the separate clean water tank ensuring fresh water is used throughout the cleaning process.
Set Up the Charging Dock
Now that you’ve met your new robot pal and made sure all its parts are accounted for, it’s time to give it a home base—because even cleaning bots need a place to kick back, recharge, and dream of dust bunnies.
Pick a spot against an interior wall on a hard, level surface—no fluffy rugs!
Clear 3–5 feet in front and about 1.5 feet on each side so your bot can zoom in and out smoothly.
Avoid corners, doors, or clutter that block its path or mess with its signal.
Keep the dock away from thick walls, metal objects, and sunlight, and plug the cord in securely.
That little light on the dock? It should glow steady to say, “I’m ready!”
If you’ve got a mopping model, use a water-resistant mat.
And remember, location matters—keep it central, visible, and always accessible so your robot never loses its way home.
Ensure there is a docking zone with at least 31.5 inches of clearance in front of the station to allow smooth docking.
Charge Your Robot Before First Use
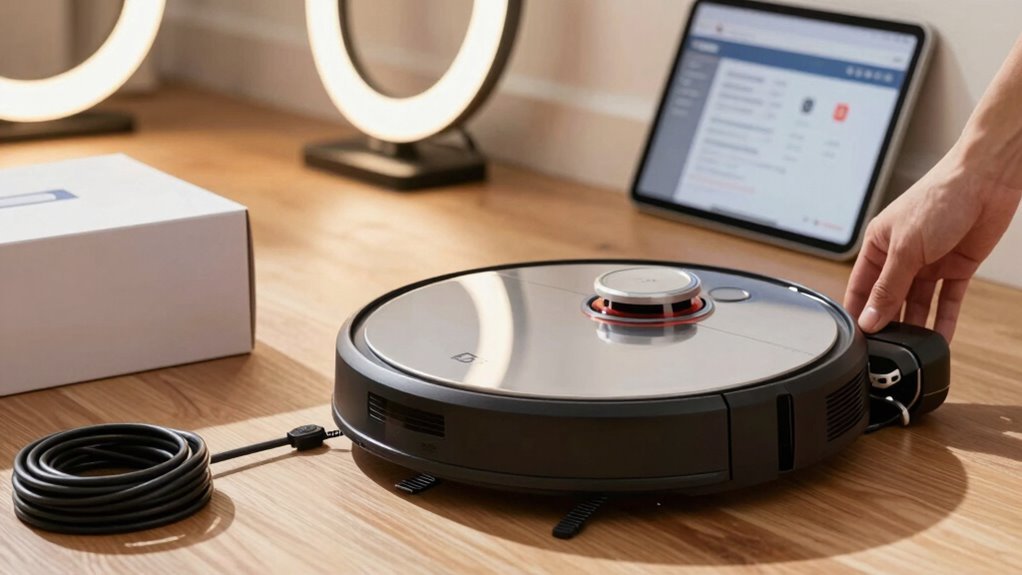
Getting your robot vacuum ready to roam starts with a solid charge—think of it as giving your new cleaning sidekick a hearty breakfast before sending it off to battle dust bunnies.
Plug it in right away, since most models need 2–3 hours to fully charge, though some recommend up to 16 hours for that first big energy drink.
Modern lithium-ion batteries won’t overcharge, so you’re safe leaving it docked.
Watch for the solid green light or app alert—your cue that it’s raring to roll.
Just make sure the charging contacts are clean and aligned, and remove any protective film first.
- Your robot’s keen to impress—give it the power to shine
- A full charge means longer cleanings and fewer naps mid-job
- That little beep when it docks? Pure robot happiness
Install the App and Create an Account
Download the right app, and you’re already one step closer to a smarter, lazier—uh, *easier*—cleaning life.
Grab your phone, check the manual or packaging, and find your robot’s exact app—like Roborock or iRobot Home.
Don’t wing it; make sure it’s the real deal from the official maker.
Use the QR code if you can—it’s a shortcut genius would envy.
Confirm your phone’s got space, internet, and OS vibes with the app.
Then, create an account using your email or number, pick a strong password (no “123456” drama), and verify it.
The app might ask for Bluetooth, location, or camera access—say yes when needed.
It’s not spying; it’s just trying to help.
Finally, hit “Add Device,” pick your model, and get ready to pair.
You’ve got this!
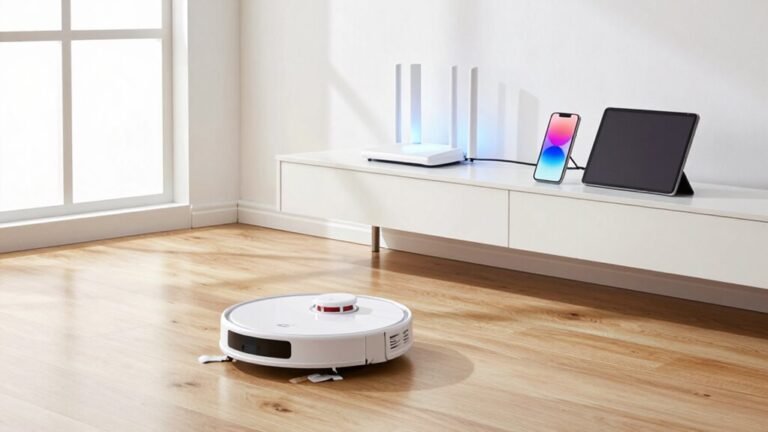
Connect to Wi-Fi and Pair the Robot

Why settle for a smart robot that doesn’t know your Wi-Fi password? Get it online and enable voice controls, scheduling, and app commands that make cleaning a breeze.
First, confirm your phone’s on the 2.4 GHz network and Bluetooth’s enabled—most robots need both to pair. Put your robot on the dock with a full charge, then activate pairing mode by holding the Wi-Fi button till you hear a chime or see a flashing light. Your app will guide you to connect either through the robot’s temporary hotspot or via Bluetooth. Enter your Wi-Fi password carefully, and watch as your robot pings home. Once it’s online, it’ll show up in the app like magic.
- Feel the pride of your robot buzzing to life, ready to obey your every command
- Savor the relief of never chasing it around with manual controls again
- Spark joy when it waves hello from the app, fully connected and ready to clean
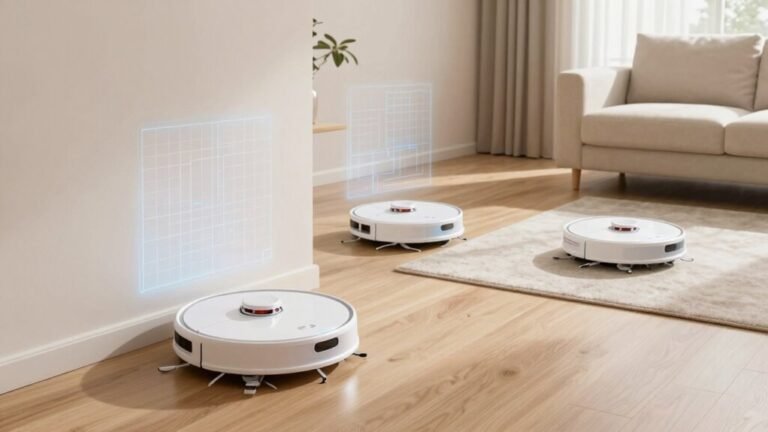
Let It Scan Rooms and Set No-Go Zones
Mapping your home doesn’t have to feel like teaching a robot to read a mind—it just needs a clear path and a little time to learn the lay of the land. Let it run fully during its first clean, so it maps every room accurately. Keep doors open, floors clear, and lights on so it doesn’t get confused by shadows or toys. Most robots use LiDAR or cameras to build a smart map, which helps them avoid your cat’s water bowl or that wobbly chair leg.
Once mapped, you can draw no-go zones right on the app—perfect for keeping it away from messy pet areas or fluffy rugs.
| Feature | Why It Helps | Pro Tip |
|---|---|---|
| Full first run | Builds complete map | Don’t pick it up mid-clean! |
| No-go zones | Protects sensitive spots | Use for cords or play mats |
| Room labels | Clean specific areas | Say “Clean the kitchen!” aloud |
Schedule Your First Daily Clean
Once your robot has gotten the lay of the land, it’s time to put it on autopilot—because let’s be honest, who doesn’t love coming home to clean floors without lifting a finger?
Using the app, pick a daily time when the house is quiet—maybe midday while you’re at work or school—to avoid little feet, tossed toys, or dinner messes.
Choose medium suction for everyday upkeep, focus on high-traffic zones like the kitchen or living room, and sync the schedule with your time zone so it doesn’t start cleaning at 3 a.m. by mistake.
You can even set it to skip mopping on daily runs or work around dog walks and deliveries.
- Imagine walking into a spotless home every day—with zero effort
- Feel the pride of a robot that cleans *your* way, *your* schedule
- Laugh as it dodges socks you forgot to pick up—again
Run a Full Cleaning Cycle
While your robot’s been learning the lay of the land, it’s probably been itching to show off what it can do—so now’s the moment to hit start on that first full cleaning cycle and let it strut its stuff.
Clear the floor of toys, cords, and clutter, open doors, and block off tricky spots like pet bowls or frizzy rugs.
Make sure your dock’s in a clear, cozy corner so your little robo-friend can go home when it’s done.
Pick full-area cleaning mode, choose balanced suction, and let it vacuum every inch—edges, corners, and all.
Keep an eye on it, but don’t help! Let it learn the map, even if it gets a little lost.
Expect it to take 20–40 minutes, depending on your pad’s size.
When it finishes, it should zoom back to dock and recharge like a pro.
Afterwards, empty the bin, check for hair tangles, and give the filter a quick tap—your robot’s ready for round two!
Frequently Asked Questions
How Often Should I Clean the Robot’s Sensors?
You should clean your robot’s sensors about once a month, but if you’ve got pets or dusty floors, bump that up to every 1–2 weeks.
Think of it as a quick spa wipe—your bot’s “eyes” stay sharp and it won’t crash into furniture like a confused turtle.
Wipe gently with a soft, dry cloth, avoid harsh sprays, and never let it charge while damp.
A tidy sensor means happy navigation, reliable docking, and fewer meltdowns near the stairs—yes, it judges your mess.
Can I Use Multiple Robots With One App?
You bet you can run multiple robots with one app—imagine conducting your own tiny robot orchestra!
Most brands let you add several bots to a single account, each with their own maps and schedules.
You’ll connect them one by one to Wi-Fi, then bam, control them all like a smart home maestro, no tuxedo required.
Just remember, not all features sync perfectly, but hey, nobody’s perfect, right?
What Surfaces Should I Avoid Vacuuming?
You should skip high-gloss hardwoods, unsealed wood, and soft stone like marble—they scratch or etch easily.
Avoid shag rugs, loose carpets, and delicate silk ones too; they tangle or get damaged.
Steer clear of steep slopes, cracks, and loose tiles—your robot might trip or get stuck.
And definitely dodge wet spots or cords on the floor—nobody wants a soggy vacuum or a tangled mess!
Is It Safe to Use on Wet Floors?
Nope, you’re playing with fire—well, water—if you send your robot on wet floors.
It’s not built to swim, and soggy floors can fry its insides like a dropped phone in the toilet.
Even damp spots can muck up sensors or spread gunk.
Unless it’s a mopping model with a license to damp, keep it dry.
Think puddle-free pavement, not splash zone.
Your robot’s a champ at dust, not dish duty!
Can I Replace the Battery Myself?
You can replace the battery yourself—if your model allows it.
Check the manual first, ’cause some bots are DIY-friendly while others aren’t.
If it’s got a screw-off bottom, you’re golden: just unplug the old pack, pop in the new one, and you’re back in business.
But skip third-party batteries; they’re like knockoff chargers—risky and weird.
Oh, and don’t void the warranty accidentally—wouldn’t that be a plot twist?
Conclusion
You’ve unboxed, charged, and connected your robot buddy—now it’s ready to roll! Think of it like a tiny, tireless janitor with a map, zipping through your home like a bee in a garden. Set your schedule, tweak the zones, and let it hum along while you kick back. Congrats, you just upgraded your cleaning game—no cape needed!
References
- https://www.youtube.com/watch?v=VJLJLw80_K8
- https://www.youtube.com/watch?v=kJpoCD2fjgY
- https://www.youtube.com/watch?v=6TwcMgcCUoI
- https://www.youtube.com/watch?v=kiNTlpbDjVE
- https://us.roborock.com/blogs/blog/checklist-how-to-choose-the-right-robot-vacuum-for-your-home
- https://www.youtube.com/playlist?list=PLozXHfHO7ykYuwk3UbvLiDSr7qXFivduR
- “>https://www.sscok.edu/Tour/seminole/tour.html?pano=data:text/xml,
- https://support.dreametech.com/hc/en-us/articles/13207133618191-Dreametech-Robot-Vacuum-and-Mop-Packaging-Operation-Guide
- https://www.ecovacs.com/us/blog/how-to-set-up-robot-vacuum
- https://www.youtube.com/watch?v=3nFHJO5rfBk