How to Connect Your Robot Vacuum to WiFi
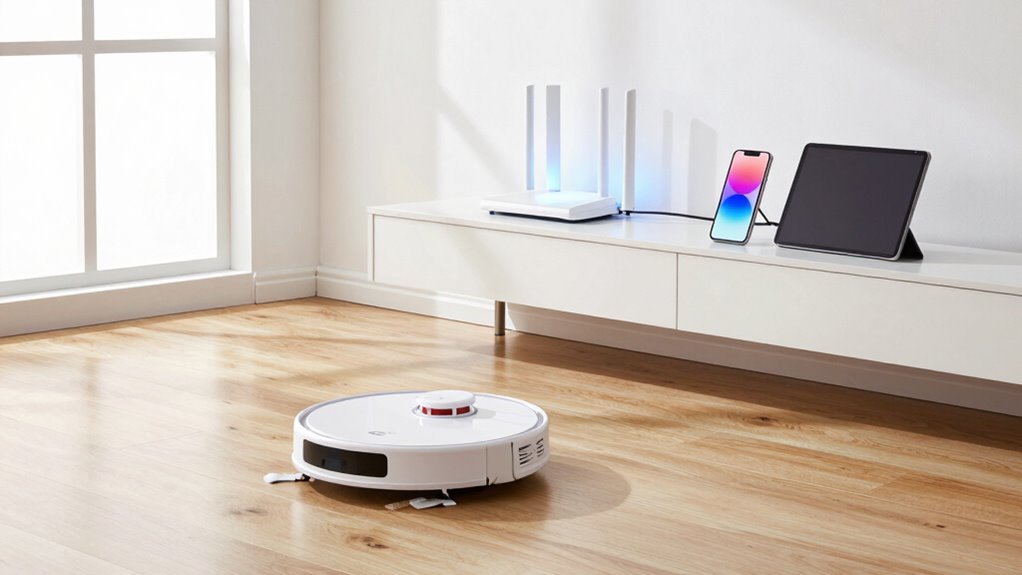
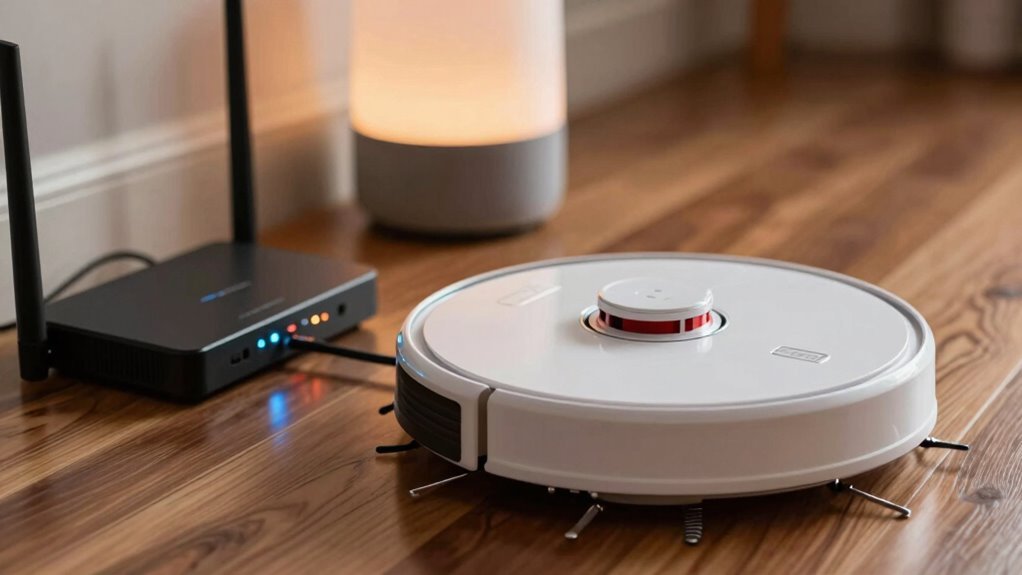
First, make sure your phone and robot vacuum are connected to the same 2.4 GHz Wi-Fi network—5 GHz won’t work. This step is essential for successfully connecting your robot vacuum to WiFi.
Download the official app for your robot vacuum model and open it on your phone. Make sure your vacuum is powered on before proceeding.
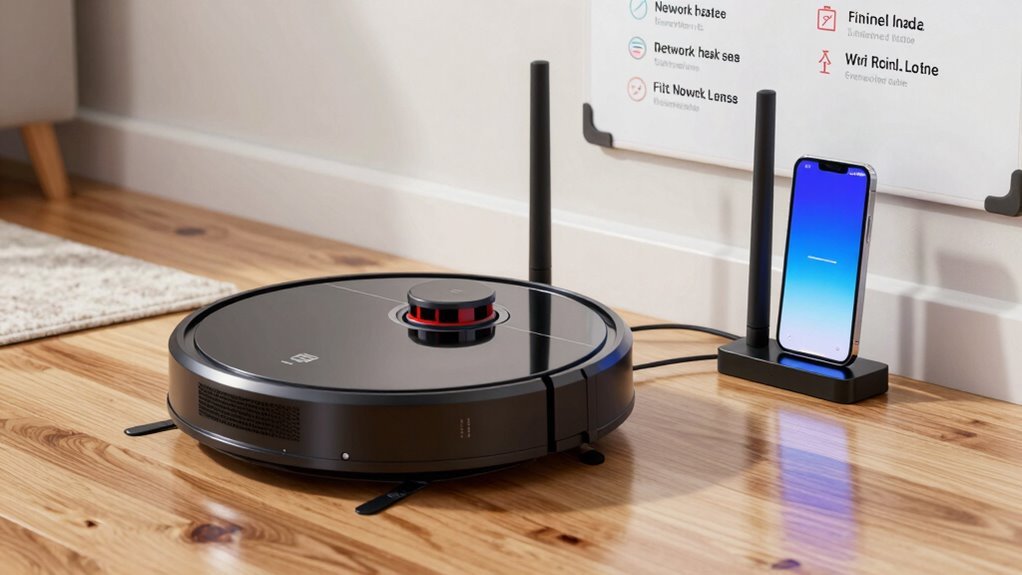
Press and hold the Wi-Fi button on the vacuum until it beeps, indicating it’s in pairing mode. Follow the in-app instructions to connect your robot vacuum to WiFi by selecting your network and entering the correct password.
If the connection fails, try restarting your router or moving the vacuum closer to the router. We’ve got tricks to help your robot vacuum connect to WiFi for good.
Check WiFi and App Requirements for Setup
So, ready to get your robot vacuum online and doing its thing?
First, double-check your WiFi—most bots only speak 2.4 GHz, so if your router’s playing hard to get with a mixed 5 GHz network, it might ignore your vacuum completely.
Yep, even if your phone zips along on 5 GHz, your robo-cleaner probably can’t.
Make sure your router’s broadcasting that sweet, steady 2.4 GHz signal using WPA2 and common standards like 802.11n.
Skip guest networks or hotel-style logins—they’re party poopers.
While you’re at it, verify your phone runs a recent OS and is on the same network, ’cause mismatched bands or ancient software can throw a wrench in the works.
Keep your phone close to the router during setup—no marathon calls across the house!
Oh, and grant those app permissions; your vacuum’s not sneaky, but it does need access to do its job.
2.4 GHz vs. 5 GHz is key—many robot vacuums won’t connect to 5 GHz networks, so confirming your network band prevents setup headaches.
Now, let’s get it talking!
Install and Set Up the App
Once you’ve got your WiFi sorted, it’s time to bring your robot vacuum to life—starting with the app that’ll be its brain and your remote control.
Grab your phone, hop on the App Store or Google Play, and search for your vacuum’s official app—don’t get tricked by imposters!
Make sure the developer matches the brand, like Roborock or iRobot, and check that your phone meets the system requirements.
Download it over WiFi so you’re not stuck staring at a loading bar forever.
Open the app and create an account using your email or number—pick a strong password (not “password123,” we’re trusting you).
Verify it, accept the terms, and if you’re feeling fancy, turn on two-factor authentication.
Then tap “Add Device,” pick your model, and get ready to pair.
Keep your robot close—it won’t bite, but it does need a good Bluetooth or hotspot connection!
Make sure your phone is connected to a 2.4 GHz network, as most robot vacuums only support this frequency during setup (2.4 GHz Wi-Fi network).
Power On Your Robot Vacuum for Setup

Fire up your robot vacuum with confidence—this little powerhouse is ready to roll, and getting it started is easier than teaching your dog a new trick (though hopefully less messy).
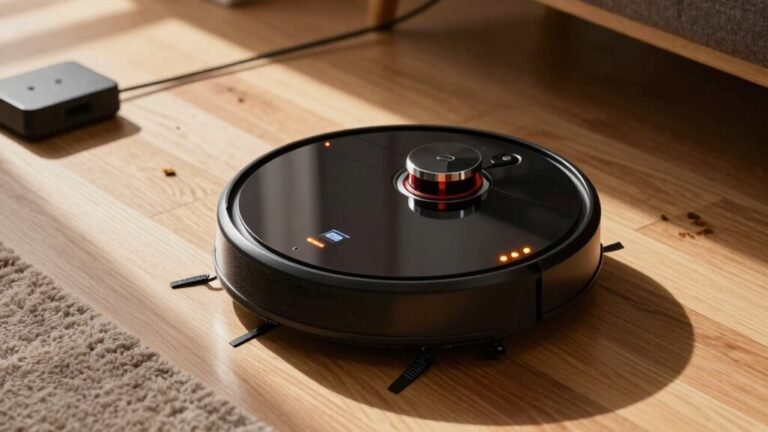
Flip the power switch on the bottom from OFF to ON—you’ll hear a cheerful chime or see lights flash, meaning it’s awake and happy.
Make sure it’s snug on the charging dock, with the contacts lined up so it can juice up fully.
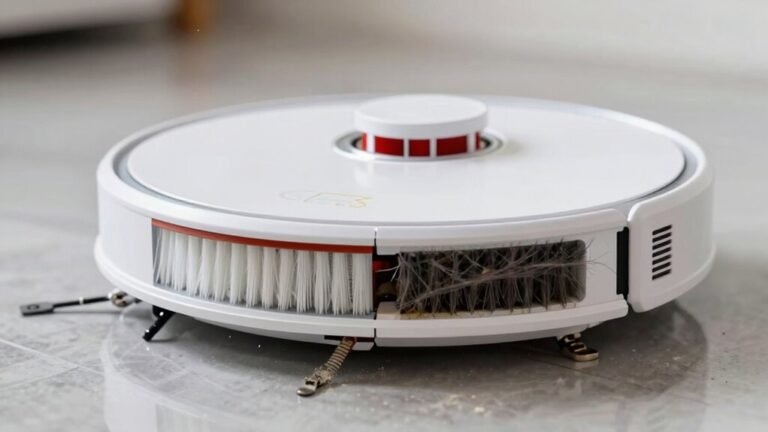
Remove any stickers, tapes, or packing bits first—yes, even that tiny piece stuck near the brush.
Pop in the dustbin, filters, and side brushes like you’re assembling a tiny vacuum dream team.
Clear debris from wheels and sensors so it won’t wobble like it’s dizzy.
Let it charge completely—about 3–4 hours—before setup.
A full battery means smooth sailing ahead.
Keep the area around the dock clutter-free, because nobody likes a robot that can’t find its way home.
Link Your Vacuum to WiFi Using the App
How about giving your robot vacuum its very own internet superpowers?
Open the brand’s app—downloaded and ready—and tap “Add Device” to kick things off.
Pick your exact model from the list (no guessing games—it’s picky like that).
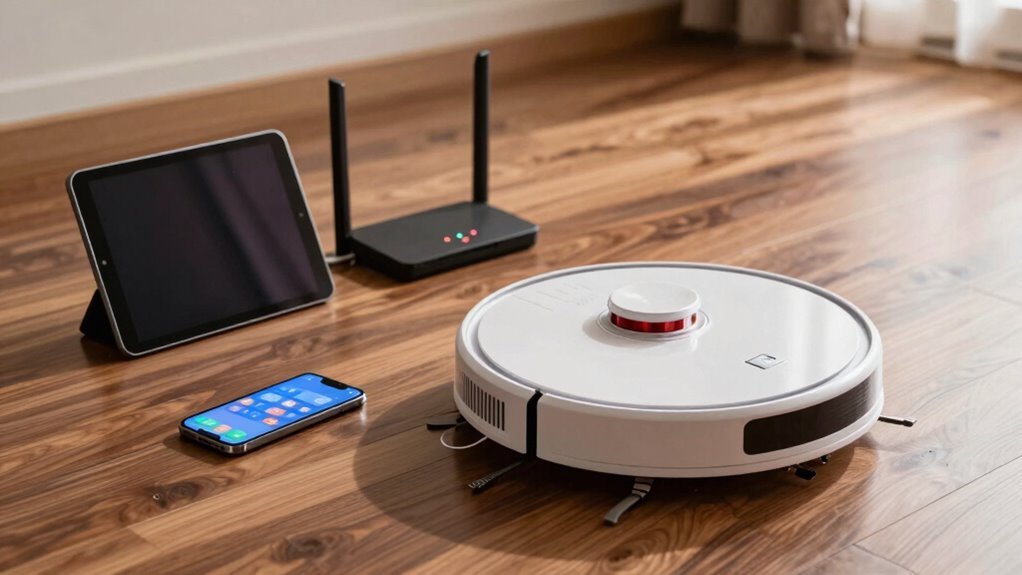
Make sure your phone’s on a 2.4 GHz Wi-Fi, Bluetooth’s enabled, and your router’s password is handy—no one likes a typo surprise.
Press and hold the Wi-Fi button on your vacuum till it blinks or chirps, “Yes, I’m ready!”
Follow the app’s prompts like a GPS for gadgets, and if needed, let your phone briefly hop onto the vacuum’s own little hotspot.
Once it’s all synced, it’ll connect to your home network and ping you with a cheerful “All set!”
You’re not just cleaning now—you’re commanding with a tap.
Sweet, right?
Test Remote Control and Scheduling
You just gave your robot vacuum its Wi-Fi wings, so now let’s put that connection to work—starting with some real-time, tap-and-go control and smart scheduling that makes your floor clean itself while you kick back and sip coffee.
Test the remote first—make sure it’s got fresh batteries, isn’t blocked by couches or sunlight, and that your robot’s awake and listening.
Some bots even need you to unlatch them like a phone!
Then, delve into the app to set a simple daily clean.
Watch the logs roll in like text messages from your hardworking little janitor.
- Confirm fresh batteries and correct polarity in the remote
- Verify robot is powered on, charged, and out of child-lock mode
- Point the remote with a clear line of sight within a few feet
- Switch robot into remote control mode if needed
- Use the app to set a test schedule and check cleaning logs for success
Fix WiFi Connection Problems
Even if your robot vacuum seems to be playing hard to get, don’t worry—WiFi hiccups are usually quick to fix once you know where to look. Just follow these easy steps and get your bot back on track in no time.
| Issue | Quick Fix |
|---|---|
| Wrong network band | Use 2.4 GHz, not 5 GHz |
| Weak signal | Move robot closer to router |
| Phone switches networks | Turn off cellular data |
| Router overload | Reboot router or reduce devices |
| Password trouble | Use simple letters and numbers |
Check your WiFi name and password, keep things close during setup, and make sure your phone stays put on the right network. If it’s still acting up, restart everything—robot, router, phone—and try again. Think of it like a tech timeout—it works wonders!
Enable Voice Assistant Control
- Make sure your vacuum works with Alexa, Google Assistant, or Siri—check the manual or app.
- Link your robot’s account to your assistant’s app (like Alexa or Google Home) so they can “talk.”
- Use a smart speaker or display so you can command with your voice, no phone needed.
- Name your vacuum something fun—like “Dusty McVac” —and assign it a room for spot-on control.
- Try commands like “Hey Google, clean the kitchen” or “Alexa, send the bot to dock.”
Now go ahead—give it a command and feel like a tech wizard.
Frequently Asked Questions
Can I Use My Robot Vacuum Without Wifi?
Yes, you can absolutely use your robot vacuum without Wi-Fi!
Just press the power or clean button, and it’ll start sucking up dirt like a champ.
It’ll dodge couches, clean floors, and even find its dock—all on its own.
You’ll miss app schedules or voice commands, sure, but think of it as camping: no internet, just fresh air (and clean floors).
Totally doable, my friend!
Does My Robot Vacuum Work With Multiple Wifi Networks?
You can’t teach an old dog new tricks, and some robot vacuums just won’t handle multiple Wi-Fi networks.
If yours is a newer model like a Dreame or Roborock, you’re in luck—it’ll switch between saved networks like a pro.
But older or basic models?
They’ll likely stick to one, usually 2.4GHz only.
Check your manual, ’cause not all bots are built alike—some might throw a fit at 5GHz!
Will Updating the App Affect My Saved Cleaning Schedules?
You won’t lose your saved cleaning schedules when you update the app—phew!
Developers design updates to keep your routines safe and sound in the cloud.
You’ll actually get cool new features without sacrificing your favorite settings.
Just update both the app and robot firmware together, like a power duo.
Afterward, double-check your schedules to be extra sure.
Think of it as a tech tune-up, not a total reset.
Smooth sailing ahead!
Can I Connect My Robot Vacuum to a 5GHZ Network Only?
No, you can’t connect most robot vacuums to a 5GHz-only network—chances are, yours only speaks 2.4GHz.
Think of it like trying to join a party where everyone’s speaking a different language.
But hold on!
Some newer models, like iRobot’s j7 or selected Ecovacs bots, *can* chat on 5GHz.
Check your manual—don’t guess.
Spoiler: if it says “2.4GHz only,” you’re stuck unless you enable 2.4GHz on your router.
Is It Safe to Share My Robot Vacuum’s App Access With Others?
No, it’s not totally safe to share your robot vacuum’s app access—think of it like giving someone a digital key to your home.
They mightn’t mean harm, but they could accidentally (or purposely) see maps, schedules, or even videos.
Some apps let shared users do more than they should, and weak security might let hackers sneak in.
Keep access tight, use strong passwords, and only share with folks you really trust—because your living room shouldn’t be someone’s weekend entertainment.
Conclusion
You did it—your robot buddy’s now riding the WiFi waves like a tiny, metal surfboard! You’ve got control right in your pocket, like a magic wand for clean floors. Schedule cleanings while sipping coffee, or boss it around with your voice—“Hey robot, go!” Floors stay sleek, and you stay lazy (in the best way). Congrats, Captain of Clean—your home’s smarter, shinier, and ready to impress. Now kick back and watch it roam!
References
- https://www.dreametech.com/blogs/blog/how-to-connect-robot-vacuum-to-wifi
- https://www.ecovacs.com/us/blog/robot-vacuum-works-with-5ghz-wifi
- https://us.narwal.com/blogs/robot-vacuum/robot-vacuum-5ghz
- https://vacuumwars.com/the-ultimate-guide-to-robot-vacuums-without-internet-what-works-offline/
- https://www.ecovacs.com/us/blog/how-to-connect-robot-vacuum-to-wifi
- https://homesupport.irobot.com/s/article/31222
- https://www.eufy.com/blogs/robovac/robot-vacuum-without-wifi
- https://lubluelu.com/blogs/buying-guide/wifi-robot-vacuum
- https://ca.narwal.com/blogs/robot-vacuum/robot-vacuum-5ghz
- https://uk.vactidy.com/blogs/news/how-to-connect-your-robot-vacuum-to-the-app-a-simple-step-by-step-wi-fi-guide