Troubleshooting Robot Vacuum Battery Issues
If your robot vacuum won’t hold a charge, start by checking the battery voltage—it should read around 14.4V when powered off. This simple test can help determine if the battery is maintaining its charge properly.
Clean the charging contacts on both the robot vacuum and the charging dock to ensure a secure connection. For a more accurate test, bypass the dock and charge the robot directly if possible.
Reset the robot vacuum battery by unplugging it, holding the power button for 10 seconds, then reconnecting and charging fully. Sometimes, this clears minor electrical glitches that affect performance.
Check for a firmware update, as software issues can cause what seems like a battery drain. Updating the system may resolve unexpected shutdowns or charging problems.
If the robot vacuum still loses power quickly, the battery may be worn out. Replacement batteries are often affordable—many cost less than a pizza.
To extend battery life, keep the robot vacuum charged between 30–50% when stored, and place it in a cool, dry location. Proper care can delay the need for a replacement.
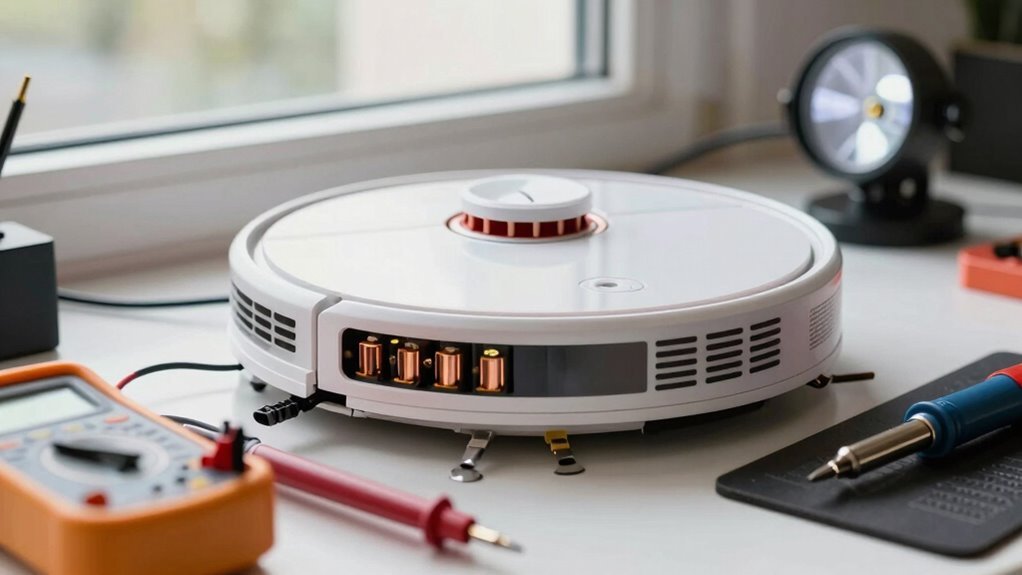
Diagnose Robot Vacuum Battery Problems Fast
Ever wonder why your robot vacuum suddenly conks out mid-clean? Don’t panic—you’re not broken, and neither is your bot (probably).
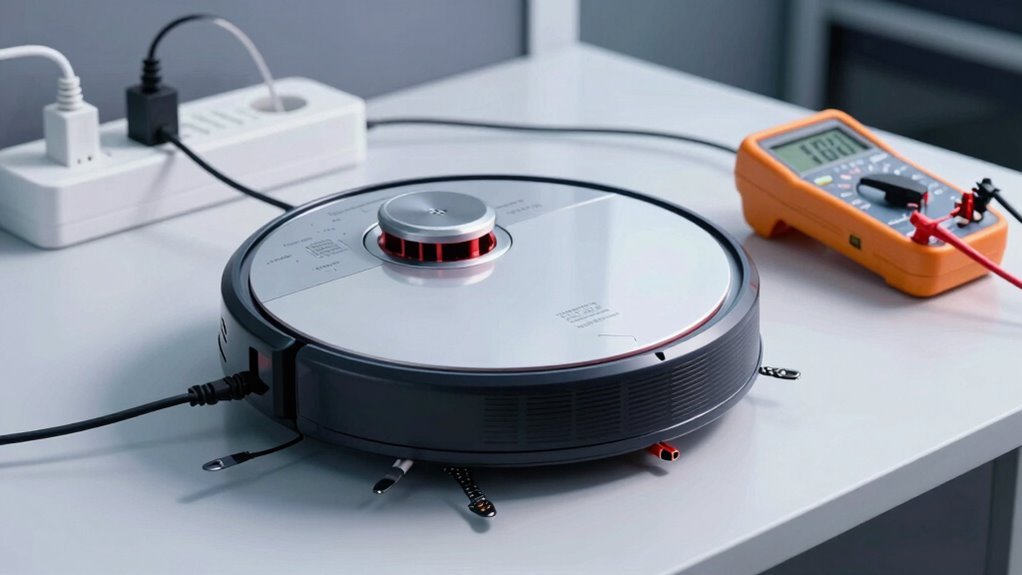
Grab a digital multimeter, set it to 20V DC, and check the battery voltage with the vacuum off.
A healthy one reads between 14.4V and 14.5V—anything lower? Uh-oh.
If the voltage nosedives in seconds, like from 14.92V to 14.85V, your battery’s likely tired and needs replacing.
For Samsung models, peek at individual cells; one dud cell can拖 the whole squad down.
Give those charging contacts a wipe too—grime sneaks in like uninvited guests.
A quick clean might save your sanity.
And hey, if the dock’s wobbly, flatten it out.
Misalignment isn’t just annoying—it’s a silent battery killer.
Tools ready? Let’s bring your robo-pal back to life!
To confirm power delivery, verify voltage from recharge cradle.
Check If the Battery Is Really the Issue
You’ve checked the voltage, cleaned the contacts, and made sure the dock isn’t playing dodgeball with your robot—so before you blame the battery, let’s make sure it’s actually the culprit.
Is your vacuum totally unresponsive, even after a full night’s charge?
If the lights stay dead and the power button won’t wake it, the battery might’ve given up.
But don’t toss it yet—first, try a different outlet and double-check the dock’s alignment.
A bad connection can mimic battery failure.
Remember, dirty contacts or a glitchy dock can fool you!
Batteries do wear out every 2–3 years, especially with heavy use, but confirm the real villain before buying a replacement.
At under $18, a new battery’s a cheap test—but make sure it’s needed.
Eliminate the usual suspects first, so you don’t replace what isn’t broken!
Battery degradation is a common reason for charging issues and typically occurs after several years of use.
Reset and Recalibrate Your Robot’s Battery
How’s that robot behaving after a reset?
If it’s still sluggish, don’t worry—you’re not stuck with a lazy bot.
Time to recalibrate that battery like a pro!
For most models, just pop out the battery, hold the power button for 15 seconds, then snap it back in.
Plug the charger straight into the robot—skip the dock—and let it charge until the light goes solid green.
Got a 500 series?
Press Spot and Dock till the Clean button dims, then feed it a full 72-hour juice boost.
For total battery rehab, fully drain it by running cycles, then repeat a few times before a long, uninterrupted charge.
It’s like a spa day for your robot!
Once done, run a full clean to test the fix.
If it zips around happily, you’ve nailed it—give yourself a high-five!
Clean Charging Contacts for Better Connection
Grab your Magic Eraser and get ready to spark up that connection!
Dirty charging contacts can zap your robot’s battery life, but a quick clean makes all the difference.
Don’t worry—it’s super easy and takes just a few minutes.
Here’s how to do it right:
- Unplug the dock and flip your robot over – Safety first! Wait 60 seconds, then locate the charging contacts on the underside.
- Wipe robot and dock contacts – Use a dry cloth first, then a lightly dampened Magic Eraser or cloth to polish them clean. Shine is your goal!
- Check the docking sensor window too – Dust there can mess with alignment, so give it a gentle wipe.
You’ll see a noticeable glow on the metal after cleaning—like a mini spa day for your Roomba!
If charging still acts up, don’t panic—there’s more you can try.
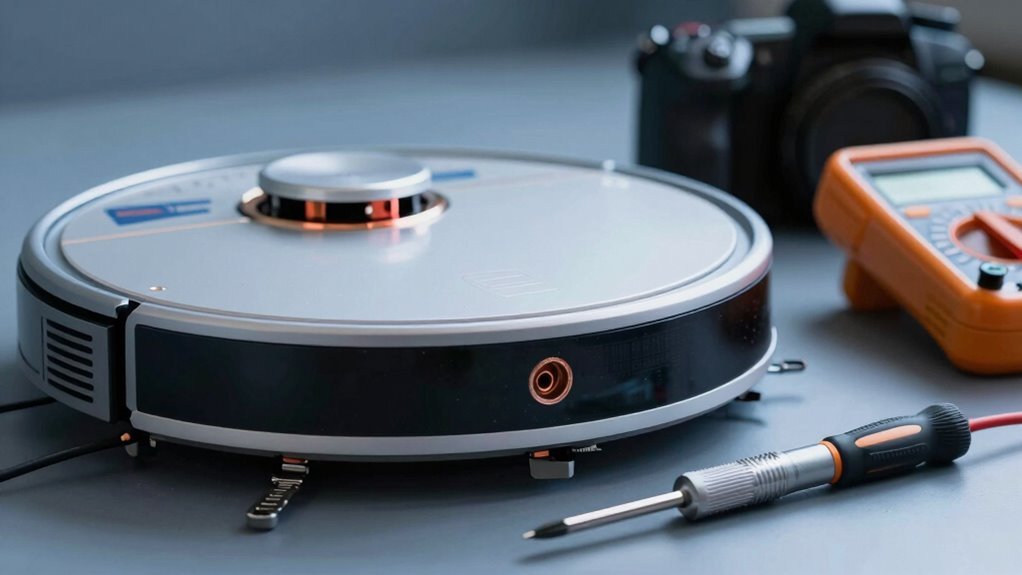
Test the Charging Dock and Power Source
Now that you’ve given those charging contacts a little TLC and they’re shining like new, let’s make sure the whole charging crew is on the same page—starting with the dock and its power source.
Plug a lamp or phone charger into the outlet to confirm it’s live—don’t let a sneaky dead socket fool you.
Ditch the power strip; plug the dock straight into the wall to avoid weak connections.
Check for bent contacts, burnt smells, or wobbling plugs—your robot’s lifeline shouldn’t look like it lost a fight.
Make sure the robot docks flush, wheels up, and contacts aligned, like a tidy little spaceship landing.
Peek at the indicator light: solid means “fueling up,” blinking means “lost,” and red means “uh-oh.”
If things still seem off, unplug the dock for 30 seconds—give it a mini power nap.
If it’s still cranky, it might need replacing.
Don’t sweat it—charging drama’s common, but totally fixable!
Fix Battery Drain With a Software Update
Even if you’ve already checked the basics, a sneaky software glitch might be the real reason your robot’s conking out early, so don’t overlook the power of a good update.
Think of firmware as your robot’s brain—when it’s out of date, things go haywire, like stopping mid-clean or draining battery too fast.
Luckily, a quick update can save the day.
- Open your app (like ECOVACS HOME or DreameHome) and check for firmware updates—just tap Settings > Firmware Updates.
- Install the latest version to fix power hiccups, improve navigation, and stop phantom battery drain.
- Turn on automatic updates so your robot stays smart without you lifting a finger.
Afterward, let it recharge fully—your little robo-friend might just surprise you with a comeback performance worthy of a standing ovation (or at least a fully cleaned floor).
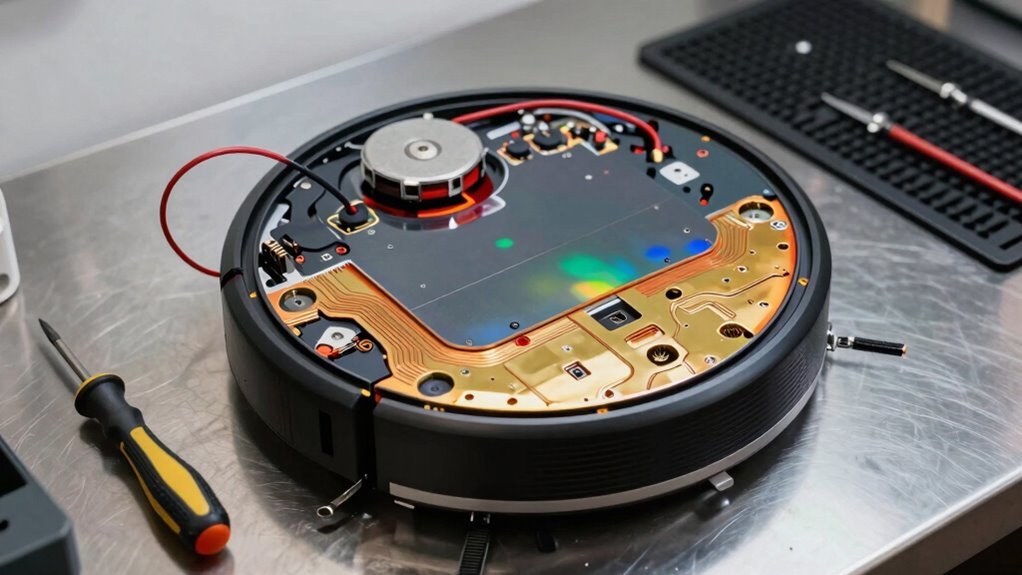
Replace Your Robot Vacuum Battery Properly
When that trusty robot vacuum starts running out of juice faster than a phone at a music festival, it’s probably time to give it a fresh battery—don’t worry, swapping it out isn’t rocket science, and you won’t need a toolbox the size of your kitchen.
First, power it down and flip it over on a clean, flat surface.
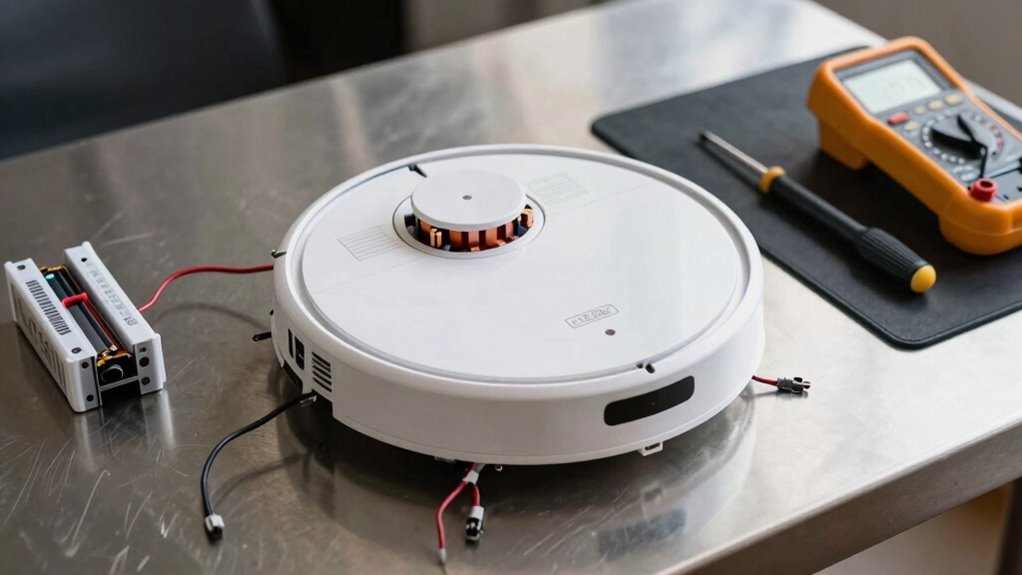
Grab your Phillips-head screwdriver and remove the screws from the bottom cover—eight for Roborock, fewer for others.
Take off the cover gently, unplug the old battery’s connector from the motherboard, and pull it out using the strap—never yank the wires!
Pop in your new 5200mAh battery, plug it in tight, tape side up for easy access later, then snap the cover back on.
Screw everything down, flip it over, and power it on.
Watch that battery icon light up—ahh, sweet juice!
You just gave your robot a whole new lease on life—and clean floors.
Extend Battery Life With Daily Habits
How’s your robot vacuum feeling these days—ready to conquer crumbs or already dragging its wheels?
You can keep it running strong with a few smart daily habits.
Think of it like a pet—it just wants a little care and consistency!
- Charge it right: Plug in around 20-30% and unplug once full—no marathon charging allowed.
- Keep it clean: Empty the bin, clear the brushes, and wipe the contacts so it doesn’t overwork.
- Store smart: Keep it in a cool, dry spot away from sunbaths or chilly corners, and never leave it at 100% for weeks.
Run it regularly, avoid deep drains, and your battery will thank you with years of zippy clean-ups. Treat it well, and it’ll keep your floors crumb-free without missing a beat—no sad beeps, just happy sweeps!
When to Contact Manufacturer Support

If your robot vacuum’s been giving you the silent treatment or acting like it’s lost its spark, it might be time to call in the experts.
You’ve cleaned the contacts, reset it, and still—no charge?
Don’t keep wrestling with a dead battery on your own.
If DIY fixes fail, reach out, especially if your unit’s under warranty—most brands, like iRobot and Roborock, cover defects for a year.
iRobot wants your serial number and a charged robot (ironic, huh?) before help.
Eureka’s phone support’s open weekdays and Saturday, so no waiting all week.
Watch for red flags: slow replies, robotic scripts, or making *you* pay to ship a broken unit.
Some brands make it easy with prepaid shipping and no restocking fees.
Others? Not so much.
Don’t suffer through confusing menus or unhelpful tips—skip the headache and contact support when your trusty vacuum starts acting like a stubborn toddler refusing naptime.
They’ve got tools you don’t!
Frequently Asked Questions
Can I Use a Third-Party Battery With My Robot Vacuum?
Yes, you can use a third-party battery with your robot vacuum, and it’s a smart move if you’re looking to save money or boost performance.
Brands like Tenergy and Tattu fit iRobot Roomba 500–900 series and often last longer than the originals.
Just make sure the voltage and model numbers match—don’t want your robot throwing a tiny, beep-filled tantrum.
Some even give extra run time, so your floors get cleaner while you kick back.
Win-win!
How Do I Dispose of My Old Robot Vacuum Battery?
You toss those old batteries in the trash, you’re asking for trouble—but take them to a recycling drop-off, and you’re a planet-saving hero!
Unplug your vacuum, drain the power, tape the terminals, and pop the battery into a ventilated container.
Then, zip over to a local CRC, Best Buy, or hardware store.
Boom—safe, smart, and seriously eco-friendly.
Who knew trashing tech could feel so good?
Is It Safe to Leave My Robot Vacuum Charging All the Time?
Yes, you can leave your robot vacuum charging all the time—it’s totally safe!
Modern models smartly stop charging when full, so you won’t fry the battery.
Think of it like your phone napping, not overeating.
Just keep it cool, clean the contacts, and use the right charger.
Your robo-pal stays ready to roll, no drama.
Pretty neat, right? Peace of mind with zero effort—now that’s smart tech!
Why Does My Robot Vacuum Battery Swell Over Time?
Your robot vacuum’s battery swells over time because heat, age, and charging habits stress the cells, causing gas buildup inside.
You push it hard with daily use, and over time, the chemicals wear down, expand, and trap gas.
It’s like a tiny soda can fizzing inside!
Even moisture and small manufacturing quirks can team up to puff it up.
Can Extreme Temperatures Permanently Damage the Battery?
Yes, extreme temperatures can wreck your battery for good.
Too hot, and it ages fast—think sunbaked floors or steamy rooms speeding up decay.
Too cold, and charging causes nasty lithium plating that ruins the inside.
Keep it in a cool, dry spot, not by a window or radiator.
Your robot’s not a sauna lover or ice fan—treat it right, and it’ll keep zipping around like it’s on vacation, not in danger!
Conclusion
You’ve got this! Most robot vacuums live 2–3 years, but here’s the fun part: 80% of “dead” batteries just needed a good cleaning or reset. Imagine your little helper zipping around, revived and ready—no replacement needed! With simple fixes and smart habits, you’ll stretch every charge. Think of it as giving your robot a high-five instead of a nap. Stay proactive, keep it clean, and let the good vibes (and clean floors) roll!
References
- https://www.youtube.com/watch?v=ivLF8dwLjCc
- https://www.ifixit.com/Guide/Guide+3:+CONGA+990+EXCELLENCE+Cleaning+Robot:+How+to+check+the+battery+status/156227
- https://us.narwal.com/blogs/product/why-vacuum-not-charging-solutions
- https://www.ecovacs.com/us/blog/why-robot-vacuum-not-charging-how-to-fix
- https://www.robotreviews.com/chat/viewtopic.php?t=15672
- https://www.youtube.com/watch?v=R0Hl1XSpnCc
- https://www.coredy.com/blogs/maintenance-tips/is-it-a-dead-battery-or-a-broken-sensor-how-to-read-your-robot-vacuum-s-body-language
- https://www.youtube.com/watch?v=dFhKIjxsq-U
- https://www.youtube.com/watch?v=iuAYNaDrggE
- https://www.storeshoppe.com/blogs/news/how-to-fix-a-robot-vacuum-that-won-t-charge-a-practical-guide