How to Remove Pet Odors From Your Robot Vacuum
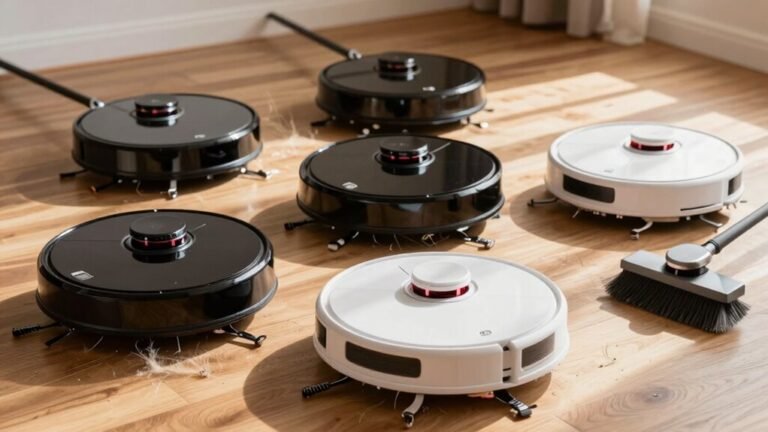
You’ve got pet hair, gunk, and sneaky odors hiding in your robot vacuum—time to kick them out! To effectively remove pet odors from your robot vacuum, start by emptying the bin after every run to prevent lingering smells.
Wash the filter if it’s washable, and wipe down the interior with a damp cloth to eliminate trapped debris and odors. Regularly pull out tangled pet hair from the brushroll to maintain performance and prevent musty smells.
Gently wipe the sensors and charging contacts to keep your robot functioning smoothly. For a fresh boost, sprinkle a bit of baking soda inside the bin or filter compartment before reassembling. Keep up with cleaning, and you’ll be amazed at how fresh your floors—and your bot—can feel. There’s more where that came from!
Why Robot Vacuums Trap Pet Odors
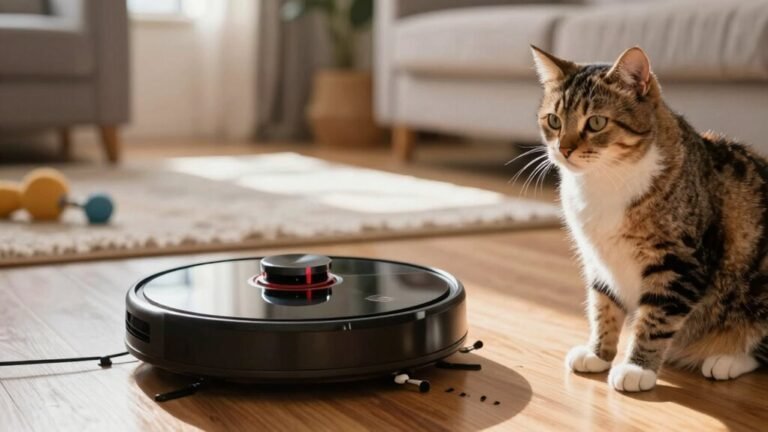
While your robot vacuum works hard to keep your floors clean, it’s also quietly collecting more than just pet hair—it’s gathering the very things that cause funky smells.
Those cute little furballs you love? Their hair carries oils, dander, and even moisture that get trapped in your vacuum’s nooks.
Bacteria move in like uninvited roommates, munching on debris and throwing odor-filled parties.
Filters clog fast, especially with all that pet hair, turning into smelly sponges that can’t breathe or clean well.
And if there’s moisture—maybe from a recent spill or damp mop pads—bacteria multiply like crazy, making things stink faster than you can say “who peed?”
Even full dustbins become stink bombs, sealing in gunk with zero airflow.
Yep, your hardworking bot’s basically a tiny pet odor hotel—complete with room service for germs.
Time to kick those smells out!
Odor control feature reduces pet-related smells by automatically releasing pet-safe scents after cleaning sessions.
Empty and Clean the Dustbin Immediately
Getting rid of pet odors starts with a quick trip to the trash—and your robot vacuum’s dustbin shouldn’t be left sitting around like a forgotten gym bag.
Empty it right after every run to stop smells from building up.
That gunk—hair, litter, even damp fur—is a stinky playground for bacteria.
The faster you toss it, the less chance odors have to stick around.
Tap the bin gently, use a small brush to dig out trapped debris, and always empty into a lidded trash can.
No one wants dust clouds erupting into the air!
If your bin is washable, give it a rinse with warm soapy water, scrub the corners, then let it dry completely—no sogginess allowed.
A little vinegar or baking soda helps zap lingering smells too.
Just skip the perfume-y sprays; they just mask things and sometimes make it worse.
Stay on top of this, and your vacuum stays fresh, not funky.
This is even easier with models like the bObsweep Dustin that feature a Self-Emptying Robot Vacuum & Mop system, reducing how often you handle the mess.
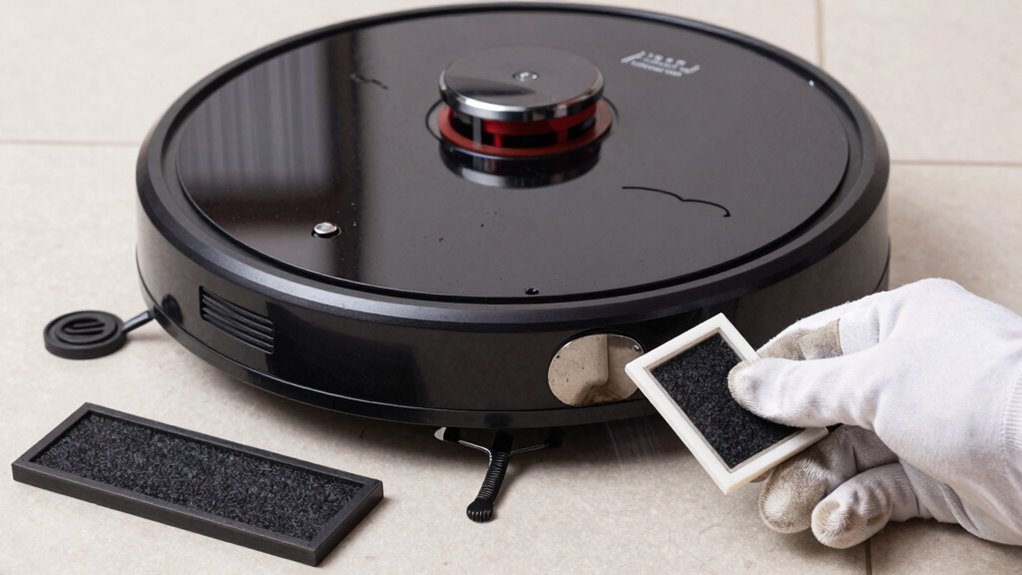
Wash the Filter to Stop Lingering Smells
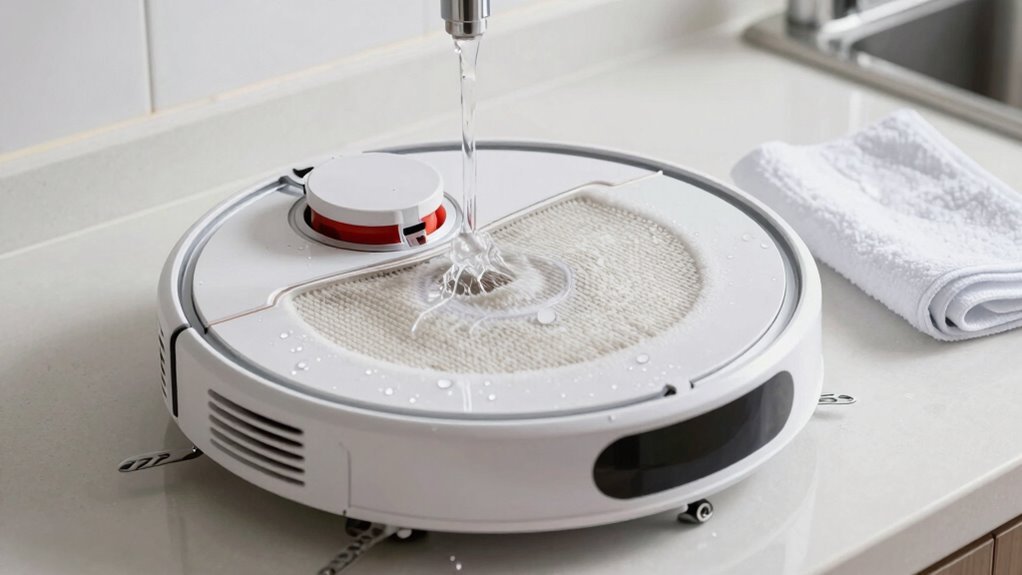
Grab your filter and give it some love—because a fresh home starts with a clean filter, not a dusty old air sieve hiding in your robot vacuum. First, check if it’s washable—peek at the manual or look for labels on the frame; some HEPA or paper filters hate water and should be replaced, not rinsed.
If it’s foam or plastic and says “washable,” you’re good! Tap it over the trash to knock out gunk, then use a soft brush to tidy the pleats.
Now, rinse it under cool water until the runoff’s clear—skip hot water, it warps things. Got stubborn smells? Soak it in water with vinegar or baking soda, then rinse well. Never use harsh soap—it kills the filter’s groove.
Shake off extra water and let it dry completely, preferably overnight—damp filters breed mold and that “wet socks” vibe. Reinstall only when bone dry, and breathe easy—your robot’s air game is now *chef’s kiss*.
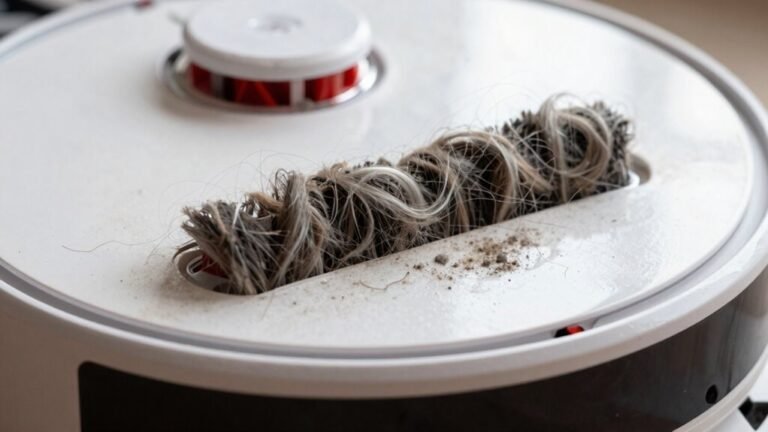
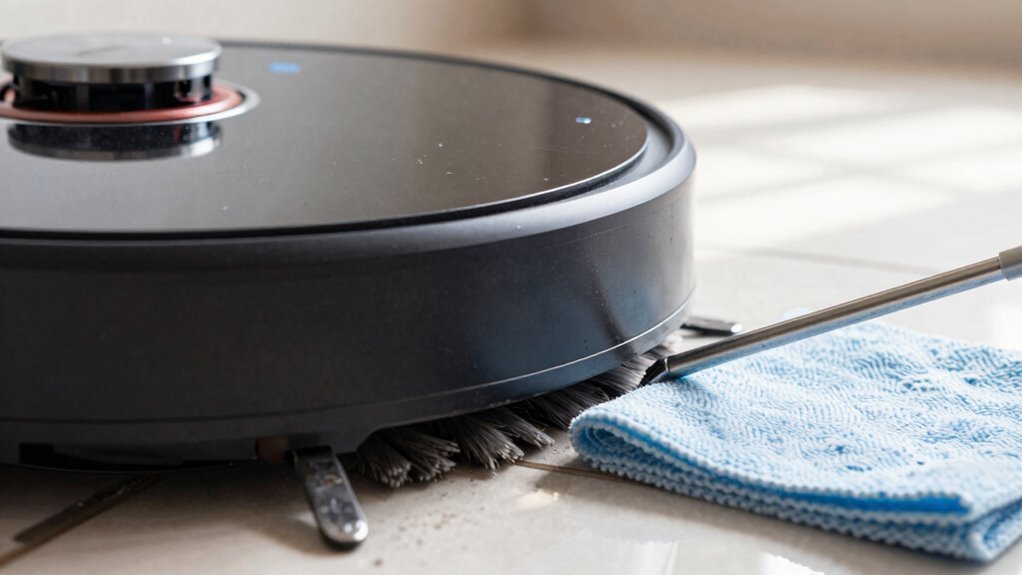
Remove Hair From the Main Brushroll
One quick cleanup every week can save your robot vacuum from a hairy meltdown—so don’t wait until it starts sounding like a growling bear.
Hair tangled in the main brushroll isn’t just gross—it slows down cleaning, kills suction, and can even burn out the motor.
The good news? Removing it’s quick and easy if you know how.
- Turn off and flip your robot to avoid surprise starts and keep things safe
- Pop open the brush guard with a pinch of the tabs—hello, instant access
- Slide the brushroll out carefully, remembering which end goes where
- Use the included tool or scissors to slice through gnarly hair clumps nestled in the grooves
- Yank out the strings and fuzz by hand, then give the bristles a happy little shake
A clean brushroll spins freely, cleans better, and keeps your vacuum running strong—like a fresh haircut for your robo-pal.
Clean the Side Brush and Wheel Areas
Spin that side brush like a DJ and you’ll quickly see where things get messy—hair, string, and gunk love to wrap around the axle and tuck between the bristles, turning your neat-freak robot into a tangled-up mess.
Grab tweezers or scissors (carefully!) to snip away trapped debris, and use a soft cloth to wipe the bearings so the brush spins freely.
Check for bent bristles or cracks in the hub—if it’s warped or falling apart, it’s time for a replacement.
If it’s just bent, a 10-second soak in lukewarm water might bring it back to shape.
Rinse with mild soap if needed, then let it air-dry completely—moisture near the motor’s a no-go.
Pro tip: check every 6–12 months, especially if you’ve got pets or carpet.
Fresh brushes mean better cleaning and fewer funky odors sneaking around your floors.
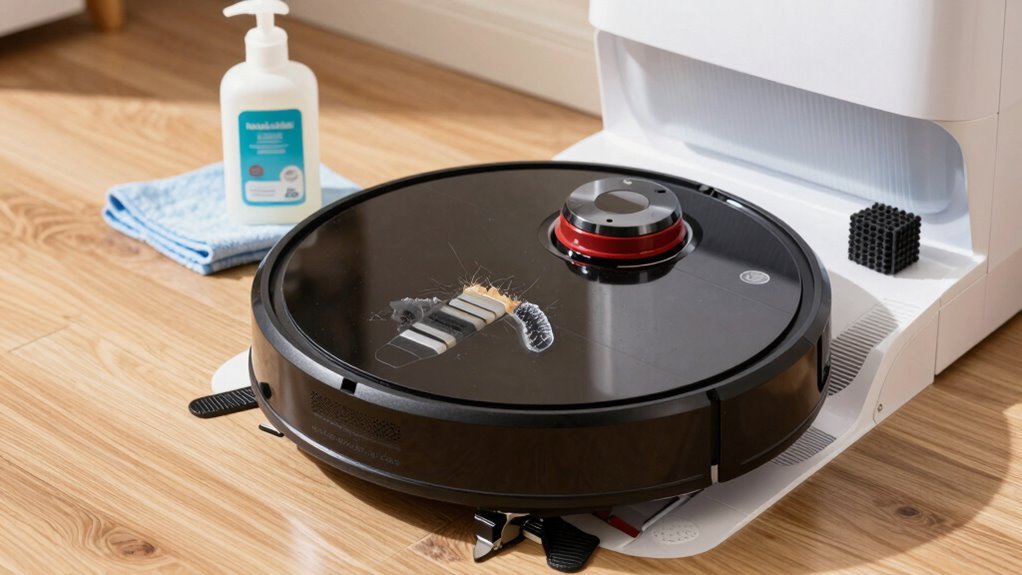
Wipe the Sensor and Interior With Vinegar
Keeping your robot vacuum’s sensors and interior in tip-top shape doesn’t have to be a chore — think of it as giving your little robo-pal a spa day, minus the cucumber slices.
But skip the vinegar bath — most makers say it’s a no-go for sensors and inner parts since the acid can harm delicate bits. Instead, stay safe and smart with these clean-and-fresh moves:
- Wipe sensors gently with a dry microfiber cloth to avoid dust drama and keep navigation smooth
- For grime that won’t budge, use a slightlydamp cloth with plain water — never spray liquid on the bot
- Clean only removable plastic parts (like bins or covers) with diluted vinegar, then rinse and dry fully
- Never soak or wipe electronics, motors, or metal parts — vinegar’s acidity can corrode important connections
- Use 70% isopropyl alcohol wipes on non-sensitive spots to kill odors safely, without risking damage
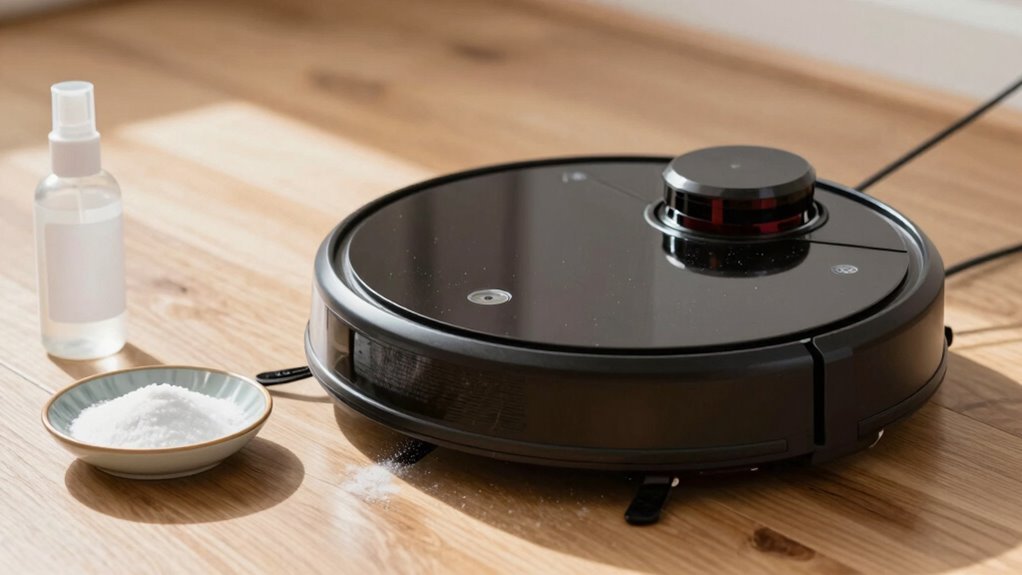
Freshen the Bin With Baking Soda
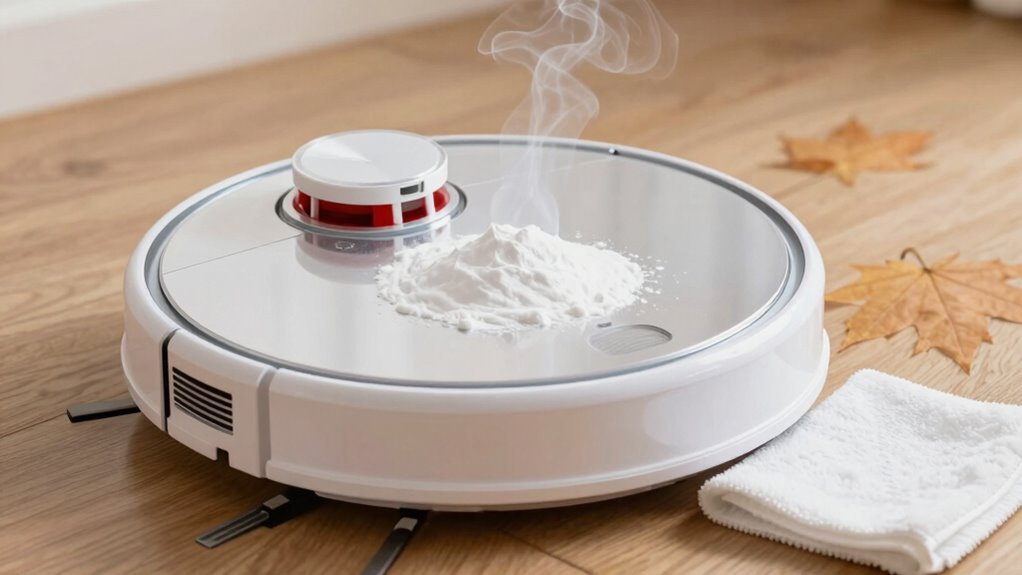
Tackling pet odors doesn’t have to mean drowning your robot vacuum in perfumed sprays or mysterious powders.
Try baking soda—your kitchen’s odor-fighting superhero!
Lightly dust a thin layer inside your empty, dry bin to neutralize smells from pet hair and dander.
Its tiny pores trap stinky molecules, while absorbing moisture that breeds odor-causing bacteria.
Just don’t go overboard—skip dumping it on floors for your robot to suck up (seriously, that’s a motor’s worst nightmare).
Instead, tuck a sachet near the bin or drop a fridge deodorizer pod by the charging base.
It’s safe, non-toxic, and keeps things fresh without fake scents bothering your pets.
Remember: a light touch works wonders—no clumps, no clogs, just clean, quiet freshness.
Your robot (and nose) will thank you!
Prevent Odors With Weekly Maintenance
You’ve given your bin a little baking soda boost, and now it’s time to stay on top of the bigger picture—because no one wants their robot vacuum moonlighting as a stink machine.
Stay on top of weekly maintenance and your bot will keep sucking (in a good way).
It’s not just about what’s inside the bin—odors hide in filters, brushes, and even along the robot’s sneaky little sensors.
- Empty and rinse the dustbin weekly, then let it dry completely
- Tap or wash the filter to keep airflow fresh and fur-free
- Detangle brushes and wipe away pet gunk that could turn funky
- Wipe down the exterior, sensors, and nooks where gunk hides
- Keep the dock area clean so your robot always starts fresh
Stick to this routine and your vacuum won’t just clean better—it’ll smellbetter too. Who knew a robot could stay this fresh?
Replace Worn Parts That Hold Smells
That sneaky smell lingering in your robot vacuum? It’s probably clinging to worn parts that need replacing—don’t worry, it’s an easy fix! Old brush rolls trap pet hair and gunk, turning into stink factories. Filters clogged with dander or mold are often the smelly culprits too. And let’s not forget bins and seals—they soak up odors like tiny sponges. Replacing them keeps your bot fresh and working great.
Here’s what to swap and when:
| Part | Why Replace? | How Often? |
|---|---|---|
| Brush rolls | Hold hair, bacteria, and oily smells | Every 6–12 months |
| Filters | Trap odor and can grow mold | Every 2–3 months |
| Dust bin & seals | Crack, stain, and absorb pet odors | As needed or yearly |
Fresh parts mean a fresher home—your nose will thank you!
Frequently Asked Questions
Can I Use Essential Oils to Freshen My Robot Vacuum?
Nope, you shouldn’t use essential oils to freshen your robot vacuum—your furry buddy might wobble, sneeze, or feel under the weather if exposed.
Those tiny drops pack a toxic punch, especially tea tree or eucalyptus.
Skip the aroma adventure and keep things safe.
Try a dash of vinegar and water instead, or just a quick wipe.
Your pet will thank you with more tail wags and fewer face-palms!
Is It Safe to Wash the Dustbin With Soap?
Yes, you can safely wash the dustbin with soap—just use mild dish soap and lukewarm water!
Seriously, it’s a game-changer for tackling gunky buildup and funky smells.
Scrub gently with a soft brush, rinse well to nix any soapy residue, then let it air-dry completely.
Just keep electrical parts dry, skip the bleach, and don’t toss it in the dishwasher.
Your robot (and nose) will thank you!
How Often Should I Replace the Robot Vacuum’s Filter?
You should replace your robot vacuum’s filter every 2 to 6 months—think of it like changing socks: nobody likes stinky, worn-out ones!
If you’ve got pets, you’ll lean toward every 2–3 months.
Heavy use or dusty homes? Swap it sooner.
Watch for weak suction or funky smells—they’re dead giveaways.
Clean it weekly, let it fully dry, and your vacuum will keep breathing easy, happy, and fresh!
Can Pet Odors Damage the Robot Vacuum’s Sensors?
Yeah, pet odors themselves won’t hurt your robot’s sensors, but the messes causing those smells definitely can.
Urine and waste leave sticky, corrosive residues that gunk up sensors, mess with infrared signals, and even cause short circuits.
Think of it like leaving soda on electronics—yikes!
Keep things clean, and your robot won’t just smell better, it’ll steer straight too. Win-win!
Are There Odor-Resistant Robot Vacuum Models Available?
Yeah, there are definitely odor-resistant robot vacuums out there, and they’re total game-changers if you’ve got pets.
You’ll love models with sealed bins, self-emptying docks, and scent cartridges—they trap smells before they escape.
Some even dry mop pads automatically, so nothing gets musty.
Brands like Shark and iRobot bake in odor-neutralizing tech, so your home stays fresher, not funkier.
Just say no to stink!
Conclusion
You’ve wiped, washed, and de-fuzzed—now your robot vacuum zips around like a fresh breeze in sneakers. No more stinky surprises when it rolls in for a hug. With a clean filter, fur-free brush, and a sprinkle of baking soda magic, it’s basically a minty-fresh pup, minus the lick. Keep up the quick tunes, and your little robo-friend stays ready to dance through dust, not doggy doo. Victory smells sweet!
References
- https://www.k9magazine.com/product-review/extravis-v5-robot-vacuum/
- https://www.ecovacs.com/us/blog/robot-vacuum-avoid-poop
- https://us.narwal.com/blogs/product/robot-vacuum-smell
- https://www.dreametech.com/blogs/blog/do-robot-vacuums-avoid-dog-poop
- https://us.mova.tech/blogs/cleaning-tips/best-robot-vacuum-for-pet-hair
- https://www.litter-robot.com/odor-trap.html
- https://www.eufy.com/blogs/robovac/how-do-robot-vacuums-work
- https://www.youtube.com/watch?v=h35DgCAWqjg
- https://www.bestbuy.com/product/bobsweep-dustin-self-emptying-robot-vacuum-mop-with-100-day-dock-and-patented-navigation-wi-fi-connected-night/J3RVRQVPVR
- https://www.ecovacs.com/us/deebot-robotic-vacuum-cleaner