How to Replace a Robot Vacuum Battery
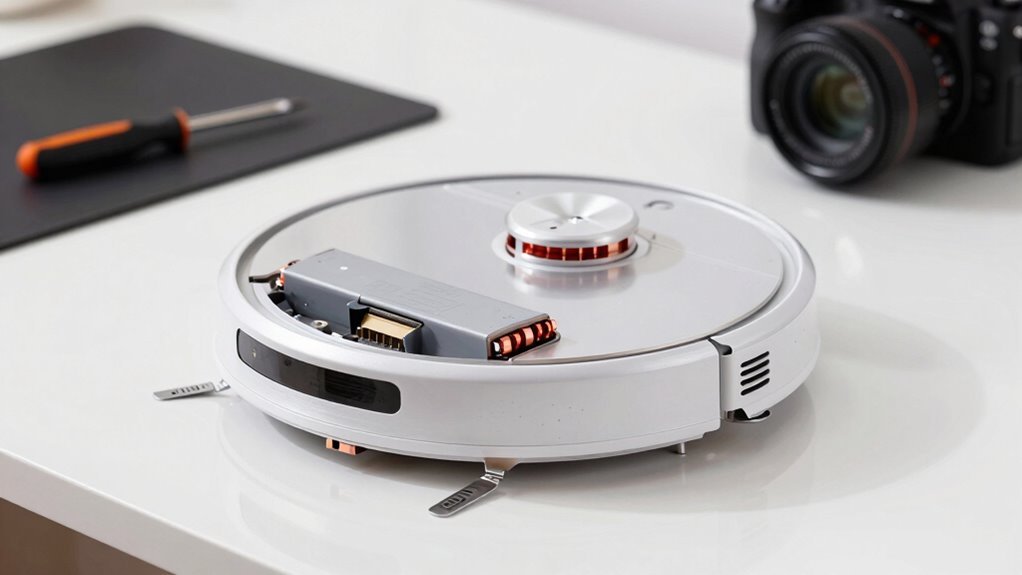
Your robot vacuum’s battery is likely the culprit if it dies mid-clean or needs constant charging. This is a clear sign that replacing the robot vacuum battery could restore its performance.
Flip the device over and use a screwdriver to remove the bottom cover. Check the model number to find a compatible replacement—be sure to match the voltage, mAh rating, and connector type exactly.
Remove the old robot vacuum battery by disconnecting it from the internal wiring. Insert the new battery, ensuring it’s securely connected and properly positioned.
Reattach the cover and screw it back into place. Your robot vacuum battery is now replaced—think of it as a quick recharge for your cleaning routine.
There’s a little more magic to make it last longer, though…
Is Your Robot Vacuum Battery Failing?
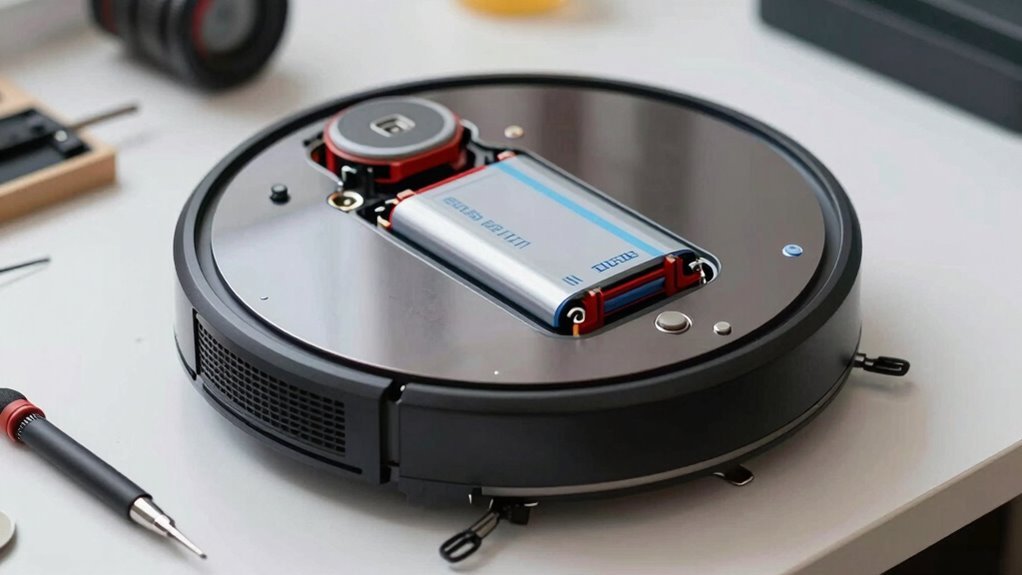
Ever wonder why your robot vacuum suddenly acts like it’s out of steam halfway through cleaning? You’re not imagining things—it might be crying out for help.
If it shuts down fast, even after a full charge, or can’t finish its usual route, the battery’s likely fading.
It probably needs to recharge more often now, and wow, does it take forever to power back up!
Sometimes it doesn’t even make it home, dying mid-trek to the dock with a sad red blink.
You’ll see flashing lights, warnings on the app, or worse—total silence when unplugged.
It moves slower, struggles to climb corners, and calls it quits mid-job.
That’s normal after 150–200 cleaning missions; batteries weaken over time.
After two or three years, they’re usually toast.
Typical battery lifespan: 1 to 3 years.
Sound familiar? Yep, your little helper’s battery is waving the white flag—and it’s time to do something about it.
Find Your Model’s Correct Replacement Battery
Now that you’ve figured out your robot vacuum’s battery is on its last legs, it’s time to play detective and track down the perfect replacement.
Flip your bot upside down—yeah, give it a little twirl—and check the label for the model number.
No luck? Peek at the box, manual, or even your app account.
Some sneaky models hide the number near the battery or under screws, so be thorough.
Once you’ve got the model, hunt down the battery specs: voltage, mAh, and connector type.
A 4000mAh upgrade sounds sweet, but only if it fits snugly and clicks in right.
Check forums, iFixit, or YouTube—they’re goldmines for sneaky screw counts and hidden panels.
And hey, don’t buy anything yet—double-check that the new battery matches your old one like a puzzle piece.
You want a hero, not a hiccup.
Make sure the replacement battery is a verified direct substitute.
Get the Tools to Replace Robot Vacuum Battery
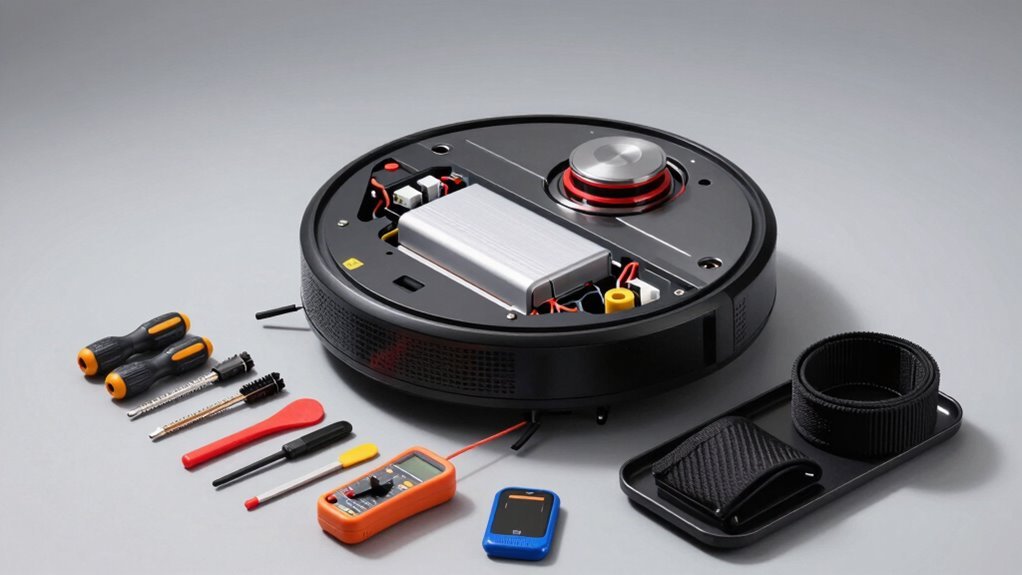
Getting your robot ready for a battery swap is like prepping for a tiny tech surgery—fun, quick, and totally doable with the right tools in hand.
Grab a Phillips or Torx screwdriver depending on your model—Roomba lovers, you’ll likely need Torx.
A magnetic tip helps keep tiny screws from vanishing.
Use plastic pry tools or even an old guitar pick to pop off panels without scratches—your robot’s shell will thank you.
A spudger safely disconnects wires, while gloves and eye protection keep you safe from sharp bits and dust bunnies alike.
Don’t forget an anti-static strap to protect delicate circuits.
Lay down a soft mat to shield sensors, and toss a microfiber cloth and isopropyl alcohol in your toolkit for a spotless battery bay.
Keep insulation tape and a multimeter nearby—you’re not just fixing a bot, you’re upgrading its life!
How to Remove the Old Battery
With your toolkit ready and your robot flipped over like a turtle taking a nap, it’s time to get that old battery out.
First, power down your Roomba or Roborock and remove the dustbin—better safe than sorry!
Flip it over and say hello to the underside, then remove the edge and main brushes if they’re in the way.
Pop out the bottom cover screws with a Phillips head—4 for i/e series, 8 for Roborock models—and tuck them somewhere safe (a tiny bowl works great).
Gently lift the cover, being careful not to yank any wires.
Now, the moment you’ve been waiting for: find the battery, unplug its connector by squeezing the latch, and lift it out using the strap.
Check for hidden screws, and give that tired old battery a heartfelt “thanks for the memories” before setting it aside.
Install the New Battery in 5 Minutes
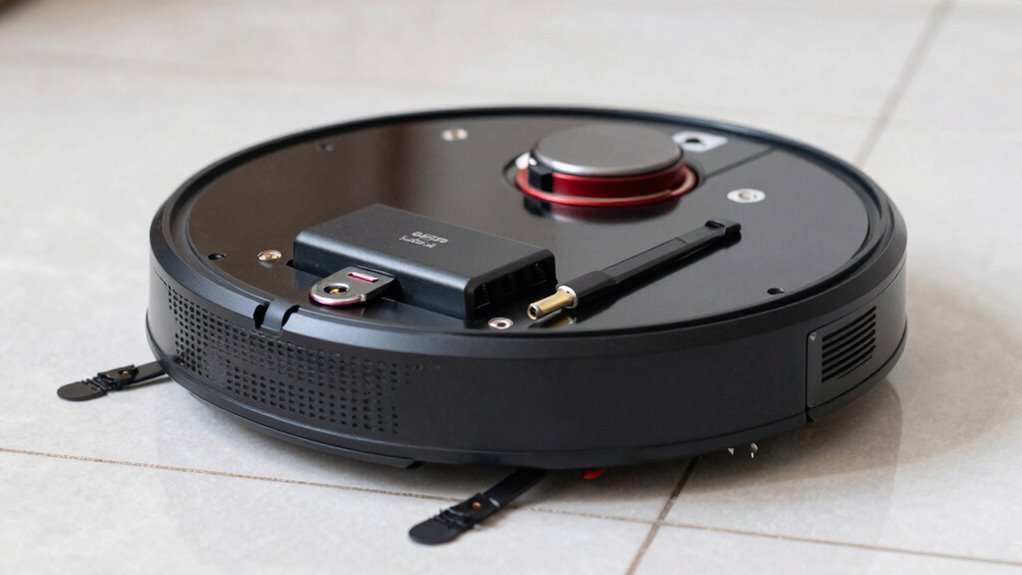
Swapping in your fresh battery feels like giving your robot vacuum a superhero upgrade—suddenly, it’s got the juice to tackle every crumb and dust bunny in sight.
You’re just minutes away from a fully powered clean machine!
- Plug in the connector—align the notch, push till it clicks, and feel that perfectfit.
- Lay the 5200mAh pack flat, wires snug and unruffled, like tucking in a high-tech toddler.
- Snap the cover back on without squishing any wires—think precision, not force.
- Tighten the screws gently—no need to Hulk-smash it—and save the brush screws for last.
Pop the side brush back on, flip it upright, and admire your handiwork.
You didn’t just replace a battery—you gave your little robo-warrior a second life.
Now it’s ready to rumble across dirty floors with full power and zero complaints. Boom—cleaning just got a serious upgrade!
Test & Calibrate After Battery Replacement
Ever wonder why your robot vacuum seems a little confused after a fresh battery pops in? That’s normal!
It needs time to recalibrate and learn its new power source.
For Neato models, run three full charge-discharge cycles—charge until the light goes solid green, clean till it says “my battery’s low,” then repeat.
Roomba 500 series? Hold spot and dock buttons till it plays the reset song, then charge directly for 72 hours—yes, really!
For 500-600 series, same button trick, then charge 12 hours.
Always let the battery drain fully once after installation.
Think of it like breaking in new sneakers—your robot’s gotta stretch its legs.
After calibration, expect 40–90 minutes of zippy cleaning.
Avoid deep drains later to keep your bot happy.
And hey, don’t skip the reset—it’s like a power nap that boosts battery life!
Frequently Asked Questions
Can I Replace the Battery With a Higher Capacity One?
Yep, you can totally swap in a higher-capacity battery!
Just make sure it fits your model—many Roombas and Coredy bots are happy with beefier 6800mAh replacements.
You’ll get way more cleaning time per charge, and some upgrades even last years longer.
It’s like giving your little robot a energy boost—more zing, less napping!
Smart, easy, and oh-so-satisfying.
How Often Should I Replace My Robot Vacuum Battery?
You’ll likely replace your robot vacuum battery every 2 to 3 years, maybe longer if you treat it right.
Think of it like a pet—neglect it, and it’ll act up!
If it’s running out of juice fast, taking forever to charge, or acting moody during cleanups, it’s probably begging for a new battery.
Keep it charged, avoid extreme temps, and it’ll thank you with extra life.
Is It Safe to Leave the Robot on Charge All the Time?
Yeah, it’s totally safe to leave your robot on charge all the time—really, it’s like giving your little cleaner a comfy bed to nap in between jobs.
Modern bots use smart chargers that stop pumping power once full, so no overcharging drama.
Just stick with the original charger, keep it cool, and your robot’ll stay happy, charged, and ready to sprint into action whenever you need it.
Think of it as a power nap champion!
Can I Recycle the Old Robot Vacuum Battery?
Yes, you can recycle your old robot vacuum battery—you absolutely should!
Tossing it in the trash is a no-go, but recycling keeps nasty chemicals out of landfills and gives valuable metals a second life.
Just power down the vac, pop the battery out safely, and drop it at Best Buy, Staples, or use Earth911.
It’s easy, eco-friendly, and kind of feels like giving your battery a retirement party!
What if My Robot Won’T Turn on After Battery Replacement?
If your robot won’t turn on after swapping the battery, don’t panic—you’ve got this!
First, check if the wires are snug and the connections are clean.
Use isopropyl alcohol to wipe contacts, then make sure it’s seated right on the charging dock.
Sometimes a quick hard reset fixes things—unplug, wait, then reconnect.
It’s like giving your robot a mini power nap!
Conclusion
You did it—congrats! Swapping that battery was easier than teaching your dog to roll over (and way less messy). Now your robot zooms like it’s caffeinated, cleaning corners it hasn’t seen in years. It’s basically reborn! Give yourself a high-five, because you just saved a planet—or at least your floors—and spared your wallet. Robot’s happy, you’re happy—total win. Go release that shiny new power on some dust bunnies!
References
- https://us.3itech.com/blogs/news/replace-robot-vacuum-battery
- https://www.ecovacs.com/us/blog/why-robot-vacuum-not-charging-how-to-fix
- https://www.robotreviews.com/chat/viewtopic.php?t=9013
- https://www.storeshoppe.com/blogs/news/how-to-fix-a-robot-vacuum-that-won-t-charge-a-practical-guide
- https://www.eufy.com/blogs/robovac/robot-vacuum-troubleshooting
- https://homesupport.irobot.com/s/article/19952
- https://forums.wyze.com/t/robot-vacuum-battery-replacement/254932/24
- https://www.ifixit.com/Guide/bObsweep+Robotic+Vacuum+Battery+Replacement/26938
- https://www.youtube.com/watch?v=e-bLuV5ABuQ
- https://www.youtube.com/watch?v=Rqfxe-AydGM