What to Do If Your Robot Vacuum Gets Wet
If your robot vacuum gets wet, turn it off immediately—don’t wait if it’s been splashed. Unplug it right away and remove the battery to prevent electrical shorts.
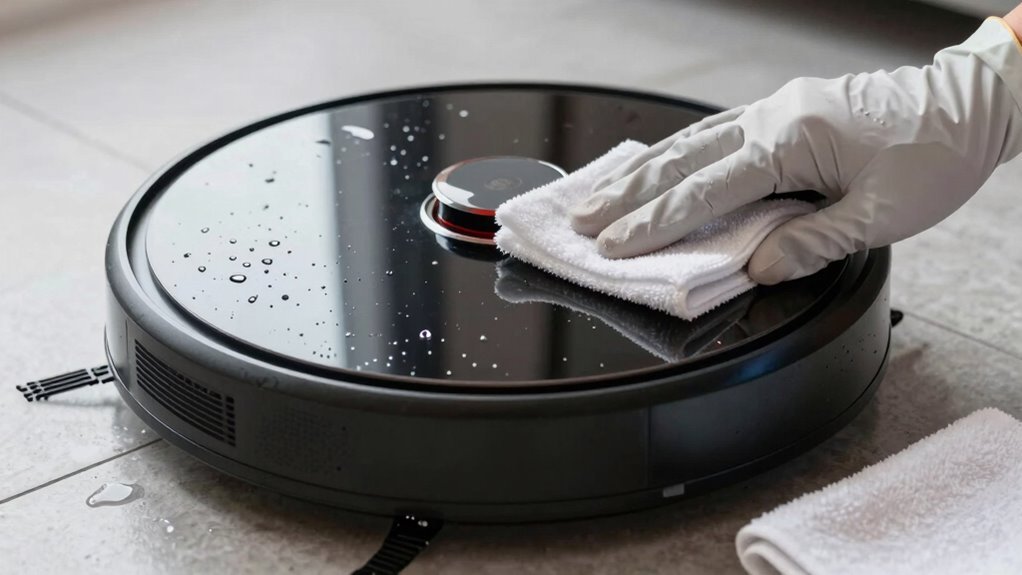
Flip the robot over to let water drain from the brushes, wheels, and sensors, then gently shake out any excess liquid. Use a soft cloth to dry all visible parts, focusing on openings where moisture can seep in.
Let your robot vacuum air-dry for at least 24 hours in a warm, dry place—avoid using rice, which can cause more harm. For better results, place it near silica gel packs to absorb hidden moisture.
Carefully clean the sensors and charging contacts, treating them with extra caution to avoid damage. Only test the robot’s power and movement once you’re certain it’s completely dry.
If your robot vacuum acts strangely, emits a burning smell, or fails to charge after drying, seek professional help. Hidden water damage may require expert repair to prevent long-term issues.
Turn Off and Unplug Immediately

Uh-oh—your robot vacuum just hit water? Don’t panic—just act fast!
Hit the power button or use the app to shut it down immediately; every second counts.
Keep it running, and you’re flirting with disaster—short circuits, fried circuits, or even a sputtering motor could be next.
Water sneaks into motors, wiring, and boards fast, and once it’s inside, damage can be permanent.
Plus, wet electronics? That’s a shock risk—not cool.
And nobody wants a slimy, bacteria-filled vacuum lurking around the house.
Killing power fast also helps protect your warranty; yeah, most brands won’t cover water damage, but quick action shows you’re on top of things.
After shutdown, you’ll check for moisture, but first—stop, drop (the idea of continuing), and dry.
Your vacuum’s counting on you.
Quick moves now save messes later!
Many models lack proper protection because their suction systems not built for liquids.
Remove the Battery Safely
Flip your robot vacuum upside down like you’re turning over a pancake—only this one’s soaked, and breakfast’s off the table.
Grab a Philips screwdriver and remove the screws securing the bottom plate; set them aside safely—don’t let them go rogue.
Gently lift the plate, watching for wires that might be in the way.
If brushes or rollers block access, take ‘em out quick—think of it as vacuum surgery.
Spot the battery and its connector—don’t yank, just squeeze the latch (if there’s one) and pull the plug, not the cord.
Check for clips or extra screws holding it hostage.
Grip the battery firmly, keep wires slack, and slide it out smooth and steady.
Inspect the casing and pins—no heroics if it’s soaked.
Never reuse a wet battery!
Write down the model number now—future you’ll thank you.
Have that fresh replacement handy, and make sure everything’s clear for reassembly.
Access is achieved by removing the roller brush cover first (roller brush cover).
Drain Water From Brushes, Sensors, and Motor
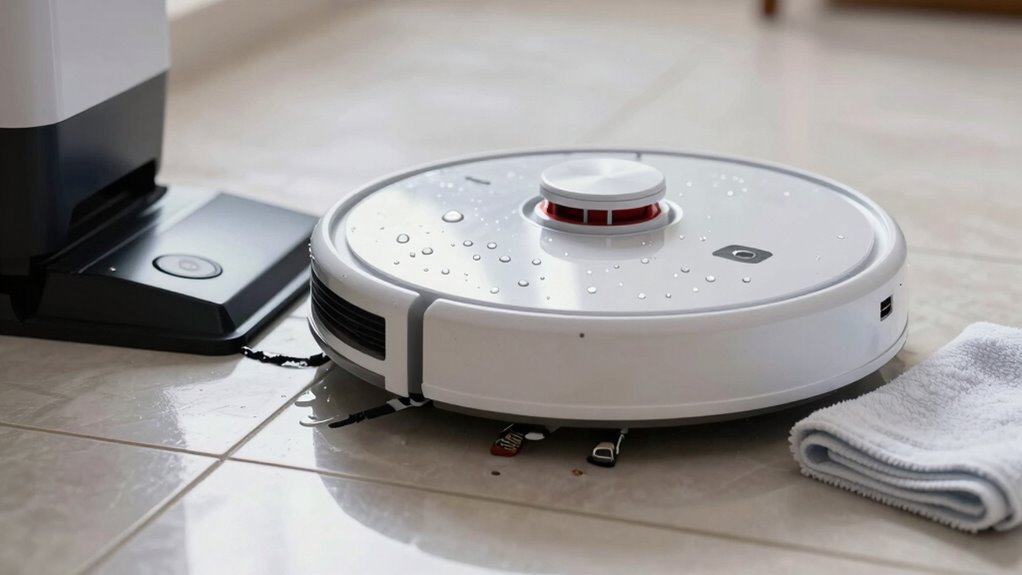
Grab your robot like it just walked out of a car wash—because right now, it kinda did!
Flip it upside down on a towel to let gravity drain water from brushes, wheels, and sensors.
Remove the main brush, side brushes, and mop pad—give ‘em a good shake or squeeze over the sink (not on your floors!).
Use a lint-free cloth to blot gunk from brush housing and wheel wells, and spin those brush ends to fling out trapped water.
Check sensors along the bumper and underside; wipe droplets with a dry microfiber cloth—no rough rubs!
If grime sticks, lightly dampen a cotton swab with distilled water, clean fast, then dry.
Keep charging contacts dry to avoid hiccups later.
Tilt the bot so motor vents face down, helping moisture escape safely.
Don’t blast the motor with suction—gentle fan airflow nearby works better.
You’ve got this—your robo-pal’s already looking drier!
Dry the Vacuum Completely
Now comes the hardest part—patience! Even though you’re dying to power it back on, resist the urge and let your robot vacuum dry completely.
Unplug it and remove the battery (if you can), so delicate bits inside don’t short-circuit or corrode.
Give it a solid 24 to 72 hours in a warm, breezy spot—think 20–30°C with airflow, not scorching sun or a damp closet.
Flip it occasionally like a rotisserie chicken so moisture escapes every nook.
Skip the hairdryer blast or radiator; gentle warmth only, please—no warping the plastic!
Surround it with silica gel packs (not rice—sorry, TikTok) and maybe toss in a dehumidifier nearby.
Keep the battery chillin’ solo until everything’s bone-dry, zero condensation anywhere.
Trust us, it’s worth the wait—your robot’s future sparks depend on it!
Clean Sensors and Charging Contacts
Keeping your robot’s senses sharp starts with a little TLC for its sensors and charging contacts—think of it as giving your robo-pal a spa day after a dip in the disaster zone.
First, power it off and unplug everything—safety first, right?
Grab a soft microfiber cloth and gently wipe down all the sensors; no wet wipes, no harsh stuff.
Use dry cotton swabs for tight spots and a small brush to sweep away sneaky dust bunnies.
Blow out crevices with short puffs of compressed air—don’t go full tornado, though.
Keep liquids far away from charging pins, and rub them with a dry cloth to zap grime and rust.
Check that the robot and dock connect smoothly, and watch for that happy charging glow.
Clean contacts mean better power flow and fewer “why won’t you charge?!” meltdowns.
Do this regularly and your robot will keep zipping around like it’s on a mission—because it is.
Inspect for Corrosion, Mold, and Residue
After giving your robot buddy a spa-like sensor refresh, it’s time to peek under the hood for more sneaky trouble that moisture might’ve left behind—because let’s face it, robots don’t exactly pack swim trunks.
Check screws, axles, and wheel pins for rust or flaking, and scan battery terminals and circuit boards for green gunk or white crust—classic signs of corrosion.
Use a flashlight to spot dark spots or lifted traces on electronics, especially near spots where water loves to hide.
Peek inside the dustbin, brush housing, and gaskets for fuzzy mold or musty smells—mold’s a sneaky party crasher.
Don’t skip seals and filters; they trap gunk and moisture like sponges.
If you spot sludge, white scale, or sticky films from dirty water, clean ’em gently.
Discoloration or chalky spots? That’s residue throwing a tantrum.
Stay sharp—today’s damp mess can mean tomorrow’s tech trouble.
Test Power and Core Functions
Getting that robot back on its wheels starts with a little suspense—like a robot version of “will it wake up?” Make sure it’s been fully dry for 24 to 48 hours, because rushing this part is like jumping into a pool before the lifeguard says it’s safe—risky and potentially shocking.
Pop the battery back in only after confirming everything’s dry, flip the power on away from the dock, and hold your breath—did it beep? Lights up? Smell weird? No fireworks? Awesome.
Now see if it still *does* what it’s supposed to:
- Spin those wheels – start a quick test run and watch for smooth, even driving
- Check its senses – press bumpers, watch cliff sensors, and confirm it reacts like it’s alert and not zombified
- Charge it up – place it on the dock and see if it plays nice with the charger, no tantrums or blinking SOS
You’ve got this—if it moves, beeps, and charges, you just pulled off a robot resurrection!
Diagnose Common Post-Spill Failures
So, what’s really going on inside your once-zippy robot pal after its unexpected splash bath?
Water’s sneaky—it creeps into motors, mucks up sensors, and throws a wrench in your robo-cleaner’s groove.
If it’s making grinding noises or drags a wheel, moisture likely sabotaged the motor or bearings.
A spinning brush that sputters? That’s water playing hide-and-seek in the gearbox.
Smell something burning? Yikes—don’t ignore that; it could mean fried wires.
Power issues? No lights, weird beeping, or sudden shutdowns often mean soaked circuits or corroded contacts.
Maybe it’s ghost-dancing instead of cleaning—circling, missing stairs, or butting into walls?
Hello, drowned sensors!
And if it keeps rebooting or shows the same error, your main board might be throwing a tantrum.
Spot green gunk inside? That’s corrosion throwing a pool party where it shouldn’t.
Time to play detective—your robot’s clues are waiting.
Prevent Future Spills and Water Exposure

You’ve seen what water can do to your robot vacuum—sneaky spills lead to sputtering brushes, confused sensors, and that unmistakable “uh-oh” spin cycle of doom.
But don’t sweat it! With a little prep, you can keep your robo-pal dry and dancing across clean floors. Think ahead, stay alert, and team up with smarter tech to dodge splash disasters.
- Schedule cleanings when spills are least likely, like after breakfast chaos settles or post-bath time dry-outs
- Use wet/dry vacs for messes with moisture—your robot’s not a swimmer, so save it for dry mopping duties
- Keep sensors sharp and dry by wiping them down and ditching damp mop pads before runs
A few simple habits go a long way. Your robot mightn’t love rainy days, but with your help, it’ll keep on rolling—no puddle panic needed!
Call for Repair When Signs of Internal Damage Appear
What’s that weird noise—like your robot vacuum is trying to sing opera through a mouthful of screws?
If your bot’s making grinding, buzzing, or squealing sounds after a spill, don’t ignore it—something’s wrong inside.
Same goes if it won’t turn on, smells like burning, or zips around like it’s dizzy.
These aren’t quirks; they’re red flags.
Water can fry circuits, wreck motors, or corrode parts slowly over time.
You might see gunk on the battery or notice it won’t charge at all.
Even if it seems fine at first, hidden damage can grow.
Keep using it, and you risk shock, fire, or turning it into a very expensive paperweight.
When weird stuff happens, stop using it and call for repair.
Better safe than sorry—let the pros peek under the hood before things get worse.
Your robot’s worth the TLC!
Frequently Asked Questions
Can I Submerge My Robot Vacuum for Cleaning?
No, you can’t submerge your robot vacuum—it’s not waterproof, and doing so’ll fry the brains, motor, and battery fast.
Think of it like dropping your phone in water—yikes!
Instead, use a damp cloth to wipe it down, clean the brushes, and empty the bin.
Keep it smart, simple, and dry.
Your robo-pal will thank you with many more happy zips under the couch!
Will Water Damage Void My Warranty?
Will water damage void your warranty?
Yep, it usually does.
Most brands like SharkNinja and Roborock don’t cover liquid mishaps under standard warranties—spills, floods, even mopping with the wrong model counts as misuse.
Think of it like taking a toaster swimming; fun to imagine, not so smart in real life.
Check if you’ve got accidental damage coverage, ’cause that’s your only hope if H₂O’s involved.
How Do I Know if My Model Is Waterproof?
You can tell if your robot vacuum is waterproof by checking its IP rating—look for something like IPX7 or IPX8, which means it can handle water.
If it’s just IPX0 or has no rating, it’s not waterproof.
Peek at the manual or product label, and if they’re chatting about mopping, splashes, or self-cleaning docks, you’re likely safe for light moisture—but save the swimming pool party for the rubber ducky.
Can I Use It on Damp Floors?
You can use it on slightly damp floors if it’s a combo model with mopping—60% of robot vacuums sold today handle light moisture, so you’re likely in luck.
Just keep the dampness minimal, like after a quick wipe, not a mop party.
Too wet? Nope.
Sensors might freak, motors could sulk, and your vacuum might just throw a tiny, expensive tantrum.
Play it safe and skip puddles!
Is It Safe to Clean With Wet Wipes?
Nope, you shouldn’t clean with wet wipes—they’re a sneaky hazard for your robot vacuum.
Those disinfectant wipes pack harsh chemicals that leave gunky residue, mess with sensors, and can even void your warranty.
Think of it like feeding your robot a junk food snack—sure, it might seem fine at first, but it’ll backfire later.
Stick to water or approved cleaners instead, and your little robo-friend will keep zipping around happily, healthy and grime-free!
Conclusion
So, your robot vacuum took a swim—oops! But hey, you’ve dried it, cleaned it, and tested it like a pro. Isn’t it amazing how a little quick action can save your robo-pal? Just remember, keeping it away from puddles isn’t just smart, it’s a splash-free superpower. With a little care, your trusty cleaner will keep zipping around, doing the work so you don’t have to. Ready to let it roll again?
References
- https://us.narwal.com/blogs/cleaning-guide/vacuum-liquid-spills-robot-vacuum
- https://www.ecovacs.com/us/blog/can-you-vacuum-water
- https://www.bestbuy.com/site/questions/ecovacs-robotics-deebot-x1-omni-robot-vacuum-mop-with-auto-empty-and-refill-laser-mapping-ai-object-recognition-and-self-clean-white-silver/6525008/question/ef7f1159-fe9a-3eb4-898a-cbd2204cc2c2
- https://www.youtube.com/watch?v=eFX3-rQZNqg&vl=en
- https://www.robotreviews.com/chat/viewtopic.php?t=10032
- https://www.eufy.com/blogs/robovac/robot-vacuum-cleaning-solutions
- https://www.youtube.com/watch?v=sKAVnslVfOc
- https://forums.wyze.com/t/robot-vacuum-battery-replacement/254932/24
- https://us.3itech.com/blogs/news/replace-robot-vacuum-battery
- https://www.youtube.com/watch?v=UPlHXpxAr24