How to Clean a Robot Vacuum After a Pet Accident
Turn off your robot vacuum and unplug it—safety first! Empty the dustbin into a sealed bag to contain odors and prevent mess spread.
Wash the dustbin with soapy water and let it dry completely before reinserting. This step is crucial when you clean a robot vacuum after a pet accident to maintain hygiene and performance.
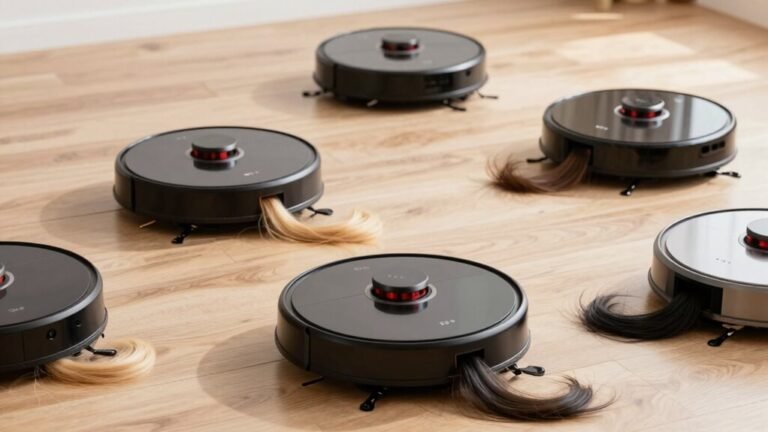
Remove the brushes and cut away any tangled pet hair缠绕. Rinse the roller thoroughly to eliminate residue and allergens left behind.
Wipe the sensors with a soft, dry cloth to ensure accurate navigation. Clean the wheels with a damp wipe to remove debris that could impair movement.
Eliminate lingering odors using vinegar or an odor-neutralizing product designed for pet messes. Reassemble all parts, run a test cycle, and your robot vacuum is ready to keep pet zones pristine.
Turn Off and Unplug the Robot

Stop what you’re doing—your robot vacuum just met a pet mess, and it’s time to take control (literally).
First, hit that power switch—usually on the bottom or side—and switch it off. This little step keeps things safe and stops any surprise robot dances while you deal with the disaster.
And please, don’t skip it—safety first, superstar!
Next, unplug the charging base like you’re giving your vacuum a time-out. It’s not mad, but unplugging avoids shocks, shorts, or worse—fire risks.
Think of it as a pit stop after a messy race. Plus, it keeps the bot from trying to charge with dirty, damp parts, which could ruin its mojo.
You’ve got this! Just remember: off, unplug, breathe easy.
Your Roomba didn’t sign up for this either—be its hero.
Many modern robot vacuums, like the Narwal Freo Z Ultra, are designed with pet-friendly sensors to avoid accidents before they happen.
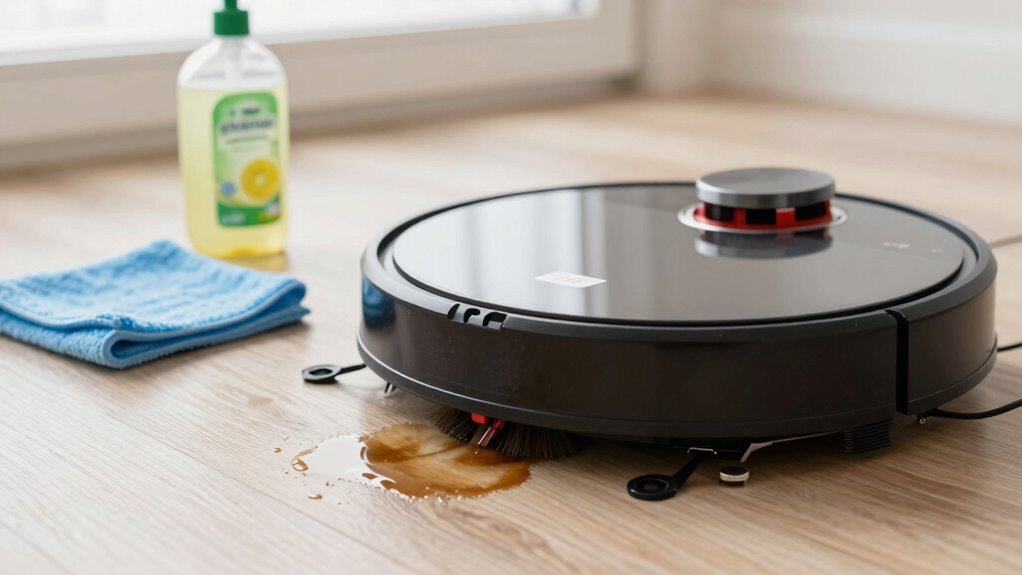
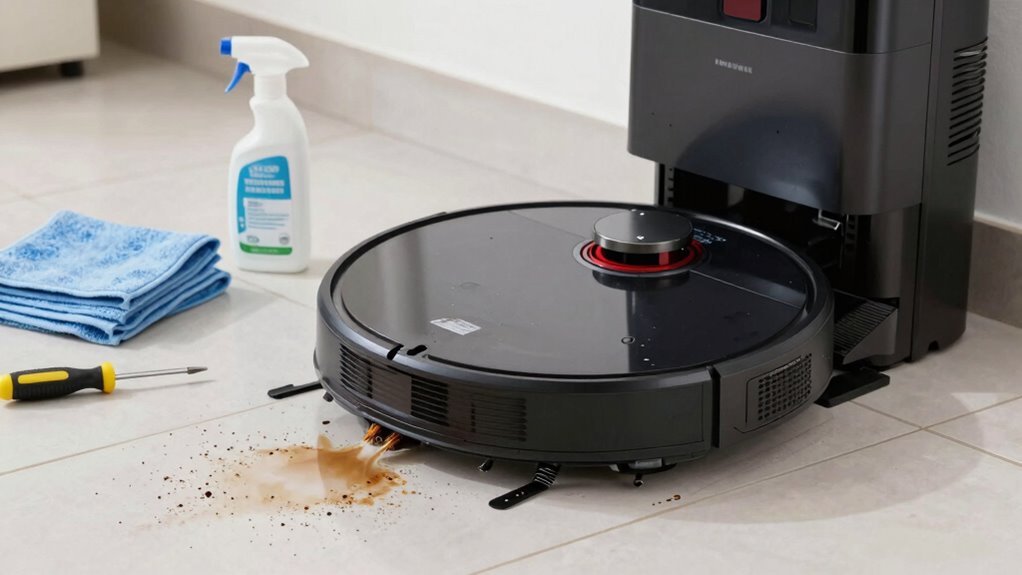
Empty and Wash the Dustbin Immediately
Pop that dustbin out right away—don’t wait, don’t hesitate! You’ll want to handle this fast to avoid mess meltdown. Because robot vacuums rely on basic sensors and lack advanced object recognition, they can’t distinguish pet waste from dirt, increasing the risk of spreading messes during cleanup. Here’s your quick cleanup roadmap:
| Step | What to Do | Pro Tip |
|---|---|---|
| 1 | Empty contents into a sealed trash bag | Skip the shake—it’s splash city! |
| 2 | Rinse with warm soapy water | Scrub those sneaky corner gunk spots |
| 3 | Soak in vinegar-water mix | Say buh-bye to icky odors |
| 4 | Dry completely before reassembling | Mold’s not invited to this party |
Give it a good scrub, rinse till the water runs crystal clear, and never use harsh stuff—it’ll wreck the plastic. If your vacuum’s got a self-empty base, lucky you—less mess, more peace. Oh, and if the bin’s cracked or grossed out? Time for a replacement. Your robot (and nose) will thank you!
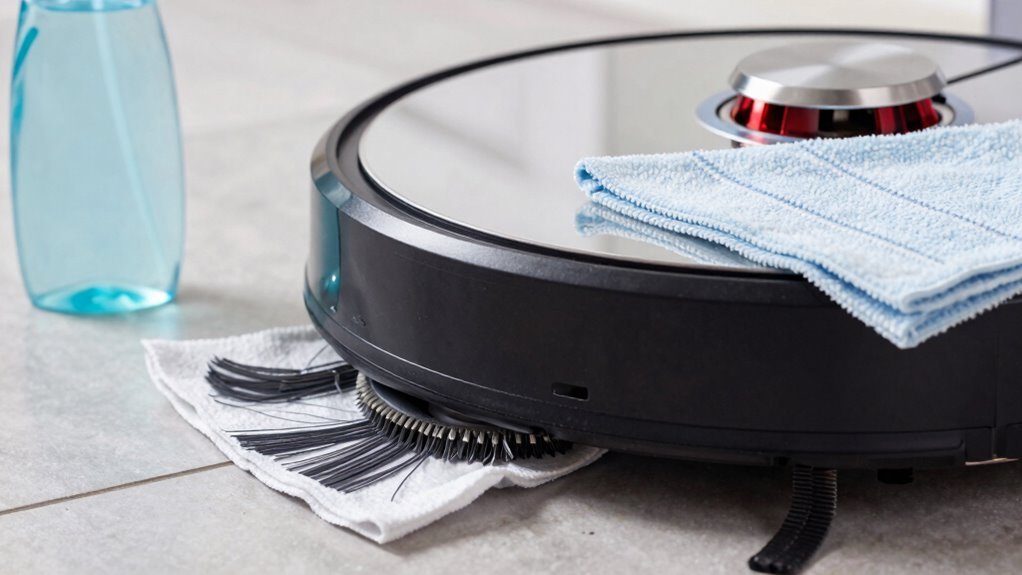
Remove and Clean Main and Side Brushes
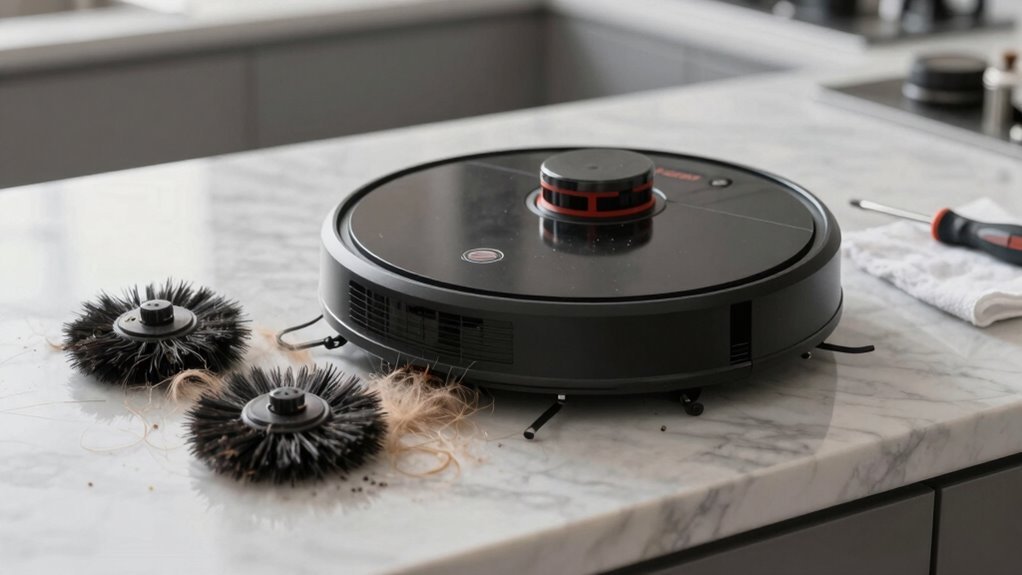
Getting those brushes fresh and tangle-free is like giving your robot vacuum a spa day—minus the cucumber water, but hey, it’ll feel just as refreshed!
First, unplug your vacuum and flip it upside down.
Remove the brush cover with a screwdriver or latch, then slide out the main brush roll gently.
Check for pet hair wrapped around it, and snip through tangles with scissors or a seam ripper—go slow to protect the bristles.
Pop off the end caps to clear hidden gunk.
Scrub the roller with soapy water and a toothbrush, focusing on grimy spots, then rinse and air-dry completely.
For side brushes, just pull them off, wipe away debris, and give the bristles a quick clean.
Make sure everything’s dry before snapping them back in place.
Your robot will spin freely and clean better—no more dragging pet mess like a tiny, confused mop!
Clean Navigation and Cliff Sensors
Keep your robot’s vision crystal clear by giving its navigation and cliff sensors some tender loving care.
After a pet mess, gunk can cling to these tiny but mighty parts, leaving your vacuum confused—or worse, falling down stairs!
Don’t worry, cleaning them is quick and easy.
Just follow these steps:
- Turn off and unplug your robot, then place it on a flat surface. Remove the dustbin and locate the sensors—usually on the front bumper, base, or top.
- Gently wipe each sensor with a dry, soft lint-free cloth or cotton swab; use compressed air or a small brush for stubborn dust in tight spots.
- Avoid wet cloths, harsh chemicals, or poking too hard—your robot doesn’t need a spa day with steam.
Power it back on, let it roam, and watch it navigate like a pro again—no more “lost in space” moments!
Disinfect Wheels and Underside
Grab your cleaning crew—those little wheels and the underside of your robot vacuum just took one for the team after the pet incident.
First, turn off the power switch underneath and remove the battery if possible.
Use a damp cloth to wipe grime off wheel surfaces, then wrap a baby wipe around the tread like a tiny tire chain—spin it 2-3 times to trap gunk.
Swap in a dry paper towel to soak up moisture, and don’t forget Q-tips for sneaky debris in wheel grooves.
Avoid soaking any parts—water near electronics is a no-go.
Dab rubbing alcohol on sticky spots or use a bit of 409 on non-electric areas.
Spray Lysol only on safe, dry surfaces.
Then, give the whole underside a quick pass with a wet cloth, hit crevices with compressed air, and let it air-dry completely before reassembling.
You’ve got this—your RoboVac’s heroics deserve a clean reward!
Eliminate Lingering Pet Odors
While your robot vacuum bravely battles pet messes, lingering odors can sneak around like uninvited guests at a house party.
Don’t worry—you’ve got ways to kick those stinky crashers out for good.
Here’s how smart tech helps you win the war on smells:
- Use high-temp mop cleaning – Models like the DEEBOT X8 PRO OMNI wash mops at 104–158°F, nuking urine residue so odors don’t bounce back.
- Let anti-odor tech fight for you – Shark robots neutralize stink at the source, turning smelly spots into fresh zones with built-in odor-fighting power.
- Rely on daily mopping & smart avoidance – AIVI 3D 3.0 and Roomba j7+ dodge waste like pros, while frequent cleaning stops odors before they start.
With these features, your home stays fresh, your robot stays clean, and your nose says thanks—no party invites needed for pee smells!
Reassemble and Test Before Use
Now that you’ve kicked pet odors to the curb—no more unwelcome eau de doggy doo-do—let’s get your robot vacuum back in action.
First, power it down completely—don’t risk a surprise spin cycle!
Unplug the dock and double-check no jobs are queued.
Flip it over only when it’s off and dry.
Reinstall non-electronic parts first: wheels, brushes, rollers, and that bottom plate, snug with screws.
Snap in the sweeper motor and pop the hopper back in.
Then, gently reattach electronic bits like the side brush, cleaning head, and battery—keep everything dry, always.
Slather gears with dielectric grease to protect them.
Once all pieces are in place, charge it fully.
Run a quick test: watch the brushes spin, check the wheels roll, and listen—any weird noises mean recheck your work.
All good? Congrats, your robo-helper’s ready to roll—clean and confident!
Avoid Future Messes With Scheduling
Keeping your floors fur-free and accident-free starts with smart scheduling—think of it as giving your robot vacuum a game plan so it can outsmart messes before they even happen.
You’ve cleaned up, reassembled, and now it’s time to stay ahead of the chaos.
With a few smart tweaks, your robot can handle life’s little “surprises” like a pro.
Here’s how to lock in a schedule that works:
- Sync with your smart app to run cleanings during work hours or nap time—because who wants vacuum noise during movie night?
- Set daily runs for pet zones, especially kitchens and carpets, where fur, dander, and rogue kibble love to hide.
- Let it clean autonomously off-peak, so your robot battles dust bunnies while you sip coffee or binge your favorite show.
Consistency is key, and honestly, your robot’s got this.
Frequently Asked Questions
Can I Use Bleach to Disinfect My Robot Vacuum?
Nope, you shouldn’t use bleach—it’s a no-go for your robot buddy.
It can wreck sensors, eat away at parts, and leave yucky residue.
Plus, it might void your warranty!
Stick to mild, low-foam cleaners approved by the brand, or wipe down with a cloth dipped in disinfectant.
Your vacuum’s not a chemistry experiment—keep it safe, clean, and happy without the harsh stuff!
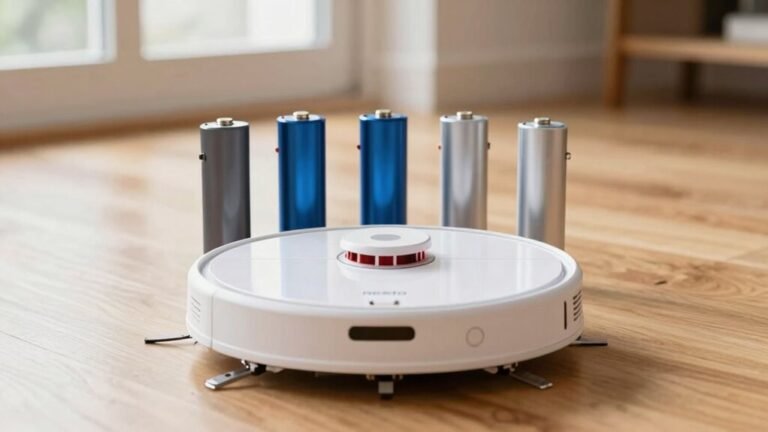
How Often Should I Replace the Filters in My Robot Vacuum?
You should replace your robot vacuum’s filters every 2 to 6 months, depending on your home.
Got pets? You’ll likely swap them every 2-3 months—those furry friends shed more and track in gunk.
If you clean daily or live in a dusty area, check often.
You’ll know it’s time when suction drops or odors linger.
Keep it fresh, keep it sucking!
Is It Safe to Clean the Robot Vacuum With Vinegar?
Nope, don’t even think about using vinegar—it’s like kryptonite for your robot vacuum!
Sure, it smells great, but that sneaky acid eats away at seals and metal, leaving your buddy leaking or broken.
Manufacturers totally frown on it, and boom: warranty gone.
Skip the drama and stick to approved cleaners or plain water.
Your vacuum won’t throw a fit, I promise!
Can Pet Hair Damage the Motor or Internal Components?
Yeah, pet hair can totally wreck your robot vacuum’s motor and insides if you let it build up.
It wraps around the brush, clogs suction paths, and makes the motor overheat.
Over time, all that gunk stresses the system, leading to burnout or failure.
Think of it like a bad hair day—but for your vacuum.
Clean it regularly, and you’ll keep it running smoothly and happily!
Should I Update the Robot Vacuum’s Software After Cleaning?
Yes, you should definitely update the software after cleaning—it’s like giving your vacuum a mini-brain boost!
Once it’s dry and reassembled, fire up the app and download the latest firmware.
It recalibrates sensors, sharpens navigation, and helps avoid future pet-related surprises.
Plus, it slashes error rates and keeps your bot running smoothly.
Don’t skip it—your robot’ll thank you, probably with fewer poop mishaps!
Conclusion
And just like that, your robot’s back in action—clean, fresh, and ready to roll! Think of it as a spa day, minus the cucumber water. You’ve wiped away the mess, banished the stink, and now it’s all systems go. Who knew cleaning a vacuum could feel so victorious? So hit that start button with pride, because you, my friend, just turned a pet-pocalypse into a win. High fives all around!
References
- https://us.narwal.com/blogs/pet-friendly/robot-vacuums-safe-children-pets
- https://intervacdesign.com/safety-hazards-associated-with-robot-vacuum-cleaners-a-detailed-review/
- https://service.eufy.com/article-description/What-to-do-if-RoboVac-Goes-over-Pet-Poop-or-Water
- https://ca.dreametech.com/blogs/blog/do-robot-vacuums-avoid-dog-poop
- https://www.reviewed.com/robotvacuums/features/irobot-j7-vs-samsung-jetbot-90-ai-poop-challenge
- https://homesupport.irobot.com/s/article/31200
- https://www.bestbuy.com/site/questions/bobsweep-bob-pethair-plus-robot-vacuum-and-mop-charcoal/5869402/question/12348021-f9b6-328e-b0bf-302aedaa991f
- https://www.dreametech.com/blogs/blog/do-robot-vacuums-avoid-dog-poop
- https://www.ecovacs.com/us/blog/robot-vacuum-avoid-poop
- https://www.youtube.com/watch?v=510YplQzd0E