How to Maintain a Robot Vacuum’s Mopping Attachment
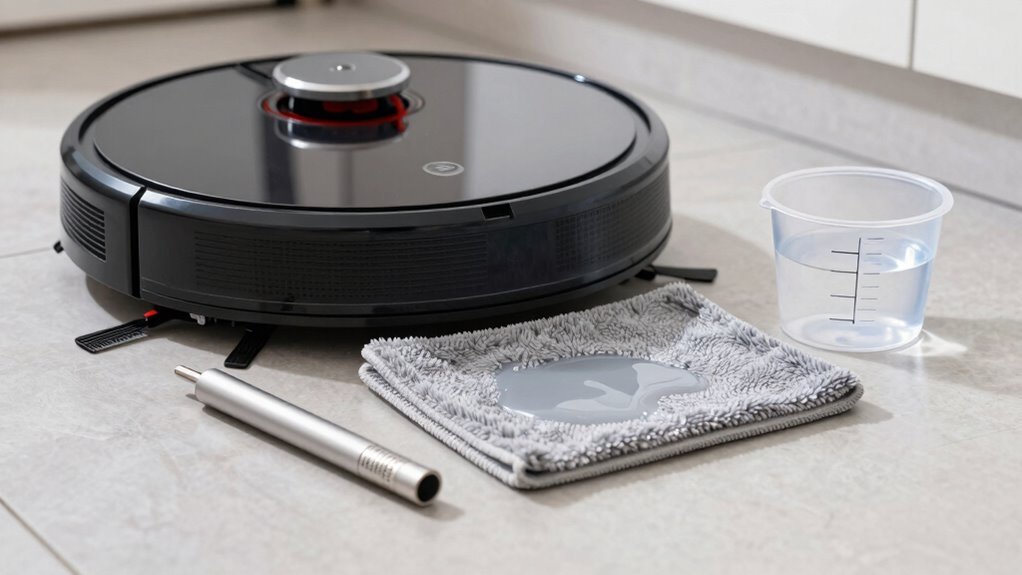
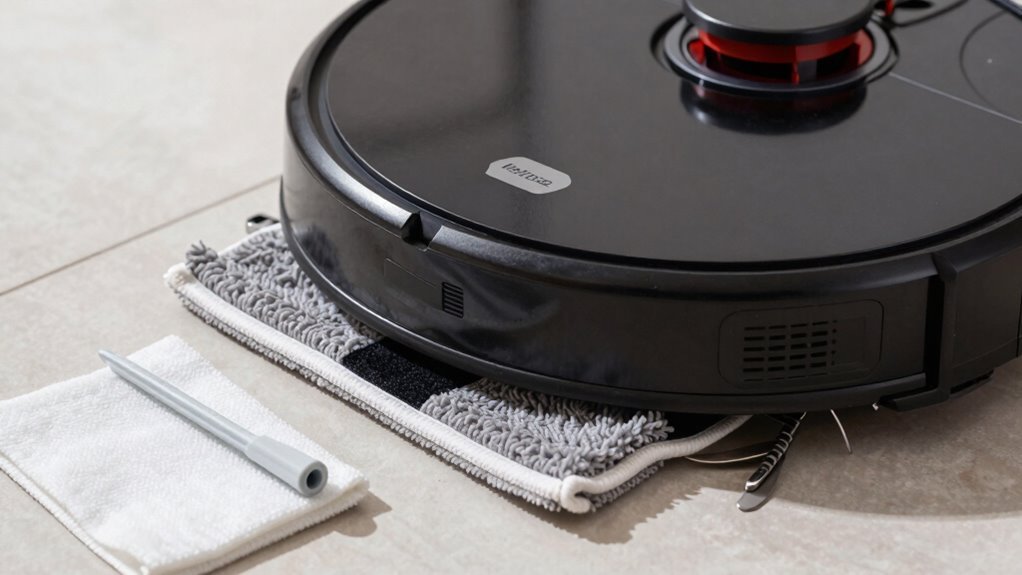
To maintain a robot vacuum’s mopping attachment, start by removing the mop pad—most designs click or slide off easily. Rinse it under the tap like you’re cleaning muddy sneakers, then squeeze out excess water and debris.
Hang the mop pad to dry completely, as leaving it damp can lead to odors and mold. For deeper cleaning, toss it in the washing machine weekly and inspect regularly for fraying or persistent smells.
Replace the mop pad if it shows signs of wear or won’t come clean. Don’t forget to wipe down the mopping attachment frame to prevent grime buildup. Keeping the robot vacuum’s mopping attachment clean ensures effective, hygienic mopping every time.
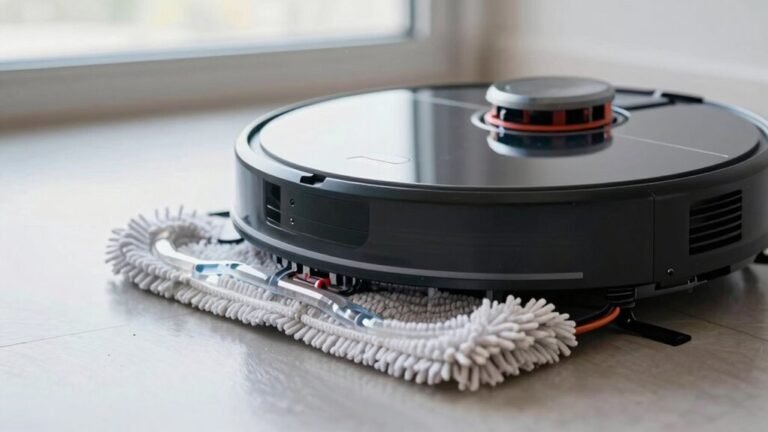
Remove the Mop Pad Safely
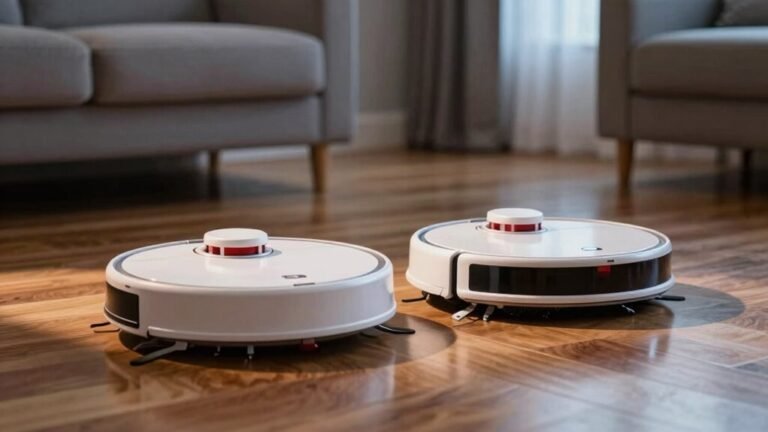
Lifting that mop pad off your robot vacuum doesn’t have to feel like defusing a bomb—most models make it quick and foolproof.
If you’ve got a Roborock Qrevo S, just yank the pad up—magnets hold it in place, so it snaps right off.
No tools, no stress, no drama.
For Eufy fans with an L35 or LR30, press both sides of the black mopping module and hold—yes, it’s a two-finger salute, but it keeps things secure while cleaning.
Slide a pad out backward if you’re dealing with Velcro grooves on a S7 Max Ultra—just make sure it’s right-side-up when reattaching.
Detaching’s also your chance to sneak a peek at the brush guard, and hey, maybe even say hi to dust bunnies hiding underneath.
Removing the pad isn’t just easy—it’s the gateway to a cleaner, longer-lasting robot.
And remember, the mopping module must be removed for the Auto-Empty function to work properly at the station.
Ta-da!
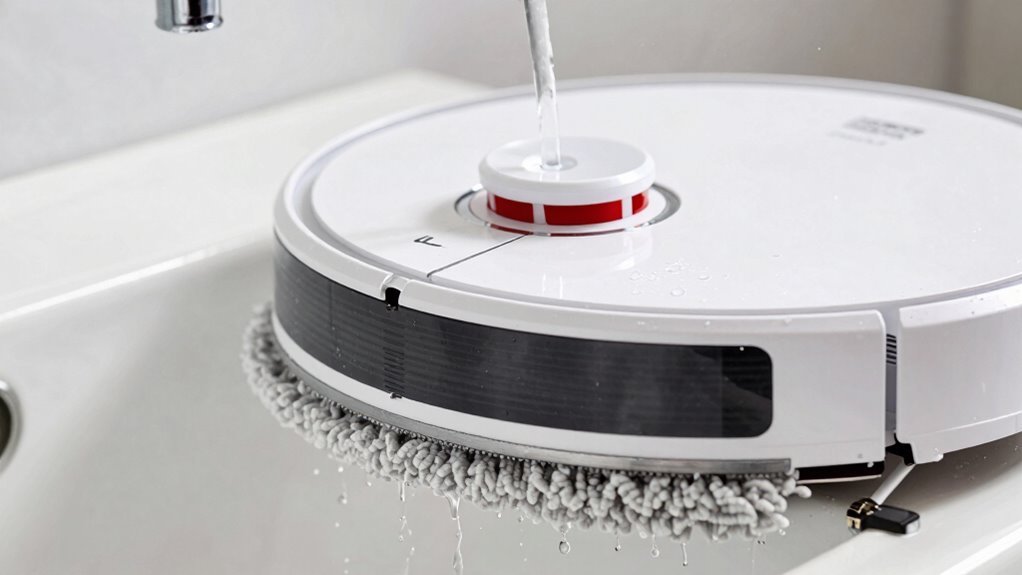
Rinse the Mop Pad After Every Use
Now that you’ve got that mop pad off—whether you’re cracking it free like a magnetized puzzle piece or giving it a cheeky two-finger farewell—it’s time to get it squeaky clean.
Rinse it right away under running water so gunk doesn’t harden and turn into a dirt petrified crime scene.
A quick rinse takes less than a minute and zaps away 80–90% of grime.
Give it a gentle scrub with a soft brush or your fingers, especially along the edges where hair likes to hide.
Use a drop of mild dish soap mixed with water to bust through oils, but rinse it all out—no soapy leftovers!
Tap it against the sink to shake loose debris, then lay it flat or hang it over the edge to dry.
No heat, no dryer, no drama.
This simple step keeps your pad fresh, effective, and ready for its next mop mission.
Drying the pads completely prevents mold and odors while maintaining mopping effectiveness.
Wash the Mop Pad Weekly
Yep, it’s true—you really should wash that mop pad every week, even if it looks “kind of fine.”
Think of it like your toothbrush: just because it ain’t grimy to the eye doesn’t mean it’s not quietly harboring a bacterial party.
A weekly wash keeps your floors actually clean—no nasty residue, no sneaky streaks—just fresh, sparkling results.
It’s a small step with big payoff, and your robot will thank you (figuratively, of course—it can’t talk… yet).
- Check for visible dirt or funky smells, even if it seemsokay
- Use warm water and a splash of mild soap for a deep refresh
- Scrub gently to get gunk out of those tiny fibers
- Rinse thoroughly so no soap stays behind
- Swap in a clean pad while the other dries to keep things rolling smoothly
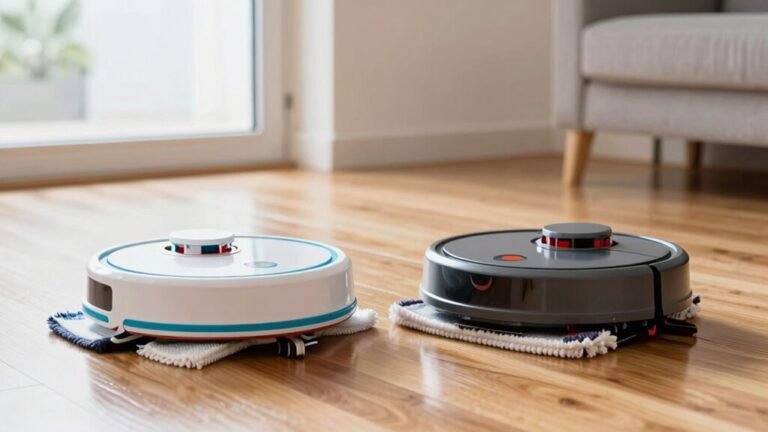
Dry the Mop Pad Completely
Wipe that mop pad dry—really dry—because a damp pad is like a welcome mat for mold, mildew, and funky smells no one invited. You’ve cleaned it, so don’t undo your hard work with leftover moisture! If your robot’s smart, like the ROBOROCK Qrevo Curv 5A, it’ll auto-dry after washing—nice, right? Just check the app to start, stop, or tweak settings.
Got a XIAOMI X20 Pro? Choose 2, 3, or 4 hours of drying; iRobot Roomba 405 gives you up to 12 hours—plenty of time to kick back. Spin the wheels, wipe the tray, and let everything air dry fully.
Narwal and Shark bases handle drying post-mop, but toss pads in a breezy spot when needed. Drying keeps smells away, stops bacteria, and means fresher mops every time. Trust us, your floors (and nose) will thank you—no mildew mosh pits allowed!
Check the Mop Pad for Damage
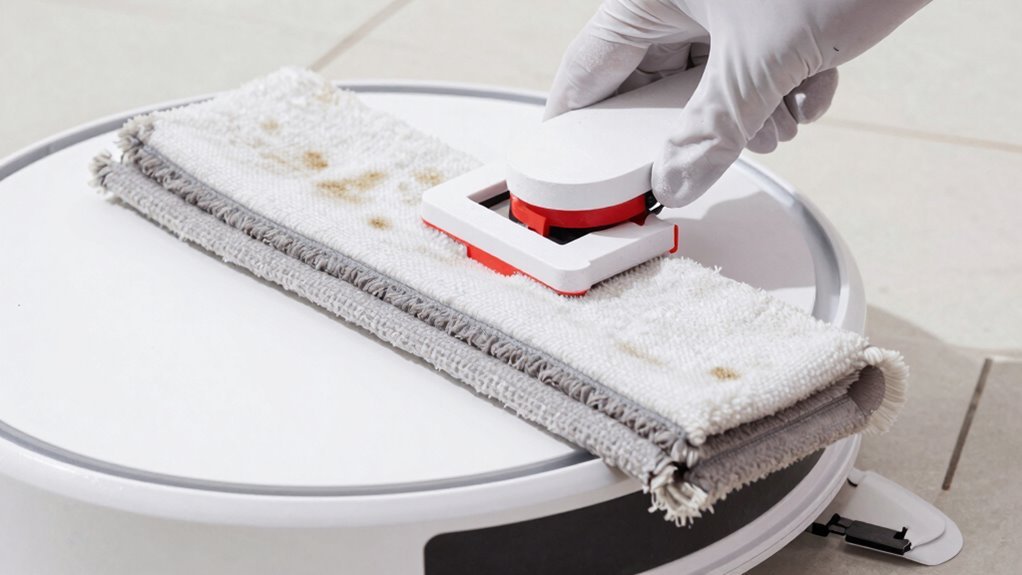
That fresh, dry mop pad you’re so proud of? It might be hiding secrets.
Time to play detective and check for damage before it ruins your floors or your robot’s groove.
A quick inspection keeps your mopping game strong and stops tiny tragedies—like leaving streaks or scratching your hardwood like a cat with a bad attitude.
- Scan for tears, holes, or frayed edges – even small rips can worsen fast.
- Look for clumped or worn fibers – bald spots mean sad, ineffective mopping.
- Check the attachment points – if they’re stretched, your pad might moonwalk off mid-clean.
- Hunt for trapped grit or hair – hidden junk can scratch or clog.
- Test for stiffness or thinning – if it feels like cardboard, it’s not helping.
Stay sharp, keep it clean, and your robot will keep dancing its way to spotless floors.
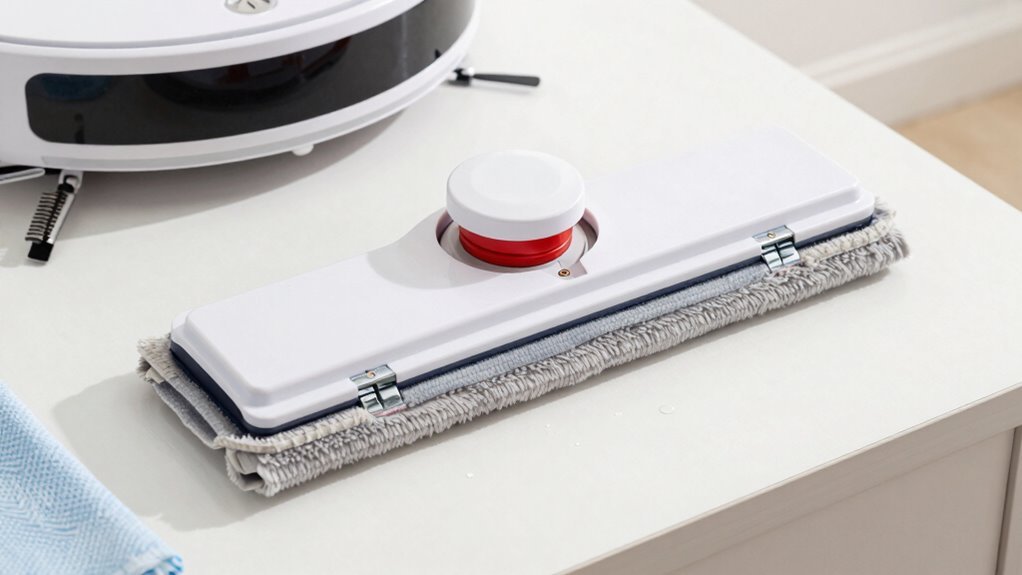
Replace Worn or Smelly Pads
When your mop pad starts looking more like a rag from a horror movie than a cleaning tool, it’s time to swap it—no more pretending that funky smell is “just character.”
If your floors are left with streaks, puddles, or that mysterious funk lingers no matter how many times you wash the pad, chances are it’s crying out for retirement.
Frayed edges, thin spots, holes, or a sad, warped shape? Replace it.
Smells like a locker room or ammonia? That’s bacteria throwing a pool party in damp fibers.
Yuck.
Turn off your bot, flip it, and gently peel off the old pad—don’t yank it.
Line up the new one with the grooves, snap in the tab, and press it snugly onto the Velcro.
Done right, it’ll stay put and mop like a champ.
Keep extras on hand—you’ll thank yourself later.
Clean the Mop Frame and Connector
Flip that robot over and let’s dive into cleaning the mop frame and connector—because even hardworking bots need a little spa day.
Start by removing the frame and checking for gunk, then give every nook some love.
Rinse the parts, wipe the connectors, and make sure everything dries fully—because soggy bots aren’t a thing (yet).
Reconnect it all carefully, and voilà, your mop’s ready to roll again.
- Pull out the mop frame and shake off loose debris like it’s last winter’s coat
- Scrub tight spots with a toothbrush—those little bristles are mop superheroes
- Wipe connector pins gently; think of it as flossing your robot’s teeth
- Rinse the frame, but skip the soap—nobody wants a sudsy surprise
- Air-dry completely and reattach with confidence, listening for that satisfying click
Frequently Asked Questions
Can I Use Third-Party Mop Pads?
Yeah, you can totally use third-party mop pads—they’re like the cool cousins of the original ones!
They stick securely, clean well, and save you cash.
Just make sure they fit your model, whether it’s a Roborock, Roomba, Shark, or EVERYBOT.
Most work just as good as the brand-name pads, so you’re not missing out.
Plus, swapping them is a breeze.
Your robot won’t even notice the difference—unless it’s keeping score.
How Often Should I Descale the Water Tank?
An ounce of prevention beats a pound of repair, so descale your water tank whenever the *“DESCALING NEEDED”* alert pops up—usually every 1–3 months.
You’re using tap water, right? Minerals sneak in and gunk things up faster than you’d think!
Pop in a branded descaling tablet, run a cycle, then rinse.
Trust me, your robot’ll thank you with smoother mops and fewer grumbles. Keep it fresh, keep it flowing—happy floors await!
Is It Safe to Mop Hardwood Floors?
Yes, you can safely mop hardwood floors as long as you keep things damp, not wet—think “just-squeezed” damp.
Use low moisture settings, avoid harsh cleaners, and skip the rugs.
Most robot vacuums lift or turn off mops automatically, which is totally rad.
Just don’t let it turn your prized oak into a slip ‘n’ slide.
Dry pads between runs, and your floors’ll stay happy, shiny, and scratch-free—no drama!
Can I Use Vinegar in the Water Tank?
Nope, you really shouldn’t use vinegar in the water tank—sorry, hack lovers!
It might seem like a natural cleaner, but it’s basically a tiny acid bath for your robot’s insides.
It’ll eat away at seals, corrode parts, and could leave gunk behind.
Plus, it’ll void your warranty faster than you can say “whoops.”
Stick to distilled water or a robot-approved solution—your little cleaner will thank you with years of happy mopping!
Should I Empty the Water Tank After Each Use?
Yes, you should empty the tank after each use—you don’t want funky smells sneaking out later!
Stagnant water breeds bacteria, leaves gunk, and can mess with your next clean. Even if your robot’s fancy and semi-self-sufficient, playing it safe keeps things fresh. Think of it like tossing a wet sponge in the sink overnight—gross, right? A quick dump and rinse make your machine happier and healthier, and hey, it’s a tiny effort for way less moldy drama later!
Conclusion
You’ve got this! Tackle mop care like a pro, and your robot will keep floors sparkling like it’s on a magic carpet ride. Rinse that pad after each use, give it a weekly wash, and let it dry fully—no soggy socks allowed! Check for wear, swap out stinky pads, and wipe down the frame. A little love goes a long way, turning chore time into *easy-mode* living. Your clean floor dreams? Totally robot-powered now.
References
- https://www.youtube.com/watch?v=1glcAk7-8Nc
- https://service.eufy.com/article-description/How-to-install-and-remove-the-mopping-module-for-RoboVac-L35-LR30-Series
- https://www.ifixit.com/Guide/Kilgone+G20+Mop+Pad+Replacement/179365
- https://www.youtube.com/watch?v=o0H3uXnlg0I
- https://www.youtube.com/watch?v=i0Lr8L5rVXQ
- https://ecovacsindia.in/FAQs/171/how-do-i-disassemble-the-mopping-pad-plates-and-clean-the-mopping-pads/
- https://www.youtube.com/shorts/ZtAUo6Xs44Q
- https://us.narwal.com/blogs/product/how-maintain-robot-vacuum
- https://www.youtube.com/watch?v=lBhV_mXSIxk
- https://www.youtube.com/watch?v=Szrm7YITYsg