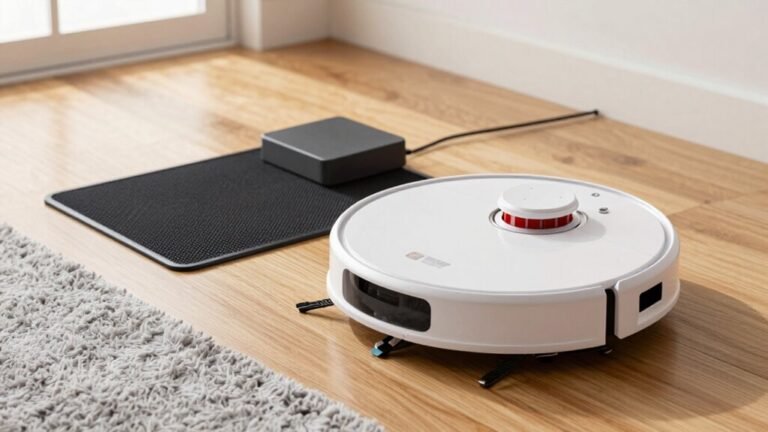
Robot Vacuum Maintenance: Do’s and Don’ts
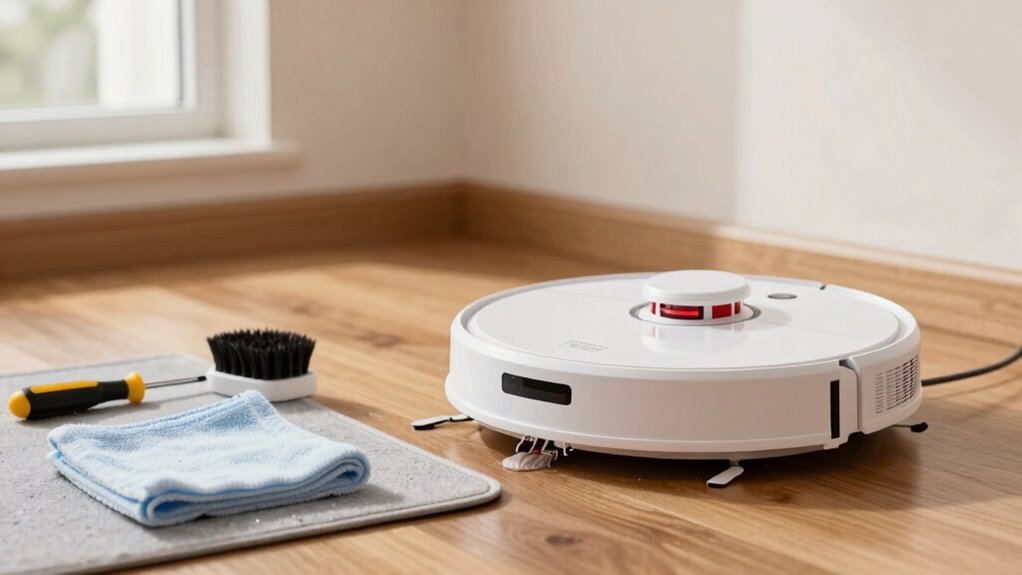
Empty the bin after every clean—nobody likes a stinky surprise. Regular robot vacuum maintenance keeps your device running efficiently and extends its lifespan.
De-tangle brushes weekly (more if you’ve got shedders!) to keep things running smoothly. Wipe sensors with a soft cloth and clean wheels to ensure accurate navigation and optimal performance.
Replace filters every few months and update firmware regularly for the best results. Never let a dry-only model near wet floors—save the swimming for vacations.
Give your robo-pal a monthly spa day with a thorough checkup. Oh, and there’s still a few genius robot vacuum maintenance tips you haven’t heard yet…
Empty the Dustbin After Every Clean

Keeping your robot vacuum running strong starts with a simple habit—emptying the dustbin after every clean.
You wouldn’t wear dirty socks all week, so why let your robot slosh through pet hair and dust bunnies without a break?
If you’ve got a regular model, dump the bin every two to three days; for self-emptying bases, you’re golden for 30 to 60 days.
Pet owners or busy households? You’ll need to empty it more—fluffy sheds more than your sweater in spring!
Skipping it means stinky bins, weaker suction, and surprise messes mid-clean.
But stay on top of it and you’ll enjoy longer runs, fewer repairs, and a robot that actually works.
Think of it as a quick pit stop—your little cleaner will come back strong, ready to tackle crumbs like a champ.
Emptying the bin regularly helps prevent mold and bacteria growth from trapped moisture and debris.
Empty it, power up, and let the magic continue!
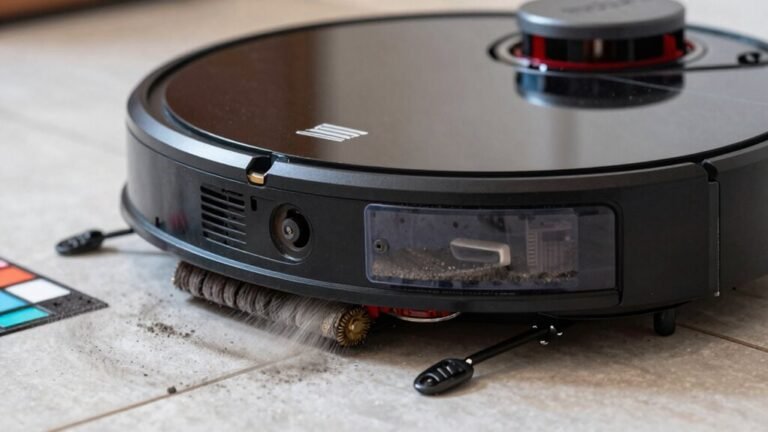
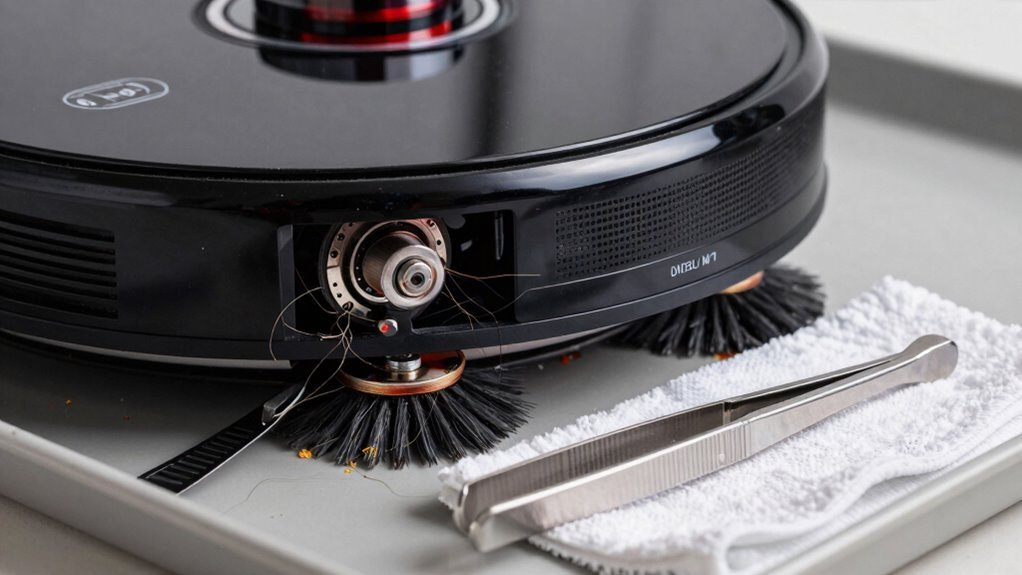
De-Tangle Brushes Weekly to Avoid Clogs
Once a week—and twice if you’ve got furry friends shedding like it’s their job—give your robot vacuum’s brushes some love by de-tangling them.
This quick habit keeps your bot running strong and stops hair, strings, and gunk from gumming up the works.
Skipping it? You’re asking for clogs, weak suction, or even motor burnout.
Not cute.
Show those brushes some TLC and your vacuum will thank you with better cleanups and a longer life—plus, no more weird tangles that look like modern art gone wrong.
- Flip your robot over, remove the brush cover, and slide out the roller brush.
- Use scissors or a seam ripper to cut away hair and threads wrapped tight.
- Clean side brushes by pulling them out and wiping off dirt and fuzz.
- Scrub bristles gently, let dry fully, and check for cracks or fraying before reassembling.
Regular maintenance helps preserve weekly cleaning frequency and ensures optimal performance.
Clean Sensors for Accurate Navigation

Wipe those little robot eyes clean and watch your vacuum actually *see* where it’s going!
You’d be surprised how dust blinds your bot—clean sensors monthly (weekly if you’ve got a DEEBOT T20 OMNI).
Grab a soft, lint-free cloth and gently wipe front, side, and cliff sensors; use a tiny brush or compressed air for tight spots.
Avoid harsh chemicals or wet cloths—especially on LiDAR—to prevent damage.
Check for red blinking lights; that’s your robot’s cry for help.
Dirty sensors mean wall-hugging, furniture bumping, and lost docking attempts.
Empty the bin first, then test run to see the difference.
It’s like giving your robot glasses!
Follow your manual—locations vary—and keep those lenses clear.
A quick wipe isn’t just smart, it’s essential for smooth, stress-free cleaning.
Your bot’s brain needs clear vision to work its magic!
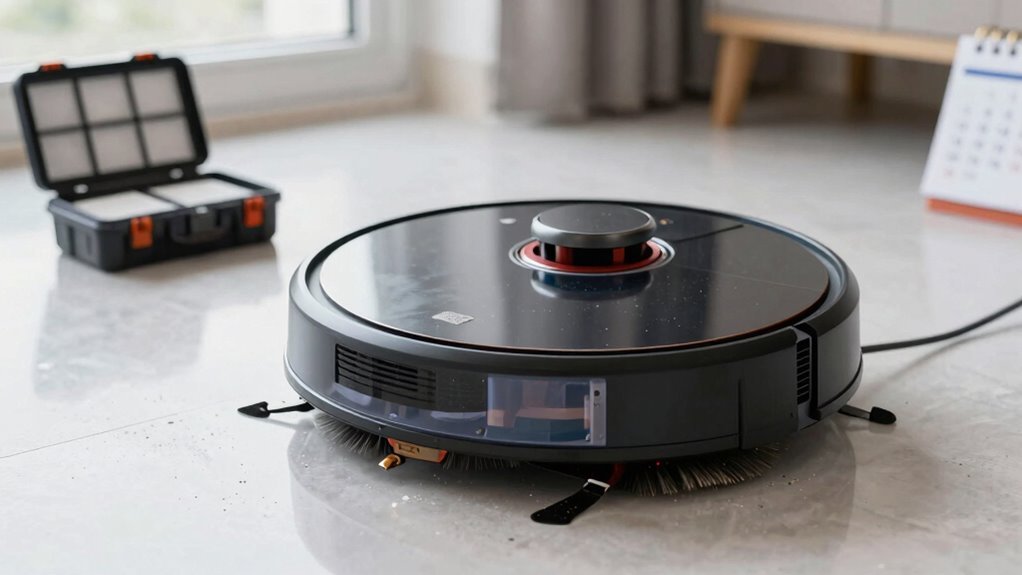
Replace Robot Vacuum Filters Every 2–3 Months
Now that you’ve given your robot vacuum a clear view of the world, let’s talk about what keeps its lungs breathing easy—its filter.
You should replace it every 2–3 months, especially if you’ve got pets or run it daily.
A clogged filter makes your little cleaner work harder, lose suction, and even overheat.
Don’t wait until it sounds like it’s singing the blues—replace it before it needs a nap!
Keep your air fresh and your robot happy with these quick tips:
- Mark your calendar for filter swaps every 2–3 months (yes, set a reminder!).
- Check for musty smells or visible gunk—your nose knows!
- Tweak your schedule if you’ve got shedding pets or dusty floors.
- Use genuine or compatible replacement filters to keep performance top-tier.
Your robot will thank you with every quiet, powerful sweep.
Clear Hair From Wheels and Side Brushes
Spinning through life one sweep at a time, your robot vacuum picks up more than just dust—it’s on a constant mission to corral crumbs, debris, and yes, those stubborn strands of hair that love to sneak into every nook.
Side brushes sweep gunk toward the vacuum, but hair wraps around them fast, especially in homes with pets or long-haired folks.
Don’t wait until it’s a furry mess—check them weekly.
Use the handy blade tool (yeah, it came with your vac!) to slice through tangles quickly.
Slide it along the brush ends with a flick, and boom, hair’s done.
Some models even have anti-tangle tech or triple brushes that catch more junk but need a little more love.
Pop the brush out using the side tabs—gentle pressure, no hero moves.
Keep wheels hair-free too, or your bot might start limping like a tired turtle.
A quick once-over keeps it rolling smoothly and cleaning sharper.
Stay on top of it, and your vacuum will keep doing the heavy lifting—without getting all tangled up in drama.
Use Only Damp Cloths on Plastic Parts
Keep your robot buddy looking sharp and running strong by giving its plastic parts the right kind of care—think damp, not dripping.
A slightly moist microfiber cloth works wonders on hard plastic surfaces, lifting grime while keeping that snazzy shine.
Just remember: damp is your friend, soaking wet is not.
You wouldn’t take a shower in your socks, so don’t treat your robot like it enjoys a spa day in a monsoon.
Here’s how to do it right:
- Wipe the outer plastic housing with a damp microfiber cloth for a streak-free glow.
- Gently clean under the dustbin area to clear hidden dirt buildup.
- Avoid sensors, cliffs, and LiDAR windows—they’re dry-only zones, not splash zones.
- Always air-dry parts completely before reassembling or charging.
Your bot’s plastic deserves love, just not a swim.
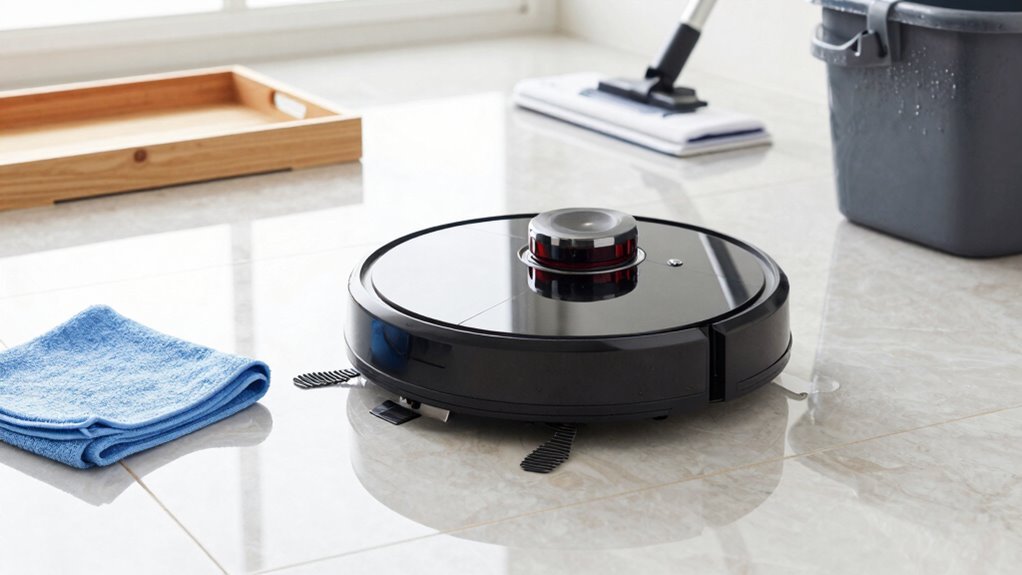
Avoid Wet Mopping With Dry-Only Models
You’ve already mastered the art of keeping your robot’s plastic parts spotless with a simple damp cloth—no floods, no drama, just a quick wipe-down and you’re done.
But don’t take that damp cloth one step further—never use your dry-only robot on wet floors.
These bots aren’t built for water, and trying to “mop” with one? That’s a one-way ticket to Sludge City.
Liquids can fry the motor, clog filters, or worse—void your warranty.
You’ll risk electrical shorts, mold growth, or even a surprise slip-and-fall.
Plus, sticky spills and messes just smear instead of vanish.
Save the wet mess for actual mops or a wet/dry vacuum.
If your robot does take an accidental dip? Turn it off fast, dry it completely, and air it out for a day or two.
Keep it smart, keep it dry, and your little robo-helper will keep rolling happily.
Install Firmware Updates Promptly
Here’s what you gain by hitting “update” ASAP:
- Smarter navigation – it maps your home like a pro and dodges furniture with flair
- Stronger security – patches plug digital holes before sneaky hackers crawl through
- Less wear and tear – optimized moves mean longer life and fewer breakdowns
- Fewer weird glitches – say goodbye to random spin dances and “I’m stuck!” alerts
Schedule Monthly Deep-Cleaning Sessions
Giving your robot vacuum some monthly spa time keeps it humming like a happy little helper instead of gasping through grit like a couch potato after a sprint.
Wash the filter with water, then let it air-dry for 24 hours—don’t skip the wait, or you’ll risk mold and funky smells.
While it dries, scrub the dustbin clean and dry it thoroughly to stop odors in their tracks.
Keep a spare filter on hand so you’re never stuck vacuuming with a damp one.
This monthly tune-up only takes minutes but saves your machine from strain and breakdowns.
Pets? You’ll want to deep clean more often, but even light-use homes need this once-a-month reset.
Think of it as brushing your robot’s teeth—gross if ignored, easy when routine.
Stick to it, and your little robo-buddy will keep zipping around like it’s brand new, not wheezing like it’s seen one too many dust bunnies.
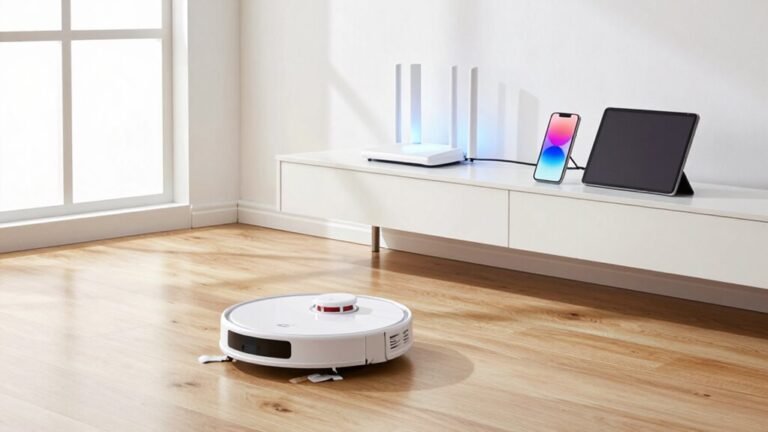
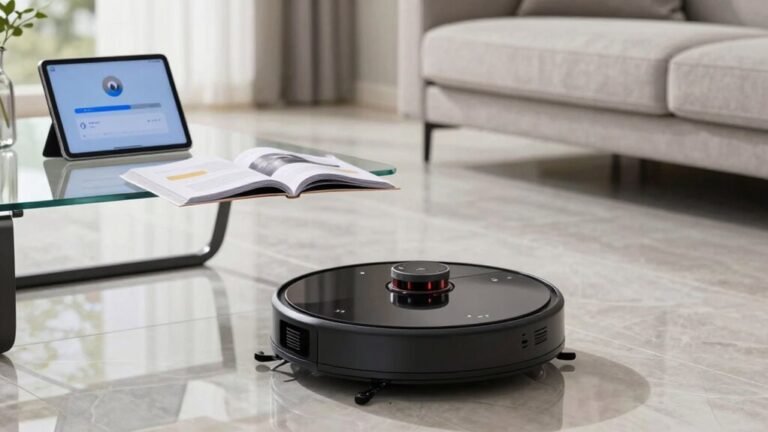
Update Robot Vacuum App for Optimal Performance
Staying on top of app updates turns your robot vacuum into a smarter, speedier cleaning companion with each download.
You’ll dodge dusty disasters and keep your bot running like a pro.
Think of updates as cheat codes—your vacuum gets better without you lifting a finger (except maybe to tap “install”).
- Smarter cleanup: New features like StainTarget AI spot messes you didn’t even see (yes, that spaghetti sauce stain is *so* busted).
- Fewer headaches: Get alerts for emptying bins or cleaning filters—because smelling last week’s toast shouldn’t be part of your routine.
- Faster mapping: Your vacuum learns your home in one go, not a scavenger hunt of “Wait, where’s the living room?”
- More control: Label rooms, set no-go zones, or schedule cleanups from your couch like a true lazy-day champion.
Frequently Asked Questions
How Long Do Robot Vacuums Typically Last With Regular Maintenance?
You can expect your robot vacuum to last about 4 to 6 years with regular care,
and some even push to 7 if you treat them right.
Think of it like a pet—clean its brushes, empty the bin, and it’ll happily clean yours.
Skip the upkeep? It’ll sulk, lose suction, and quit early.
Treat it well, and it’ll keep zipping around like it’s on a mission—because honestly, it kind of is.
Can I Use Third-Party Replacement Filters in My Robot Vacuum?
You can use third-party filters, but it’s like buying a “unicorn-approved” broom for a spaceship—sounds cool, but probably won’t fly.
They often *say* they trap 99.97% of gunk, yet most fail the real test.
Dust sneaks through like a ninja.
For clean air, stick with official filters—they actually seal every sneaky particle in.
Your lungs will thank you, and hey, no magic required.
Is It Safe to Leave the Robot Vacuum Charging Overnight?
You can leave your robot vacuum charging overnight—if it’s a modern model with smart charging, that is.
These clever bots stop charging when full, so they won’t overheat or fry themselves while you sleep.
But if yours is older or lacks this feature, unplug it after charging.
Avoid leaving it on soft rugs or near curtains, and always use the original charger.
Safety first, sweet dreams!
What Should I Do if My Robot Vacuum Stops Mid-Clean?
So, your robot buddy just ghosted mid-clean, huh?
Don’t panic—first, check for gunk in the brushes or a full dustbag, since clogs make it quit early.
Clean the charging contacts, then give it a quick reset by holding the power button.
If it’s still acting shy, check the battery health—is it holding juice?
Pro tip: sometimes it just needs a nap and a recharge before getting back to work!
Can Robot Vacuums Damage Hardwood or Laminate Flooring?
Yeah, robot vacuums can scratch hardwood or laminate if you’re not careful.
Grit stuck in wheels or stiff brushes drags across floors like tiny sandpaper—ouch!
But don’t panic; just keep brushes clean, use soft rubber rollers, and avoid mopping on wood or laminate.
Your floors’ll stay shiny and scratch-free, and your robot won’t turn into a tiny, overzealous floor attacker.
Phew!
Conclusion
You’ve got this! Sticking to these simple do’s and don’ts keeps your robot vacuum zipping around like a pro. Did you know, 70% of robot vacuums fail early because of neglected filter cleaning? Yikes! But not yours—it’s gonna thrive. Clean those brushes, update that app, and keep that sensor spotless. Your little robo-pal will thank you by working smarter, not harder. Go on, enjoy that extra free time!
References
- https://www.ecovacs.com/us/blog/how-to-empty-a-robot-vacuum
- https://www.dreametech.com/blogs/blog/are-self-emptying-robot-vacuums-worth-it
- https://us.narwal.com/blogs/product/self-emptying-robot-vacuum
- https://lubluelu.com/blogs/buying-guide/common-queries-about-robots-vacuum-answers-to-your-burning-questions
- https://www.eufy.com/blogs/vacuum/how-often-should-you-vacuum
- https://honiture.com/blogs/home-cleaning/daily-maintenance-guide-for-robotic-vacuums
- https://forum.aqara.com/t/understanding-and-maintaining-your-robot-vacuums-brushes/155379
- https://us.narwal.com/blogs/robot-vacuum/clean-vacuum-brush-roll
- https://www.charliesoap.com/blog/how-to-clean-your-robot-vacuum-a-step-by-step-guide/
- https://vacuumwars.com/robot-vacuum-maintenance/