Tips to Improve Your Robot Vacuum’s Navigation

To improve your robot vacuum’s navigation, start by clearing floors of toys, cords, and pet gadgets. These obstacles can cause the robot to get stuck or lose its way during cleaning.
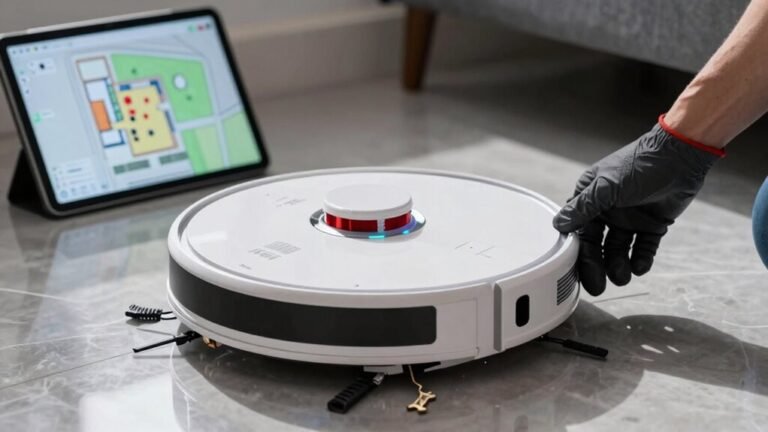
Set no-go zones in the app to block off tricky areas like messy corners or stairs. This helps the robot vacuum avoid problem spots and focus on cleanable spaces.
Map your home using the app and update the robot vacuum’s firmware regularly. Labeling rooms allows for smart, targeted cleaning and better navigation accuracy.
Arrange furniture to provide ample clearance and place the docking station in an open, central location. Make sure the area around the dock is free of obstructions for easy recharging.
Clean the robot vacuum’s sensors regularly and use a high-quality mat near entryways. This reduces debris buildup and helps maintain optimal sensor performance.
Keep your robot vacuum charged and connected by boosting Wi-Fi coverage with extenders. Always connect to a 2.4 GHz network for stable communication and improved navigation control.
Clear the Path for Better Navigation
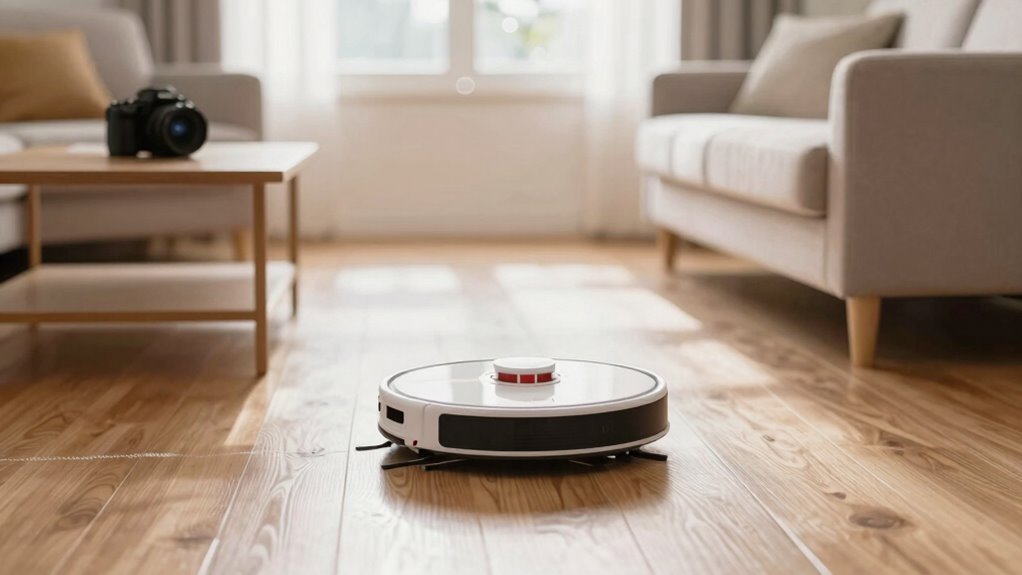
Keeping your floors tidy isn’t just about looking neat—it’s your first step to helping your robot vacuum navigate like a pro.
You’re not just picking up toys and shoes for fun (though your inner neat freak might celebrate). Every stray sock or forgotten charger is a landmine waiting to ambush your little cleaner.
Clear the path and you’ll cut down on crashes, pauses, and those awkward “spinning in confusion” moments.
Cables? Tuck ‘em away before they turn into robot noodle traps.
And please, save your pet’s favorite squeaky toy—your vacuum won’t appreciate it in its brushes.
Open floors mean smooth sailing, faster jobs, and way less battery wasted on detours.
Think of it as giving your robot a VIP hallway—room to glide, do its zigzag dance, and actually finish the job.
A little prep now means fewer “rescue missions” later.
Bonus: you might even find that missing earring.
Robots using LiDAR SLAM can detect obstacles up to 6 meters away, but cluttered spaces still challenge even the most advanced sensors.
Set Up No-Go Zones to Protect Spaces
Ever wonder how to keep your robot vacuum from turning your cat’s water bowl into a splash zone or getting stuck under the coffee table—again?
Set up no-go zones to protect delicate spots and avoid messy mishaps.
Block off pet areas to prevent spills and stress, shield cluttered corners to dodge cable chaos, and keep rugs or stairs off-limits to stop tangles or tumbles.
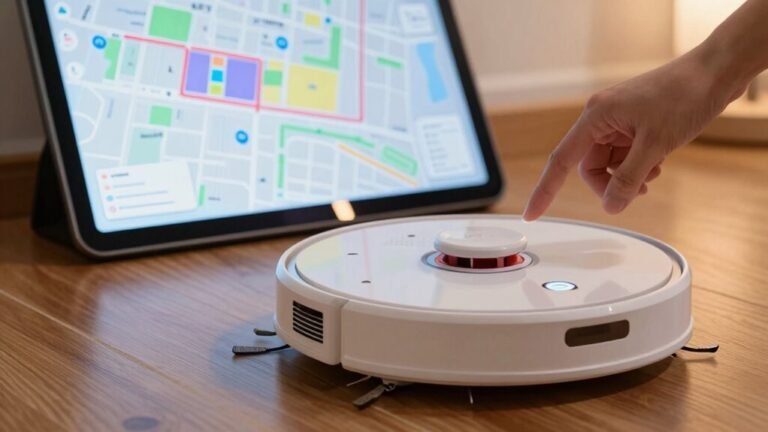
Use your vacuum’s app to draw virtual boxes or lines around trouble spots—like that wobbly lamp or damp bathroom mat.
Magnetic strips or baby gates work great for models without smart mapping.
Place boundaries under low furniture, near heat sources, or across thick rugs to dodge jams.
Then, run a test clean while you watch—because nothing’s more satisfying than seeing your bot *sniff* a no-go line and wheel away like, “No thanks, I’ve got standards.”
Smart zones mean smarter, stress-free cleaning and help prevent edge detection failures by clearly defining drop-offs and hazardous areas.
Map Your Home for Smarter Cleaning
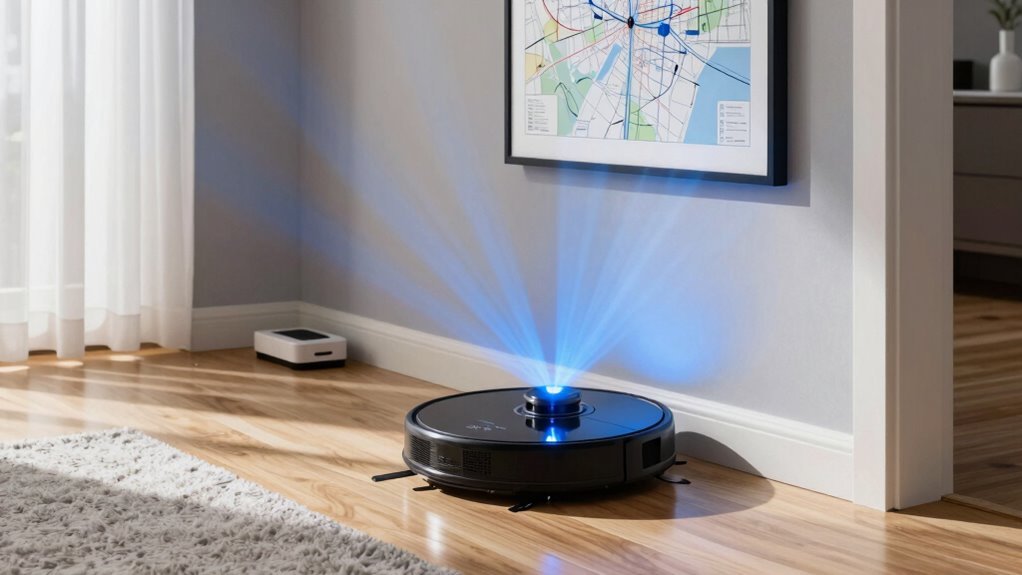
How does your robot vacuum go from wandering aimlessly to zipping around like a pro?
By mapping your home!
Start with a full mapping run—open all interior doors, clear toys and cables, and let it roam freely without docking early.
This creates a clear digital floorplan so it knows exactly where it’s been and where to go.
Good lighting helps its cameras see better, and minimizing clutter keeps it from getting confused.
Label rooms like “kitchen” or “bedroom” so you can clean just one area on demand.
Set custom zones under the dining table or along hallways to focus on mess-prone spots.
If you rearrange furniture, just remap quickly to keep things accurate.
A smart map turns your robot from a clueless wanderer into a cleaning ninja—no more bumping into stuff like it’s playing pinball!
Update Firmware for Improved Performance
You’ve mapped out your home like a pro, so now let’s make sure your robot vacuum keeps getting smarter with every spin around the living room.
Hit that update button in the official app—those little firmware upgrades seriously boost how well your bot finds its way.
New code sharpens its brain, improving turns, dodging socks, and docking without drama.
Bugs that cause endless looping? Gone.
Plus, you’ll get slick new tricks like room-by-room cleanups or Matter compatibility for smooth smart home jams.
These updates also lock the digital doors, keeping hackers out of your cleaning schedule.
Think of it as a tune-up, but for your robot’s mind.
Don’t skip it—your vacuum’s latest IQ upgrade might just save you from another surprise pile of dust under the coffee table.
Stay current, stay clean, and let your robot grow smarter, not older.
Arrange Furniture to Avoid Robot Traps
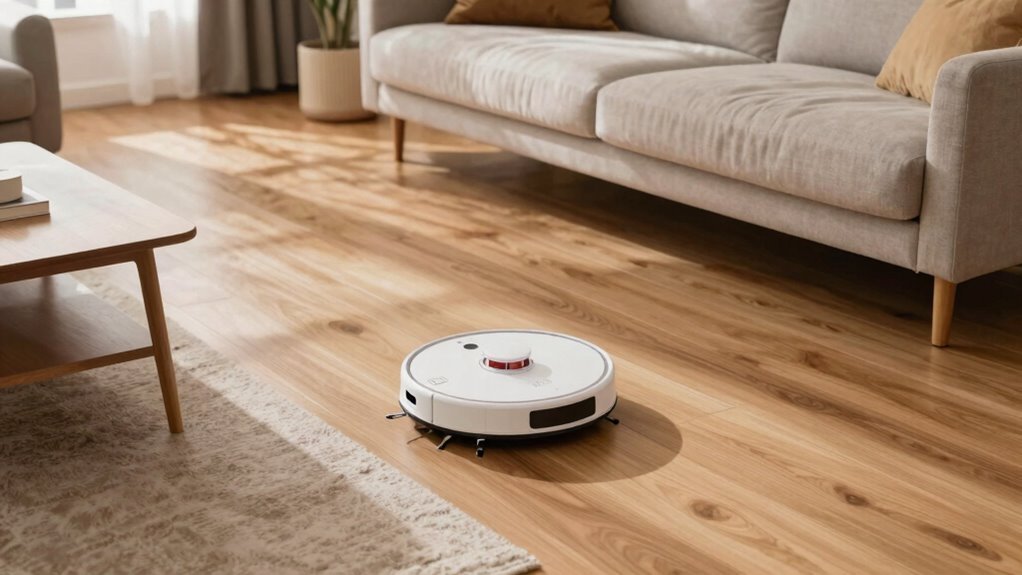
While your robot vacuum is smart, it’s not quite a ninja—so help it dodge disaster by giving it room to move. Avoid tight furniture traps that lead to spinning, wedging, or giving up mid-clean. A little rearranging goes a long way toward smooth, stress-free cleaning.
| Do This | Instead of This |
|---|---|
| Lift sofas with risers for 4+ inches of clearance | Letting low furniture block the robot’s path |
| Leave open loops around coffee tables | Creating dead-end corners behind sofas |
| Group chair legs into clean clusters | Scattering legs like robot minefields |
| Block under-couch zones with pool noodles | Letting the robot vanish under the sofa |
| Tuck cords and secure rugs | Leaving tripping hazards near furniture |
Now your vacuum can dodge disasters like a pro—no rescue missions needed!
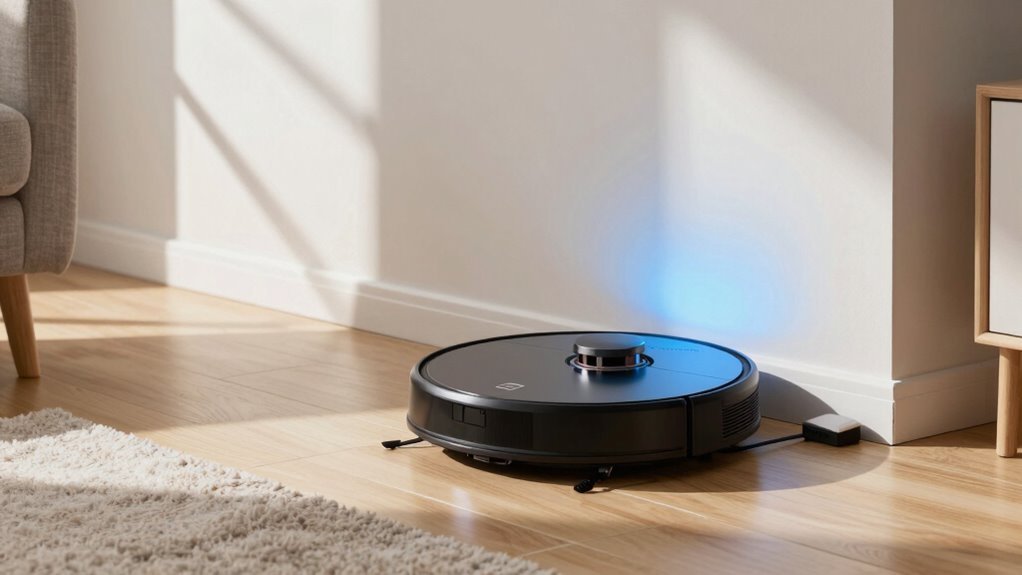
Position the Dock for Reliable Returns
Since your robot vacuum’s big return to the dock is the grand finale of every cleaning mission, setting it up for success starts with smart placement.
Stick the dock firmly against a wall—it’s like giving your little robo-friend a cozy corner to call home. Backing it against a wall keeps its maps accurate and stops it from drifting like a confused tumbleweed.
Make sure there’s at least a meter (about 3 feet) of open space in front, with a few extra inches on the sides—your vacuum needs room to waltz in smoothly.
Avoid glass walls or cluttered corners; they’ll throw off its sensors or block its path.
Keep it on level ground, away from humidity and direct sunlight, and plug it in close—no extension cord spaghetti!
A central spot with clear access means your vacuum can triumphantly return, battery full and job done.
Think of it as VIP parking for a hard-working robot!
Clean Sensors for Accurate Navigation
Keeping those little robot eyes clean is the secret handshake to smooth sailing around your home. You’ve got cliff sensors that stop falls—dust on them might make your bot panic near dark rugs. Wipe the front bumper sensors so it doesn’t ram furniture like a confused turtle.
The optical sensor underneath? A smudge there causes crooked cleaning lines—yep, even robots need good vision. If your model has LiDAR on top, gently clean that dome; fingerprints mess with its room maps. Got pets or dusty floors? Clean sensors weekly—otherwise, monthly is fine.
Always power off first, use a dry microfiber cloth, and skip the sprays. Compressed air helps dig out stubborn gunk. After cleaning, you’ll see fewer “lost” errors and way less looping.
A quick wipe isn’t just easy, it’s a game-changer. Your robot may not say “thanks,” but it’ll navigate like a pro. Clean sensors mean happy vacuums—and cleaner floors.
Use the Right Mat for Smooth Movement
When your robot vacuum meets a rogue bathmat, it’s not just a minor bump—it’s the start of a full-blown navigation drama.
Save your robo-pal: pick low-profile, flatweave mats under half an inch thick so it won’t beach or snag.
Avoid shaggy monsters and fringed throws—they tangle brushes and confuse sensors.
Instead, go for tight-weave, rubber-backed rugs that stay put and lie flat.
Tape down runners or use grippy pads so your bot doesn’t turn them into obstacle courses.
Match mat size to high-traffic zones like doorways, and align runners with your robot’s usual path.
Mind the height—keep mats within your model’s climb limit (usually 15–40 mm).
Smooth, beveled edges help it roll on without hiccups.
Ditch loose rugs near tight corners, and don’t stack mats on thick carpet.
The right mat isn’t just comfy underfoot—it’s a freeway for flawless cleaning.
Your vacuum will thank you.
Strengthen Wi-Fi for Seamless Control
Want your robot vacuum to respond faster than your dog ignores fetch? Strengthen your Wi-Fi for seamless control. Most robot vacuums only work on 2.4 GHz networks, so make sure your phone’s connected to it during setup—no sneaky 5 GHz hopping! Keep the vacuum close to the router (within arm’s reach) while pairing, and double-check your password. Yep, even one typo locks it out like a grumpy cat.
| Step | Tip |
|---|---|
| 1 | Use 2.4 GHz, not 5 GHz |
| 2 | Place vacuum near router |
| 3 | Confirm Wi-Fi password |
Bluetooth helps during setup, and extenders boost signal in dead zones. Fully charge it first—don’t risk a power nap mid-connect!
Frequently Asked Questions
How Often Should I Replace My Robot Vacuum’s Filters?
You should replace your robot vacuum’s filter every 2 to 6 months, depending on how dirty your home gets and how often you use it.
If you’ve got pets or lots of dust, change it every 2 months—seriously, that fur mounts up fast!
Even with washable filters, don’t push it past 6 months.
Watch for weak suction or weird smells—your bot’s basically begging for help at that point!
Can Robot Vacuums Work in Total Darkness?
Yeah, your robot vacuum can totally work in the dark—funny coincidence, huh, since *you’re probably cleaning when it’s already late!
If it’s got LiDAR or infrared, it’s basically a tiny ninja, zipping around using lasers or IR light it creates.
No need for nightlights.
Just press go and let it handle the shadows.
Pretty cool, right?
Works while you sleep!
Do Robot Vacuums Detect and Avoid Pet Waste?
Yes, you’ve got a smart little helper on your side—modern robot vacuums can detect and avoid pet waste like a pro!
They snap pics with RGB cameras, use AI brainpower to recognize messes, and instantly reroute before disaster strikes.
With LED lights guiding the way, even dark corners aren’t a problem.
Sure, they’re not psychic (yet), but they’re pretty darn clever—saving your floors and your dignity one dodge at a time!
Are Robot Vacuums Safe on Hardwood Floors?
Yes, robot vacuums are safe on hardwood floors if you pick the right one and keep it clean.
Imagine “Baxter,” your sleek little robo-helper, gliding smoothly over your oak floors, sucking up crumbs like a champ without a single scratch.
Its soft rubber wheels, gentle brushes, and smart sensors mean it won’t mark your floors—or throw a tantrum when it bumps the couch.
Just clean its brushes weekly, and it’ll keep your shine intact, no drama, no scratches, just happy hardwood humming under its wheels.
Can I Schedule Cleanings When I’m Not Home?
Yes, you can totally schedule cleanings when you’re not home—awesome, right?
Just set it up in the app, and your robot will start cleaning on its own while you’re out.
You can kick it off, pause, or stop it remotely, even from your phone.
Most models auto-return to recharge, so no stranded bots.
Just clear the clutter, set no-go zones, and let it do its thing.
It’s like hiring a tiny, self-sufficient janitor who works while you Netflix elsewhere.
Conclusion
You’ve got this! With a little prep, your robot vacuum can go from clumsy crawler to cleaning superstar—like a ninja with a dustpan. Clear paths, update software, and give those sensors a wipe. Set no-go zones, map your space, and keep Wi-Fi strong. Before you know it, it’ll dodge Legos like a pro and dock itself like magic. Yep, your floors will shine while you kick back and enjoy the show.
References
- https://tenxerlabs.com/resources/blogs/robotic-vacuum-design-smarter-navigation-control-and-sensing/
- https://nhsjs.com/2024/optimization-of-robot-vacuum-navigation-algorithms-using-webots-simulation/
- https://in.dreametech.com/blogs/tips-tricks/how-robot-vacuum-navigation-works-sensors-mapping-smart-cleaning-explained
- https://techsalesonline.com.au/blogs/articles/dealing-with-robot-vacuum-navigation-issues-obstacles-and-solutions
- https://www.ecovacs.com/au/blog/different-navigation-types-in-robot-vacuum
- https://www.therobotreport.com/sensor-breakdown-how-robot-vacuums-navigate-and-clean/
- https://uk.vactidy.com/blogs/news/7-pro-tips-to-optimize-your-robot-vacuums-cleaning-path-for-maximum-efficiency
- https://www.eufy.com/blogs/robovac/how-do-robot-vacuum-maps
- https://us.3itech.com/blogs/news/how-does-robot-vacuum-mapping-work
- https://us.3itech.com/blogs/news/how-robot-vacuums-avoid-certain-areas