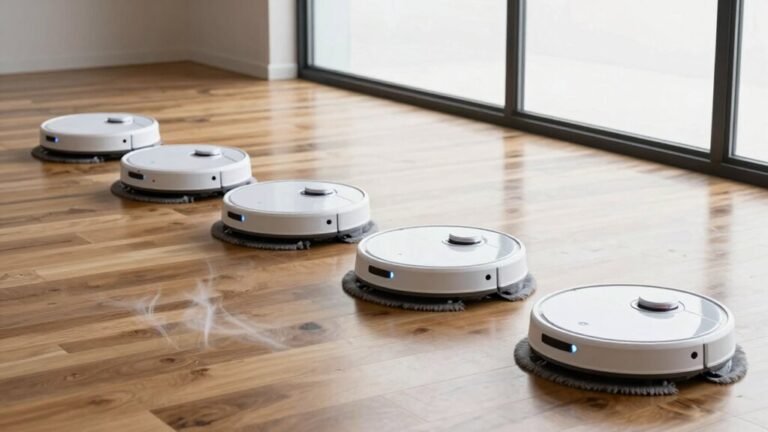
Troubleshooting Robot Vacuum Mop Water Flow Issues
Check your robot vacuum mop’s water tank level—it should be between the min and max marks. Use clean or distilled water to prevent mineral buildup and ensure the cap is sealed tightly, with no cracks or damaged gaskets.
Clear any clogs in the water nozzle by gently poking it and flushing with water. Remove air bubbles by running a cleaning cycle or tapping the water tube to restore proper flow.
Attach a fresh, wrinkle-free mop pad for even water distribution. Clean the pump filter monthly and make sure the hose remains kink-free to maintain consistent water flow.
Check the Water Tank Level and Seal
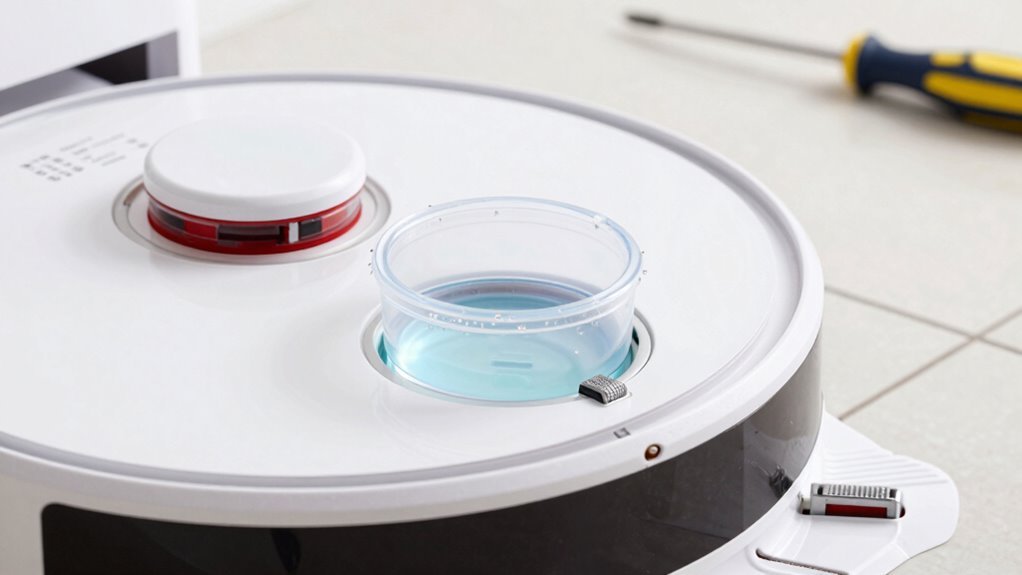
Let’s start at the beginning—grab your robot’s water tank and give it a quick once-over, because a smooth mopping session starts with a well-filled, properly sealed tank.
Fill it between the min and max lines—too low and you’ll run dry mid-clean, too high and you might get a tiny indoor flood.
Use only clean water or the brand’s recommended solution to keep things flowing smoothly.
Check the cap’s gasket—no cracks or mushy spots—and make sure it’s snug, so it doesn’t pull a Houdini during mopping.
Don’t forget the vent; if it’s clogged, your tank’ll choke like it’s sipping through a plugged straw.
Snap the tank back in place with a satisfying click, and give those metal contacts a wipe if they’re looking grimy.
A little love goes a long way—your robot’s mop game will thank you!
Ensure the mop mount is installed properly to trigger Mopping Mode and enable proper water flow.
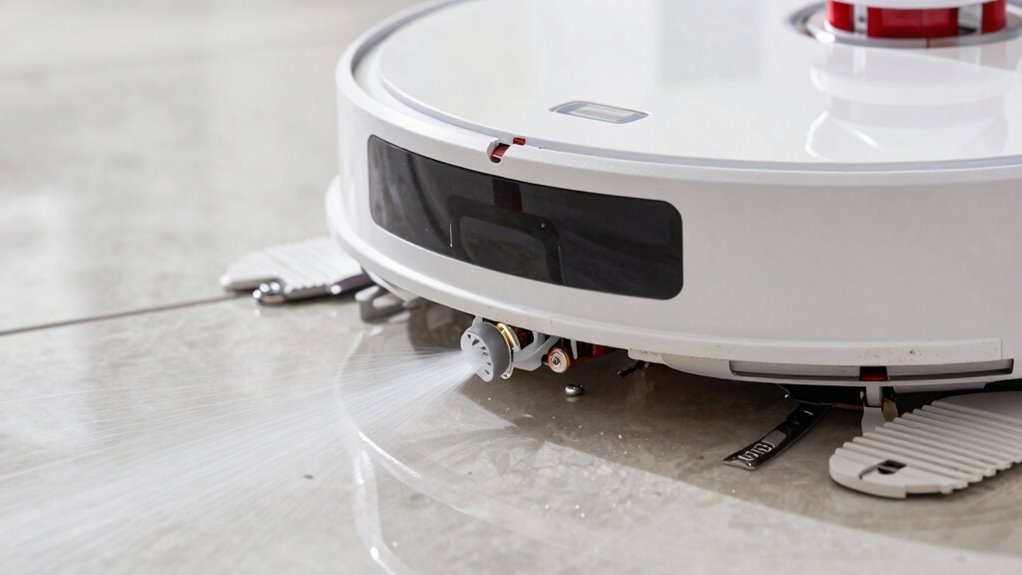
Clear Clogs in the Water Outlet Nozzle
Now that you’ve made sure the tank’s full and sealed tight—no sneaky leaks or evaporation tricks—let’s zero in on the real MVP of your mopping magic: the water outlet nozzle.
This tiny hero can get clogged fast, but a quick fix brings it back to life.
Grab your tools and get ready to give it some love:
- Shine a flashlight to spot gunk like a detective hunting limescale clues
- Poke gently with a pin or fine brush—think dental floss for robot tears
- Flush with warm water or a safe descaler, then rinse like you’re watering a mini plant
- Blow air through with a syringe, mimicking a tiny, determined steam whistle
You’re not just cleaning—you’re reviving your mop’s inner rainmaker. A little attention here keeps your floors happily hydrated, not left high and dry. Win! Constant hard tap water usage can lead to mineral buildup blocking flow, so consider using filtered water to reduce lime buildup.
Bleed Air Bubbles From the Water Line
Give that water line a little burp—yes, really—and say goodbye to sneaky air bubbles killing your mop’s flow.
After refilling or long breaks, air can get trapped in the pump or tubes, blocking water like a tiny traffic jam.
Start by running a few mop-washing cycles—this pressure pulsing often shoves air right out.
Keep the tank well-filled so the pump stays underwater and doesn’t suck in more air.
If that doesn’t work, try shaking the tank gently; it’s like waking up sleepy valves.
Check the hose for kinks, cracks, or loose fits—those sneaky leaks love to invite air to the party.
A quick tap on the tubing can nudge stubborn bubbles free.
And hey, skip the foamy soap—bubbles aren’t just for bubble baths.
Sometimes the “bubbles” you see are just from protective film, not real issues.
Simple fixes usually do the trick—your robot’s got this.
Install the Mop Pad Properly
You kicked out those air bubbles like a pro—now it’s time to suit up your robot with a fresh mop pad so it’s ready to tackle spills and splashes.
Let’s get that pad on right, so your robot glides smoothly and mops like a champ:
- Flip your bot over gently, like you’re helping it catch some Z’s—but no napping yet!
- Pop off the old pad and check for gunk, because nobody likes a dirty start.
- Match the new pad to the plate, white side down, like tucking it into bed just right.
- Press it in snugly, smooth out the wrinkles, and give it a little tug—shouldn’t budge!
When it’s flat, secure, and perfectly aligned, you’re golden.
No lumps, no slipping, just clean, confident mopping action. Your robot’s ready to dance across the floor—just don’t ask it to moonwalk.
Clean the Pump Filter Monthly
Pop that pump filter out and give it some well-deserved attention—your robot’s mopping game depends on it!
You’ll usually find it at the bottom of the water tank or near the pump, hiding where gunk loves to gather.
Check it monthly—it’s like a spa day for your bot!
Rinse it under tap water, give it a gentle brush if needed, and wipe off debris with a paper towel.
Skip the soap, bleach, or mystery cleaners—they’ll wreck the seals and make your robot foamy (and not in a fun way).
Let it air dry completely before popping it back in.
A clean filter means steady water flow, happy mop pads, and floors so fresh they’ll sparkle.
If you’re in a hard water zone, inspect it more often—minerals build up faster than drama on a soap opera.
Stay on top of this, and your robot will thank you by not turning into a fancy paperweight.
Happy mopping!
Restart Mop Mode to Fix Flow Issues
If your robot’s mop isn’t laying down water like it should, don’t panic—sometimes it just needs a quick digital nap to snap back to its best self.
A simple restart can clear tiny software hiccups messing with the water flow, and it’s way easier than taking things apart.
Think of it as hitting the reset button on a bad hair day—everything just falls into place afterward.
- Turn it off and unplug it from the dock, letting it chill for a minute like it’s meditating
- Press and hold the Power or Home button until you hear a cheerful beep or see lights dance
- Watch for voice cues or blinking LEDs—your robot’s way of saying, “I’m back, baby!”
- Fire up mop mode again and watch that sweet, even water flow return like magic
It’s fast, safe, and might just save you a tech support call.
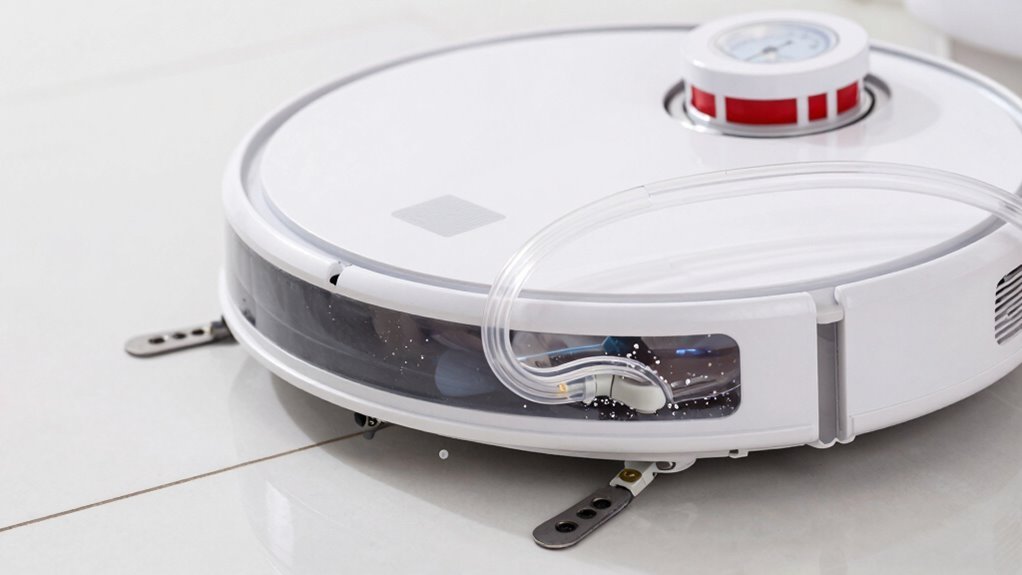
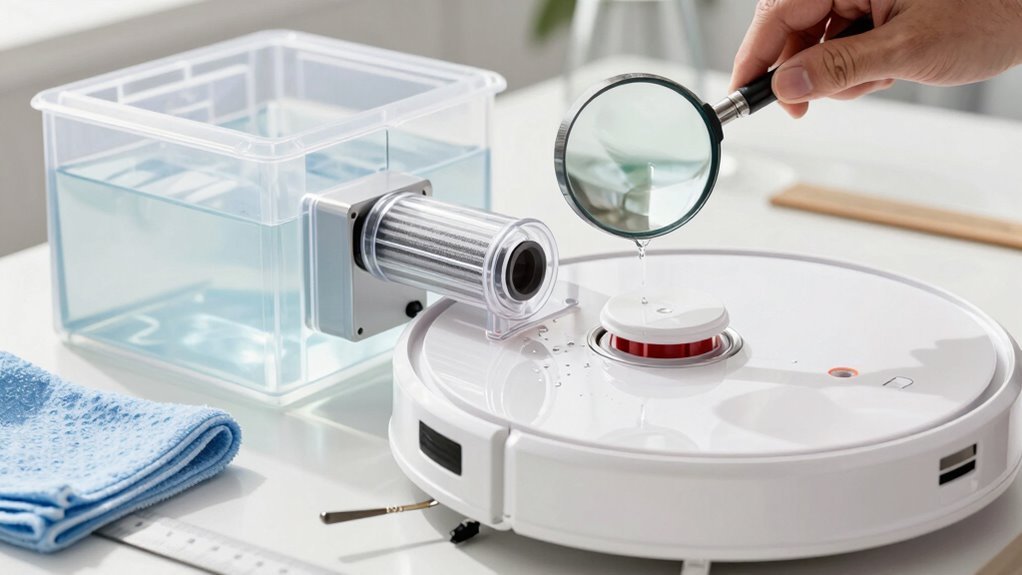
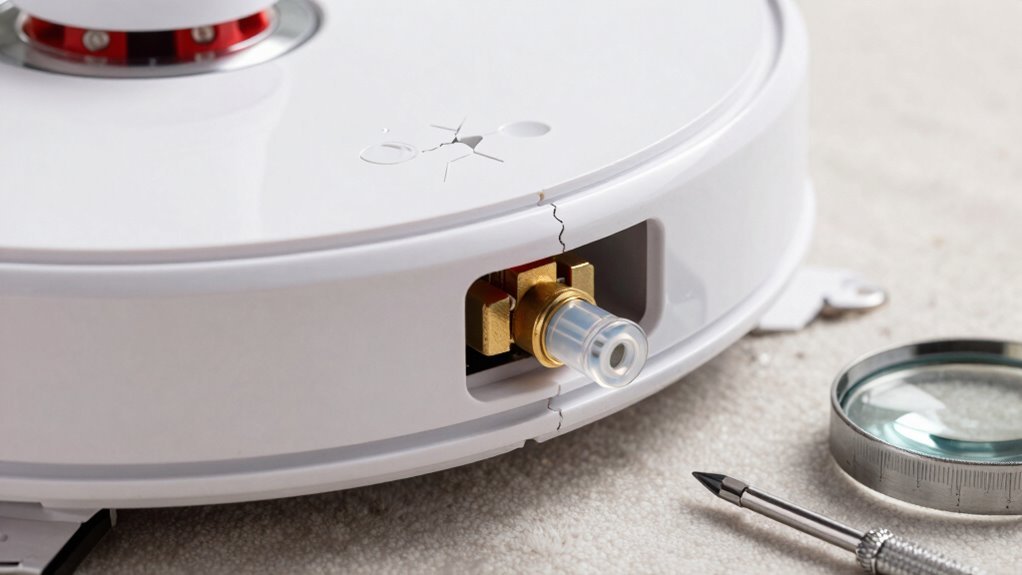
Check for Cracks in the Water Valve
Grab your magnifying glass—or just your favorite pair of reading glasses—and shine some light on that water tank, because it’s time to play robot detective.
Look closely at the water valve area, especially near screws, seams, and the little nozzle where water flows out.
Cracks love to hide there, often starting small and growing into leaky trouble.
If your robot’s leaving puddles when it’s off—or worse, flooding the dock—chances are, the valve’s cracked.
No water on the pad but a soggy robot belly? That’s a sneaky crack redirecting flow where it shouldn’t go.
Check for cloudy or warped plastic too—that’s fatigue talking.
A wobbly valve or visible gap? Game over.
It’s not a clog; it’s a structural breakup.
Some models are notorious for this, but hey, at least makers now offer fix-it kits.
Your robot’s not broken—it just needs your sharp eyes and a little love.
Use Distilled Water to Prevent Clogs
While your robot mop works hard to keep your floors sparkling, the water you pour into its tank plays a bigger role than you might think—so skip the tap and reach for the distilled.
Tap water’s minerals can gunk up the tiny parts inside your mop, but distilled water keeps things flowing smoothly, like a fresh mountain stream in your machine.
- Tiny nozzles stay clear, spraying water like a gentle summer sprinkle instead of a sad drip
- Pumps hum happily without mineral gunk slowing them down, like athletes with clean fuel
- Metal parts won’t rust from the inside, dodging the ‘old pipe’ look and feel
- Your tank stays clean, so it smells fresh—not like a forgotten gym water bottle
Distilled water isn’t fussy—it plays nice with every cleaning solution and saves you repair headaches later.
Think of it as a spa day for your robot, minus the cucumber slices.
Your mop will thank you with every glide.
Update Your Robot’s Firmware
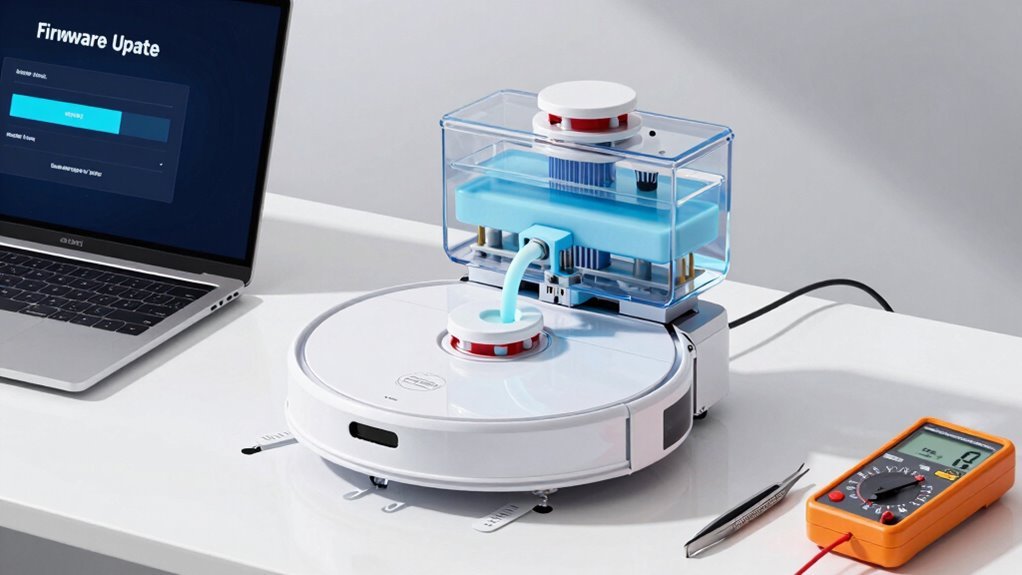
Your robot mop’s tank might be full, and you’ve already switched to distilled water like a pro, but what’s really running the show behind the scenes?
It’s the firmware—basically your robot’s brain software.
Updating it can fix sneaky bugs that make water flow act up, like dripping too much or not enough.
New updates often tweak how the pump works, so your floors get just the right wetness.
They also fine-tune sensors, so your bot doesn’t freak out and stop mopping mid-job.
Plus, better navigation means it covers every spot evenly—no more dry patches or soggy streaks.
Think of it like a robot spa day: invigorating, restorative, and totally free.
And hey, who doesn’t love new features?
You might even activate smarter mopping modes or tighter smart home control.
Just open the app, check for updates, and let your mop get its upgrade on—because even robots deserve a little tune-up now and then!
Contact Support for Leaks or Error Codes
Ever wonder why your robot mop suddenly turns into a mini indoor fountain when you didn’t sign up for a splash zone?
If DIY fixes don’t stop the leaks or those pesky error codes keep popping up, it’s time to call in the pros. Here’s what clues them in fast:
- A steady puddle under your robot or dock, even after cleaning everything
- Cracks in the tank or warped parts that mean “I need a new me”
- Water oozing when the robot’s off—yep, that’s a ghost in the machine
- Weird shutdowns or error messages that laugh at your troubleshooting
Snap pics, note symptoms, and have your model info ready. Support’s got your back—and your floor dry.
Frequently Asked Questions
How Often Should I Replace the Mop Pad?
You should replace your mop pad every 2 to 6 months, depending on how much you use it and what your floors are like.
If you’re mopping daily or have pets, replace it every 2–3 months.
Keep an eye out for fraying, odors, or streaks—as they’re clear signs it’s time.
Washing it after each use helps it last longer, but don’t wait too long; a fresh pad makes cleaning way more fun!
Can I Use Vinegar in the Water Tank?
You’re better off skipping the vinegar, even if you’ve heard it cleans like magic.
It’s acidic, and that stuff can eat away seals, corrode parts, and turn your smart mop into a sad, leaky mess.
You might think, “But it’s natural!”—cool, but your robot didn’t ask for a science experiment.
Stick to water or approved solutions, keep things running smoothly, and save the vinegar for your morning eggs.
Your mop will thank you!
Why Does My Robot Mop Only Work on Hard Floors?
You see, your robot mop sticks to hard floors because it’s designed to keep carpets safe and dry—wet carpets wouldn’t just squish, they’d squawk!
The robot avoids rugs to prevent mold, damage, and soggy messes.
It uses smart sensors to detect carpet, lifts its mop, or skips those zones entirely.
Plus, scrubbing works best on smooth surfaces, not fluffy ones.
Is It Safe to Leave Water in the Tank Between Uses?
No, it’s not safe to leave water in the tank between uses—you’re basically making a tiny petri dish for bacteria and mold!
Plus, gunk builds up fast, clogging your mopper’s veins like soda in a straw.
Empty it after each use, let it dry, and save your robot from swampy drama.
Your floors (and nose) will thank you—nobody likes a stanky mop!
Can I Run the Robot Without a Mop Pad?
Yeah, you can totally run your robot without a mop pad—many folks do it all the time!
Just make sure to disable mopping in the app, or you might end up with surprise puddles.
Removing the pad helps it glide smoothly, especially on thick carpets.
It’s like giving your robot a spa day—less drag, more zip!
But check your manual first; some bots get grumpy if you take their pad away.
When in doubt, keep it simple and lift, don’t strip!
Conclusion
So, you’ve scrubbed every nook, bled invisible bubbles, and played plumber to a robot—only for it to give you side-eye and leak a puddle anyway. Irony? Your high-tech cleaner still needs you to babysit its water. But hey, with a little love, the right water, and a firmware update, it’ll finally mop like it means it. Almost makes the troubleshooting fun. Almost.
References
- https://www.tp-link.com/us/support/faq/3473/
- https://support.narwal.com/hc/en-us/articles/37954635721101-Vacuum-Mop-Comprehensive-Troubleshooting-Guide
- https://support.dreametech.com/hc/en-us/articles/10385221432079-Why-Your-Robot-May-Not-Be-Spritzing-Water-During-Mopping-A-Guide
- https://www.ifixit.com/Wiki/ZCWA_BR151_Troubleshooting
- https://service.eufy.com/article-description/What-can-I-do-if-my-RoboVac-does-not-dispense-water-while-mopping-the-floor-For-RoboVac-G10-G30-Hybrid-Series
- https://www.youtube.com/watch?v=v9e7XuSz1r0
- https://us.eureka.com/pages/support-j15-pro
- https://bestrobotvacuumcleaner.com/robot-vacuum-no-water-coming-out-and-how-to-fix-it-fast/
- https://www.youtube.com/watch?v=lchxX0Sc4mg
- https://forum.dreametech.com/forum.php?mod=viewthread&tid=1045