How to Unclog a Robot Vacuum
To unclog a robot vacuum, start by powering it down and removing the dustbin. Tap it firmly to dislodge any compacted dust or debris stuck inside.
Next, inspect the corners and suction inlet for trapped hair or gunk. Use a soft brush or cloth to clean the seals and ensure the airflow path in your robot vacuum remains clear.
Remove the filter and gently tap it to release dust, replacing it if torn or worn. Clear the suction port of any blockages and cut away tangled hair from the brushes with scissors.
Following a simple cleaning routine will prevent future clogs. Keep your robot vacuum well-maintained to ensure peak performance.
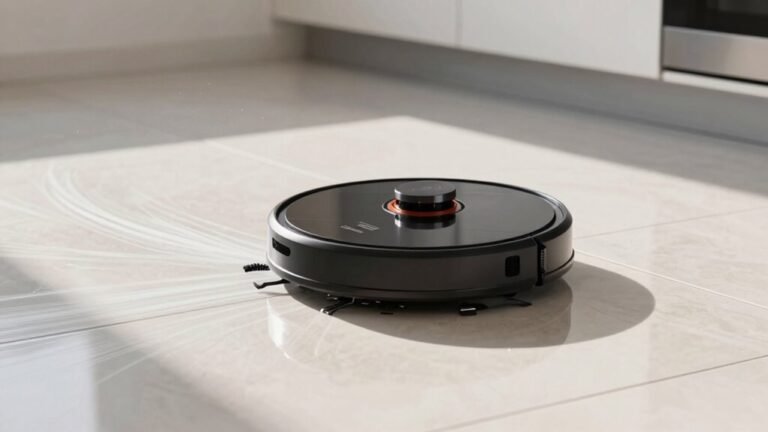
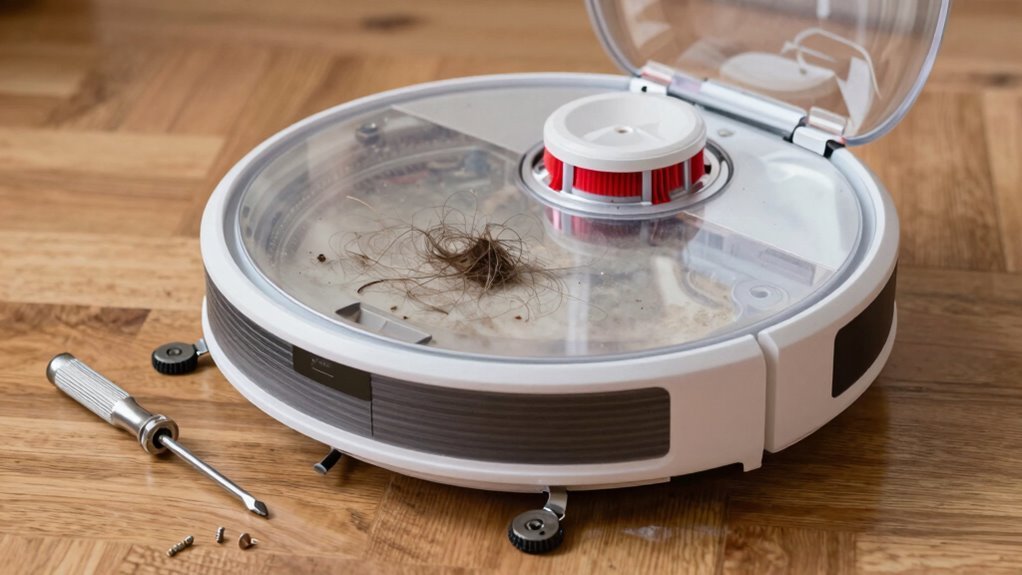
Unclog the Dustbin First
Let’s start at the source—grab that robot vacuum and power it down, because we’re diving into the dustbin first.
An overfull or clogged bin chokes airflow, making your robot weak at pickup—like trying to breathe through a straw stuffed with cotton.
Pull out the bin using the latch, don’t yank it, and never remove it mid-auto-empty (unless you enjoy dusty surprises).
Empty it into a trash bag, then tap it gently to loosen stubborn dust.
Check the corners and inlet for hair clumps or leaves playing hide-and-seek.
Break up compacted gunk—it loves to camp out near the baffle.
Peek at the suction port and seals; hair rings or dust mats there are sneaky clog culprits.
Wipe the gasket clean—no one likes leaky, dusty hugs.
A clear bin means strong suction, so give it the spa treatment.
Your robot’s lungs will thank you.
Maintaining proper airflow is essential for consistent performance, and a major factor is ensuring the full or clogged dustbin is regularly emptied and cleaned.
Clean or Replace the Filter
You just gave that dustbin a well-deserved clean, and now it’s time to turn your attention to the filter—the unsung hero of your robot vacuum’s performance.
A clogged filter strangles suction, overworks the motor, and sneaks dust back into the air, especially if you’ve got a HEPA model.
If it’s a paper or HEPA type, skip the water—tap it over the trash, give it gently brush, and never, ever wash it.
Foam filters? Those can take a rinse, but let them dry completely—moldy filters are a no-go.
Replace disposable ones every 2–6 months, or sooner if they’re torn, stained, or smell like a dusty gym sock.
Clean it weekly (more if you’ve got pets), seat it snugly, and stick to the manufacturer’s specs.
Your vacuum’s lungs will thank you—and so will your floors.
Replace or Wash Filters Regularly to maintain optimal airflow and cleaning efficiency, especially in homes with high dust or pet hair accumulation.
Clear the Suction Port
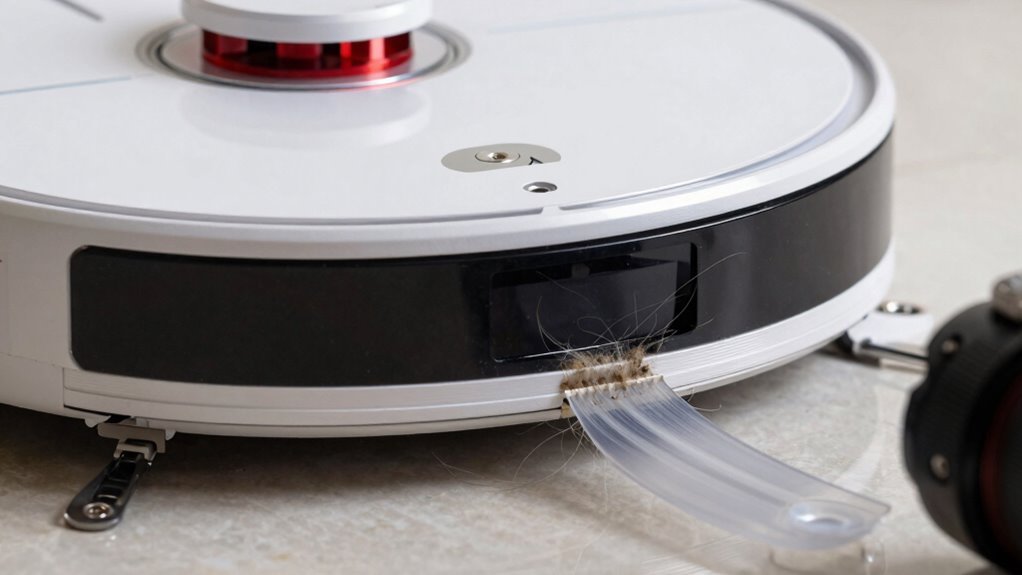
Spotting a clog before it turns into a full-blown vacuum disaster can save you time, hassle, and that panicked “why won’t you work?!” moment with your robot at 8 a.m. on a Monday.
Power it down, pop out the dustbin or cleaning tray, and take a peek at the suction port—it’s usually that little hole or hose waiting to suck up your life’s debris.
Grab a flashlight and check for gunk, hair, or that rogue popcorn kernel plotting a rebellion.
Use a soft brush or cotton swab to gently nudge out junk—no knives, we’re cleaning, not performing robot surgery!
Make sure rubber bits and seals are snug and happy, and that the hose isn’t kinked like yesterday’s garden hose.
Give everything a wipe, let it dry if needed, then snap it back together.
You’re not just unblocking a port—you’re restoring your robot’s superpower.
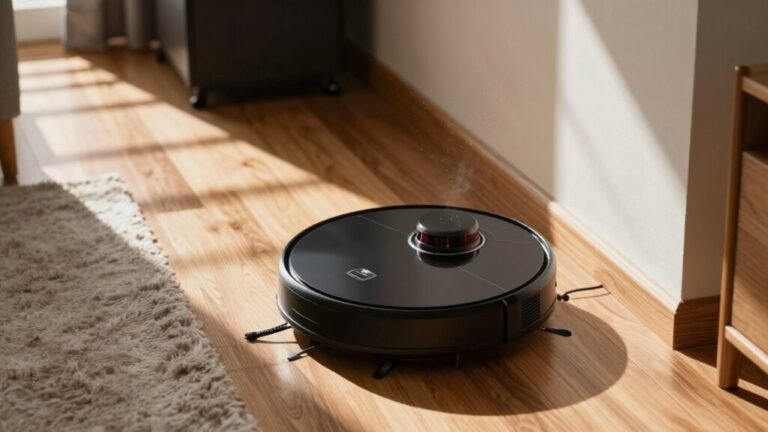
Unblock the Airflow Path
Now that you’ve given the suction port some love and cleared out any sneaky debris hiding in the front lines, it’s time to follow the trail deeper into your robot vacuum’s airflow path—because that satisfying suck power doesn’t just stop at the entrance. Check the dustbin, filter, and dock channel to keep air moving freely. A clog anywhere can turn your vacuum into a fancy paperweight.
| Component | Issue | Quick Fix |
|---|---|---|
| Dust bin | Overfilled or compacted | Empty weekly, scrub with soft brush |
| Filter | Dirty or wet | Tap out debris, wash or replace |
| Dock air channel | Hair and gunk buildup | Inspect and wipe after each empty |
Don’t let gunk gatecrash your clean floors—stay on top of airflow, and your robot will keep breathing easy, not wheezing like it ran a marathon.
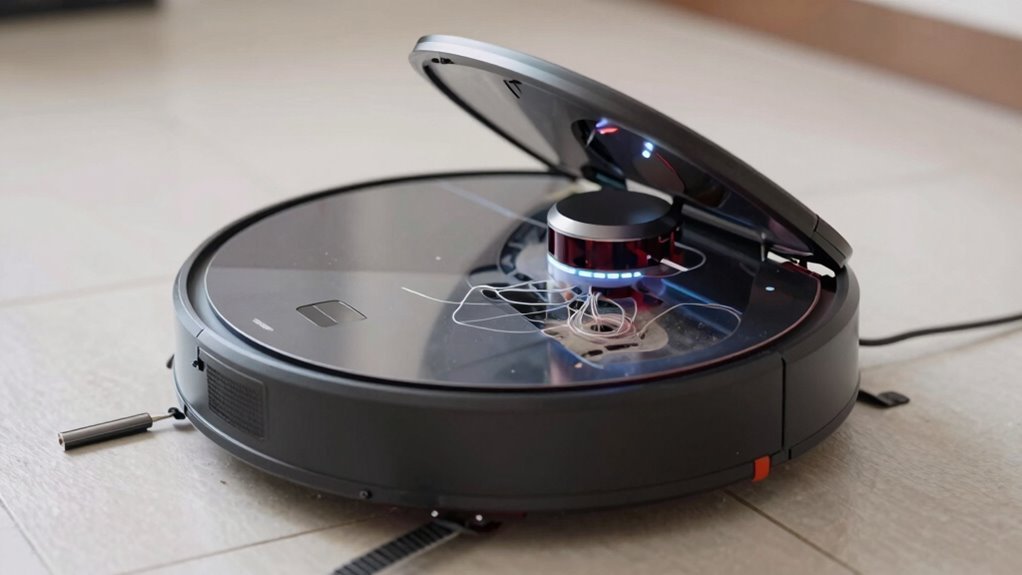
Cut Hair From the Brushes
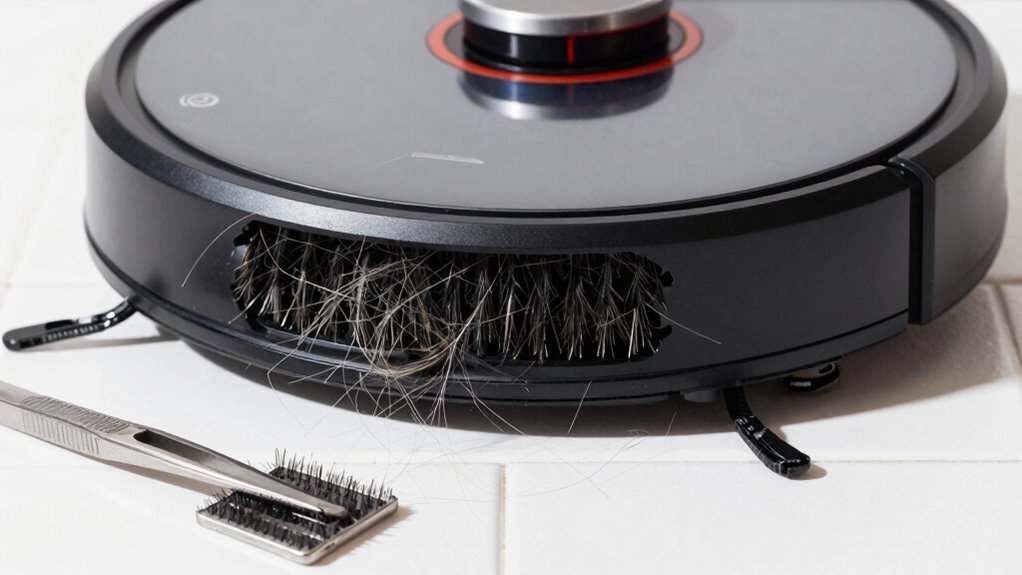
Grab your tools and get ready to give those brushes the haircut they’ve been begging for—because no robot vacuum should have to spin through a jungle of hair.
Unplug your robot first—safety first, right?
Then pull out the main brush and check those end caps where hair loves to tangle like spaghetti.
Use a seam ripper or small scissors to slice through the gunk along the brush groove, avoiding the bristles like you’re peeling a banana without squishing it.
- Slice hair in sections for better control and fewer mistakes
- Pull out debris with tweezers—they’re your tiny-tangle superheroes
- Spin the brush by hand after cleaning to make sure it moves freely
Be gentle with rubber rollers—no stabby stuff! Keep those brushes fresh, and your robot will thank you with every zoom.
Free the Wheels of Debris
Rolling into action starts with wheels that spin freely, not ones tangled in a mess of hair and gunk like they’ve been wrestling a carpet monster.
Power off your bot, flip it gently onto a soft surface, and peek at each wheel—front caster, rear swivel, or side drives.
Spin them by hand; if they drag or stick, you’ve got debris doing gymnastics inside.
Pull out the casters with a firm tug, then yank out hair wrapped around axles and in the housing.
Use tweezers or a brush for stubborn junk.
Clear gunk from wheel wells and give axles a quick wipe.
Pop everything back until it clicks—no wobbles!
Set your robot down and watch it glide.
No limping or circling? You nailed it.
Do this monthly, or more if you’ve got pets.
Your robot’s wheels weren’t made to collect souvenirs—keep ‘em clean and let the machine do its happy dance.
Wipe the Sensors
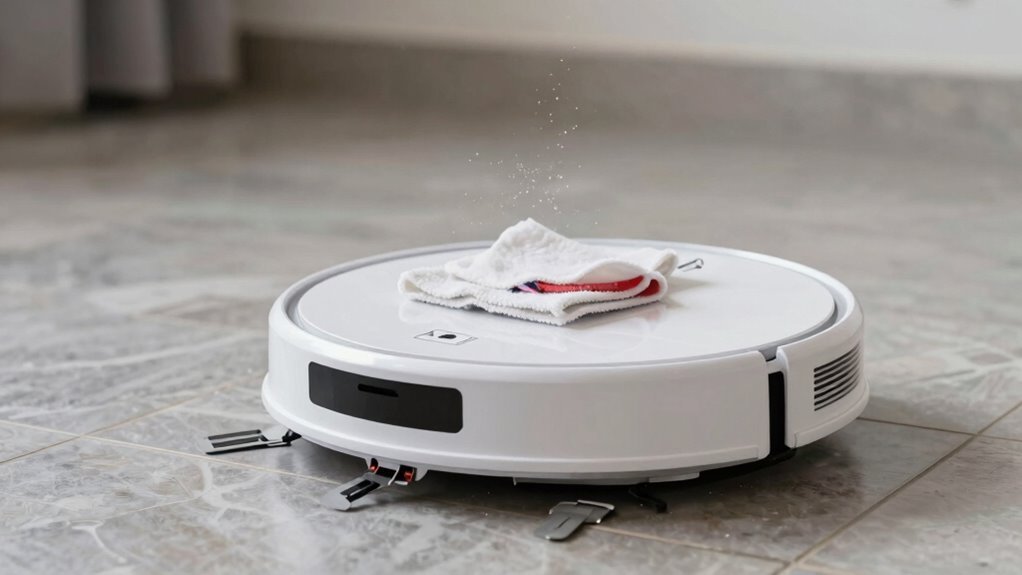
- Cliff sensors (underneath): Prevent staircase face-plants—wipe to avoid false drop alerts on dark rugs.
- Front bumper sensors: Stop headbanging into furniture—clean for smoother, smarter navigation.
- Lidar or camera windows (on top): Clear the robot’s “eyes” so it maps your home like a pro, not a confused tourist.
Power it off, grab a microfiber cloth or cotton swab, and gently wipe each lens. No harsh chemicals—just soft touches. A clean sensor is a happy sensor, and your vacuum will thank you by actually *vacuuming*.
Stick to a Monthly Maintenance Routine
Keeping your robot vacuum running like a well-oiled robo-roadster starts with a simple monthly tune-up—you’ve wiped the sensors, now let’s keep the rest of the machine humming. Stick to a consistent routine and avoid surprise clogs or sad, stalled spins on the carpet. Here’s your quick monthly checklist:
| Task | Why It Matters |
|---|---|
| Clean or replace the filter | Keeps suction strong and prevents dust buildup |
| Check brushes for hair tangles | Stops jams and boosts cleaning power |
| Wipe charging contacts | Guarantees reliable charging and home sweet home docking |
| Inspect wheels and dock area | Prevents weird wobbles and startup snags |
Pick a day, set a reminder, and knock it out in 20 minutes—your vacuum will thank you with every zip and sweep!
Frequently Asked Questions
How Often Should I Replace the Robot Vacuum’s Battery?
You should replace your robot vacuum’s battery every 2 to 3 years, especially if you’re using it daily.
Most lithium-ion batteries last about 300–50\) cycles before they start slowing down.
If your vacuum’s running out of juice faster, taking forever to charge, or conking out mid-clean, it’s probably time—don’t wait for it to throw a tantrum on your carpet!
Can I Use My Robot Vacuum on Carpets?
You bet you can use your robot vacuum on carpets—think of it as your tiny, tireless carpet buddy!
Just stick to low- or medium-pile rugs, ’cause thick shag usually spells “stuck.”
Look for strong suction, carpet-boost mode, and good wheels.
It’ll zipline across flat carpets but might belly-flop on plush ones.
Keep things fun, not frustrating—skip the fancy rugs that look like traps!
What Do Blinking Lights on My Robot Mean?
Blinking lights on your robot? They’re not just for show—they’re like little mood rings telling you what’s up! A yellow blink means you’re running low on juice, blue means it’s chatting with your Wi-Fi, and red’s yelling, “Help, I’m stuck!” So next time it flashes, don’t panic—just decode the color, and you’ll both be back on track in no time. Lights make robot drama way more fun!
Is It Safe to Leave the Robot Charging Overnight?
Yeah, it’s safe to leave your robot charging overnight—if you use the right charger, keep it on a hard surface, and check for damage regularly.
Don’t let it snooze on rugs or near curtains like it’s telling ghost stories around a campfire.
Modern docks cut power when full, so relax, but still treat that battery like a moody pet: respect it, watch for swelling or heat, and unplug if things feel off.
Stay smart, stay safe.
Can I Schedule Cleanings When I’M Not Home?
Yeah, you can absolutely schedule cleanings when you’re not home—your robot’s got your back!
Just set it up through the app, and it’ll start scrubbing while you’re out.
Many models even work with Alexa or Google Assistant, so you can trigger cleanings with your voice.
Some even clean when you leave the house, thanks to smart home tricks.
It’s like having a tiny, enthusiastic roommate who loves chores—and never asks for rent!
Conclusion
You’ve cleaned the dustbin, freed the brushes, and wiped those sensors—great job! Did you know? One in three robot vacuums fails early due to poor maintenance. But not yours! With this quick monthly check, you’re not just unclogging a machine, you’re boosting its brainpower and brawn. Keep it light, keep it clean, and watch it glide like it’s got a secret. Happy sweeping—you and your little robo-pal have this down!
References
- https://au.narwal.com/blogs/product/robot-vacuum-is-not-cleaning
- https://www.robotreviews.com/chat/viewtopic.php?t=7158
- https://honiture.com/blogs/home-cleaning/why-does-my-cordless-vacuum-say-its-blocked-what-should-i-do
- https://www.cleverobot.com/how-to-solve-the-clogging-of-the-amazon-best-selling-robot-vacuum-cleaner.html
- https://www.eufy.com/blogs/robovac/robot-vacuum-troubleshooting
- https://homesupport.irobot.com/s/article/32656
- https://vacuumwars.com/robot-vacuum-maintenance/
- https://www.ecovacs.com/us/blog/how-to-clean-robot-vacuum-filter
- https://us.narwal.com/blogs/product/how-to-maintain-robot-vacuum-filter
- https://maticrobots.com/blog/matic-maintenance-and-care